- What influences the choice of location?
- Features of self-disassembly
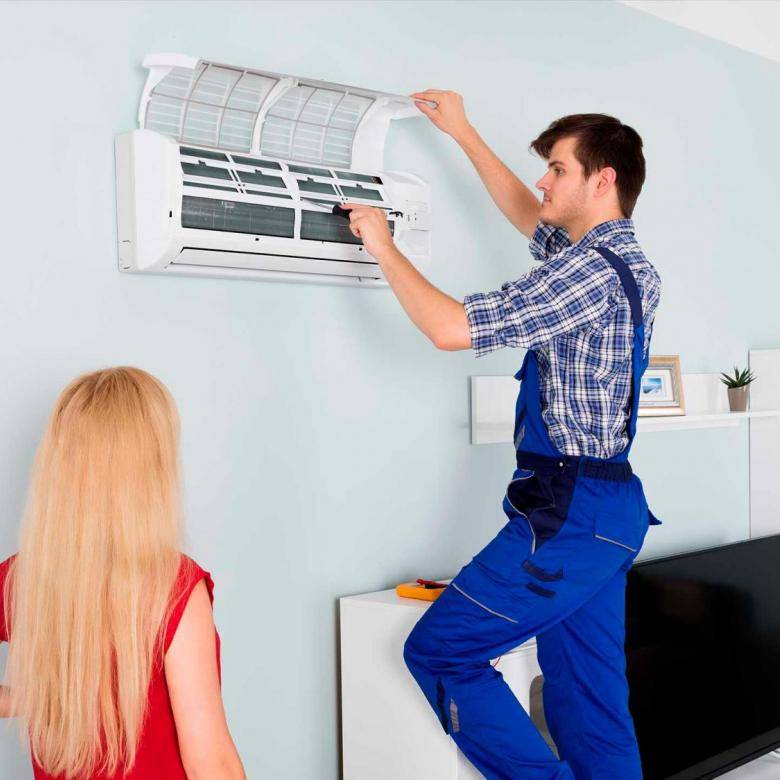
- Removing the indoor unit
- Height difference between blocks
- The nuances of mounting the outdoor unit inside the balcony
- Proper step-by-step installation of a split system
- Features of installation of cassette and duct air conditioners
- Legal requirements - permission and obtaining it
- Requirements for the installation of air conditioners (split system)
- Location of the air conditioner
- Stages of preparation
- General requirements for the installation of air conditioners
- Features of work in winter
- In what cases it is impossible to put
What influences the choice of location?
Choosing a place for the air conditioner
Everything, of course, depends on the design of the air conditioner itself, because there is window equipment, and there are more modern split systems. If this is a window, then you won’t have to rack your brains for a long time
If there is a window air conditioner, then it is necessary to decide in which window - in the window of the bedroom, or maybe the room? However, before you puzzle over this, it is important to know that window air conditioners can be installed only on a window with a wooden frame. On metal-plastic windows, such installation is not provided.
However, if you really want to, you can also mount it in a metal-layer.Only for this you will have to order a new window, adapted for the future installation of a window air conditioner. Think it's worth it?
window air conditioner
Immuring into the wall will also not work, since the window monoblock must “breathe” - be blown with air. But even assuming that you still managed to install window miracle technology, over time you may regret it. The problem is that the device makes a lot of noise when it is working. So your house will be cool, but noisy. A kind of microclimate, which can be called "cool noise". Therefore, as a conditional situation, we will choose a split system.
split system
So, you have become the proud owner of a modern class air conditioner. What does a split system consist of? Of 2 blocks: one is external and the other is internal. Installation begins with fixing the indoor unit and in a place where air currents will not fall on you. Otherwise, you run the risk of falling ill with a sore throat or, what good, with pneumonia, with all the complications that follow from this. Everything must be carefully thought out and executed in accordance with the recommendations outlined.
Features of self-disassembly
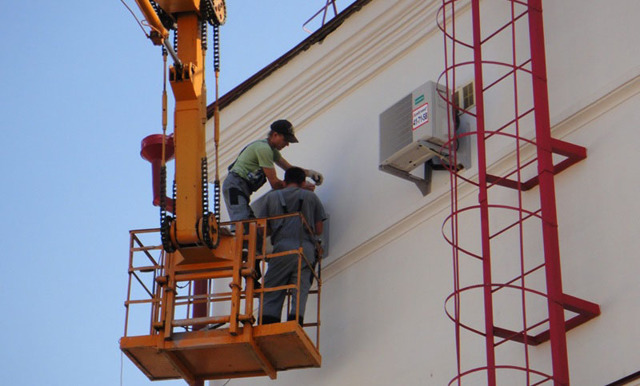
Dismantling the outdoor unit air conditioner is carried out only if it has free access. We are talking about the possibility of performing work at arm's length, without excelling in an attempt to join mountaineering, performing acrobatic stunts at high altitude. For this, there is a profession - a high-altitude assembler. If you have access to the outdoor unit, great. You can begin to unscrew the fixing nuts. Before that, you should mark the terminals of the power cables in order to connect in a new place without the risk of making a mistake.Two routes are connected to the outdoor unit: for refrigerant in liquid and gaseous states.
If it was decided to dismantle the air conditioner, the instruction will help to avoid a number of mistakes:
First of all, it is necessary to connect special equipment - a pressure gauge - to the nipple of the outdoor unit.
Then you should set the operating mode of the device to produce cold air.
After waiting for some time (10 minutes is enough), you need to firmly tighten the inner nut of the pipe fitting for pumping liquid freon
Before doing this, you must remove the cover of the fitting.
Focusing on the readings of the pressure gauge, when it reaches a value of minus 1 MPa, the inner nut of the fitting of the gaseous freon pipe is also tightly tightened.
After that, it is important to unplug the power cable as soon as possible.
Then, using a pipe cutter, the connecting pipes are cut at a distance of up to 20 cm from the fittings. The next step is to quickly caulk the ends of the pipes.
You should also quickly caulk the ends of the pipes at the indoor unit. After turning off the power, you can remove the fasteners that hold the outdoor unit and pack it for transportation. The dismantling of split system air conditioners can be carried out quite successfully, however, there is a danger when transporting the outdoor unit. Given that the mechanism is filled with freon under pressure, there is a high risk of hearing a pop at the first tangible push, which can only mean one thing - the need to purchase new equipment.
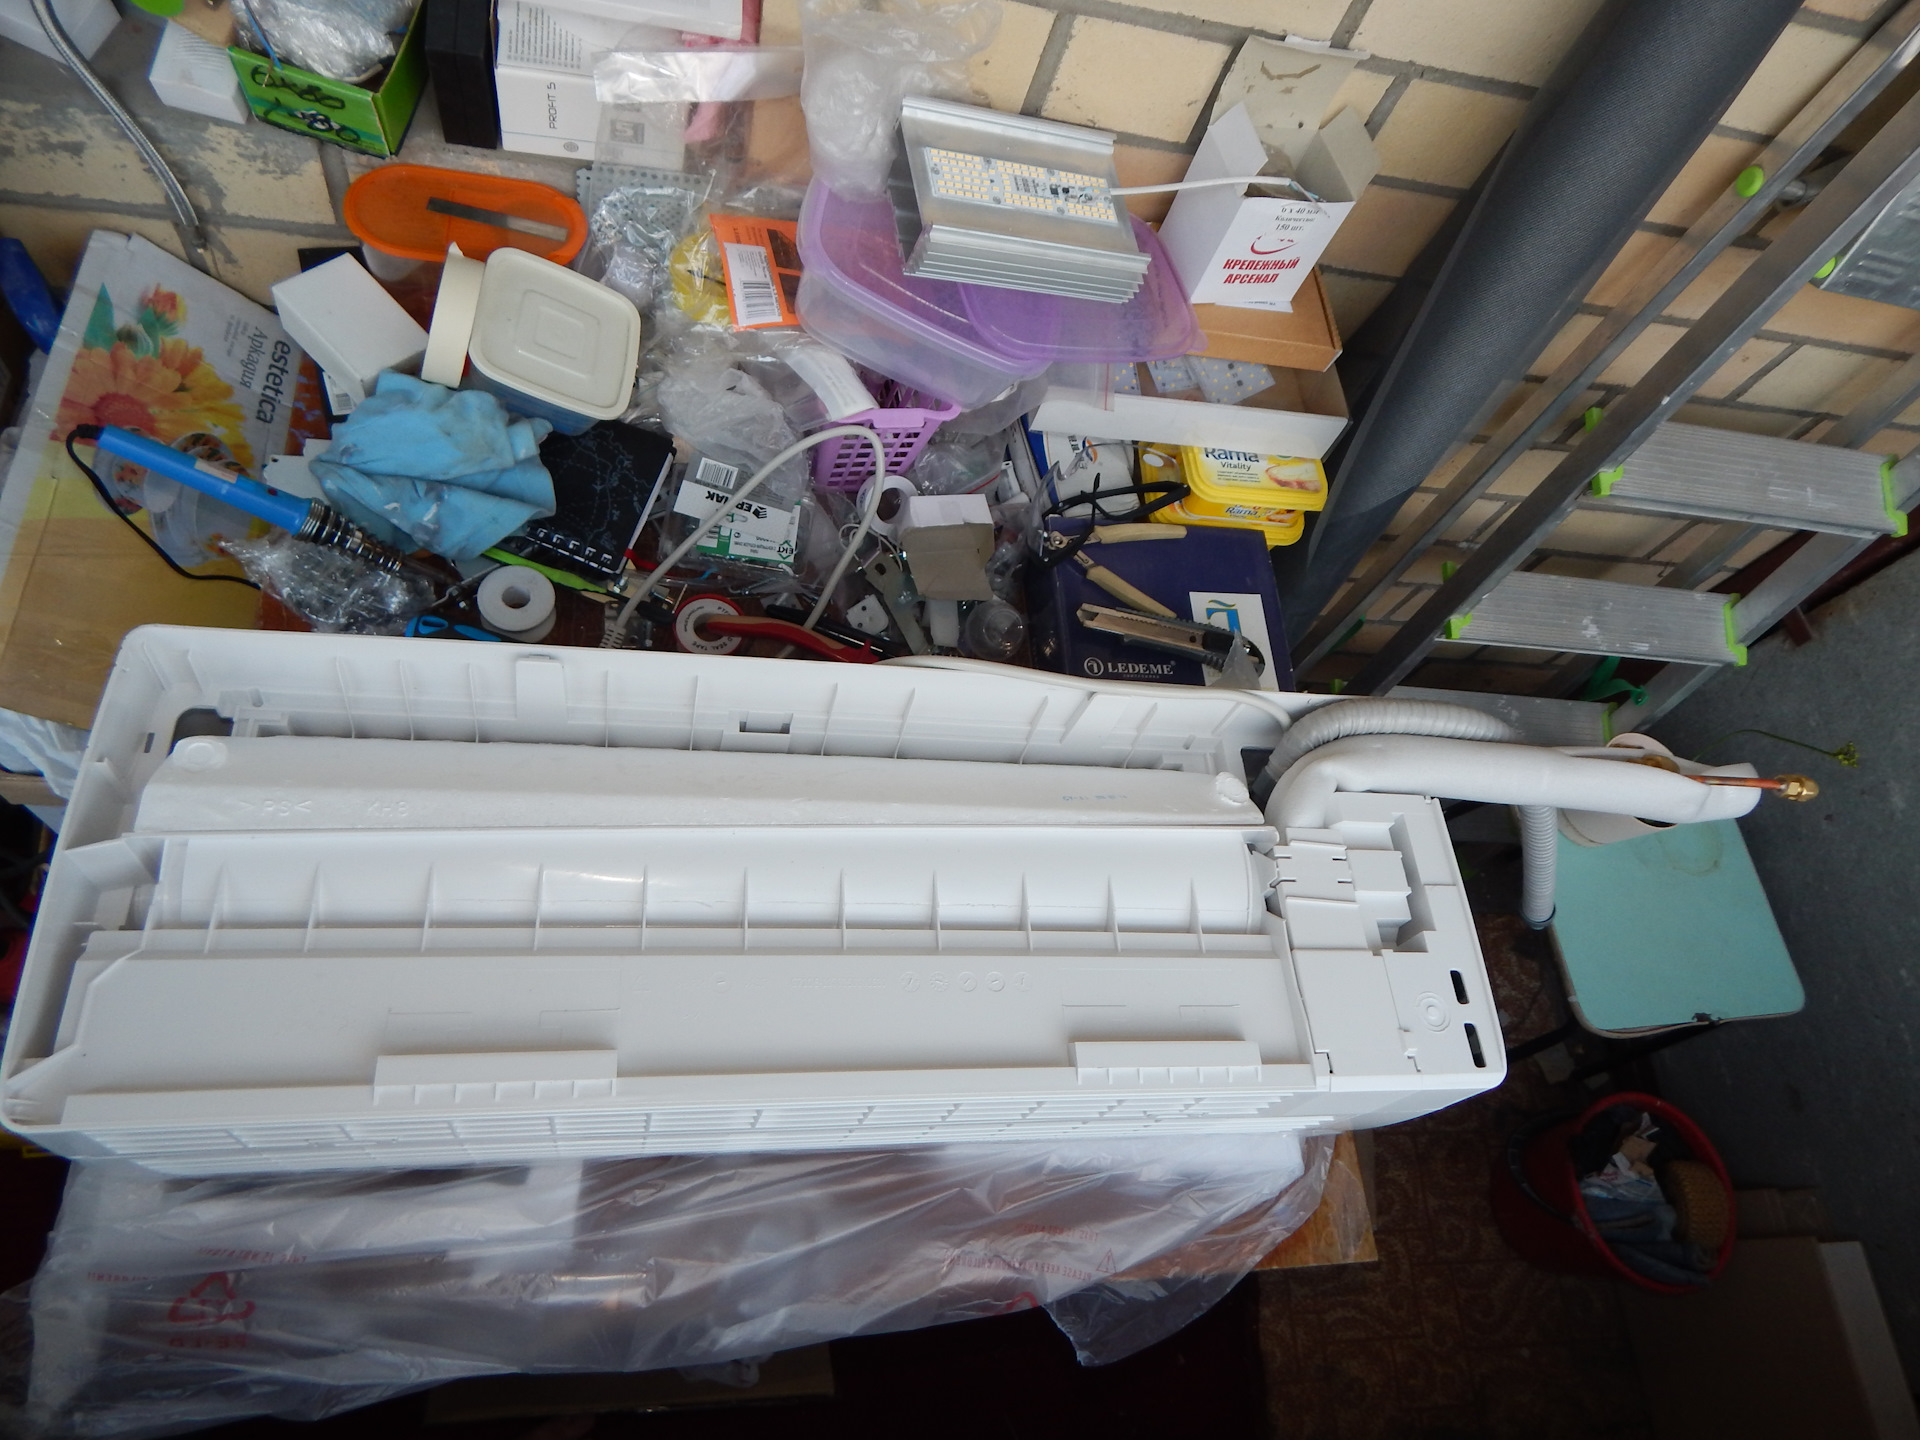
Removing the indoor unit

In addition to the work done on disassembling the mounting of the outer part of the air conditioning system, the indoor unit of the air conditioner should be dismantled.When you try to remove the evaporator, you can damage the mounting system of this unit, since it is not designed for third-party intervention by self-taught amateurs.


In addition to that, next to the latches on which the evaporation unit is held, there are wires and there is a high risk of touching them. Often, the cover that closes the evaporator is located on the side of the wall, that is, at first glance it seems impossible to get to it.
However, you can get out of the situation if you use only part of the Phillips screwdriver. In this case, you will have to hold it with pliers, and act at random and by touch. In addition, you should take care of the safety of the indoor unit, which, after unscrewing the fasteners, can collapse and receive irreversible damage. For this purpose, two more people are involved in dismantling the interior of the air conditioning system.
The dismantling and installation of an air conditioner is a process that, with independent intervention, ends successfully in only 50% of cases. This is due to the fact that climate technology has a considerable number of features that, if handled incorrectly, will lead to its breakdown. If the dismantling process was generally successful, there is often a certainty that now all the difficulties are behind us and it is possible to safely transport the equipment.
Thus, when embarking on an independent disassembly of equipment, one should be more or less confident in the positive outcome of the case.
Height difference between blocks
In addition to the length between the modules of the split system, a certain height difference must also be maintained.It is always indicated in the instructions and for household models it is usually no more than 5 m, less often - 10. Large values are typical for semi-industrial and industrial models - up to 20-30 m.
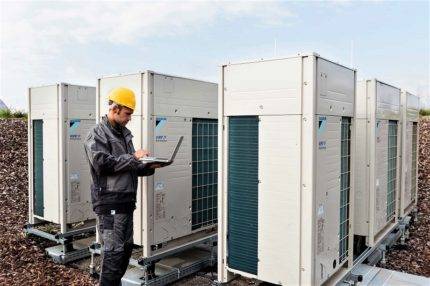 The largest height differences are in industrial climate systems of the VRV type. The height difference between indoor and outdoor units can be up to 90m
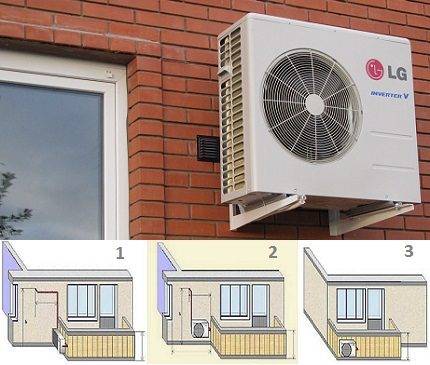
If the length of the freon route can be slightly increased, then experimenting with the height is prohibited. For this reason, the outdoor unit is most often installed 2-3 m below the wall unit.
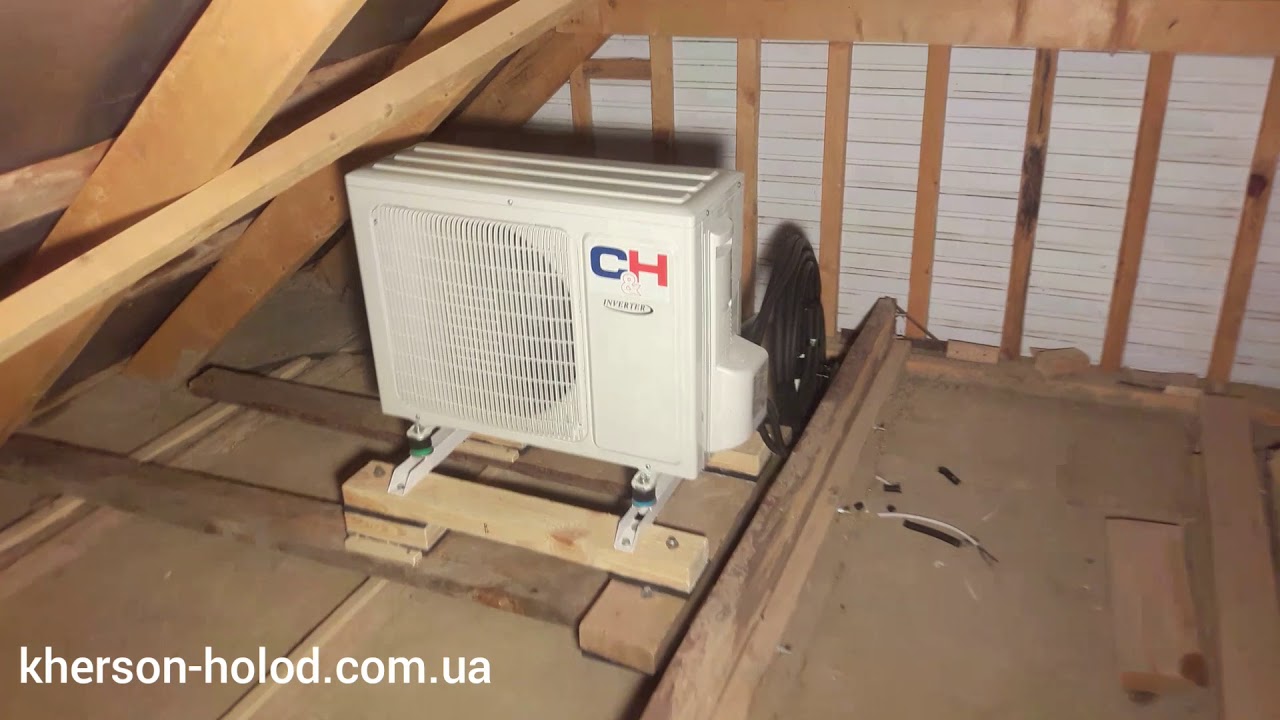
The owners of city apartments have little choice - next to a balcony or window. Owners of one-story cottages sometimes install an external module directly on the ground, on special supports. We talked in detail about choosing the optimal place for installing the air conditioner in our article.
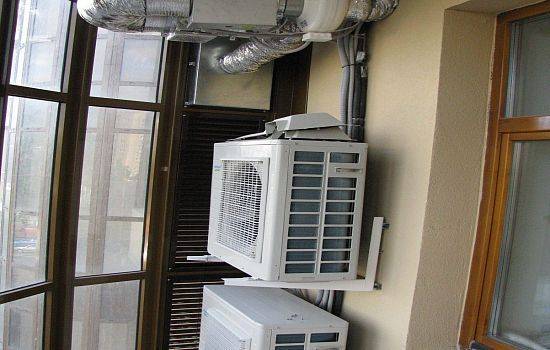
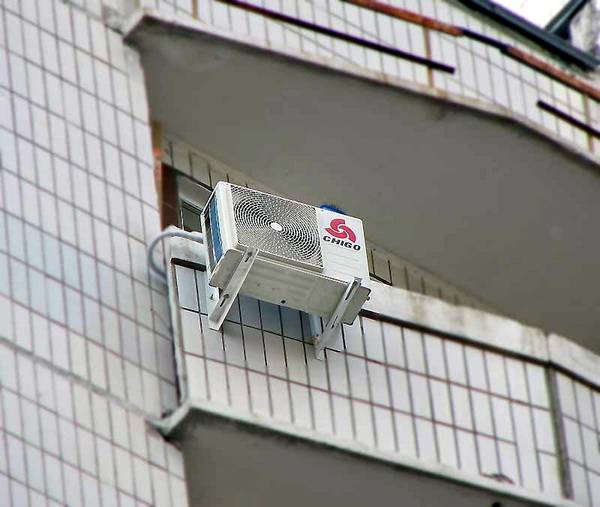
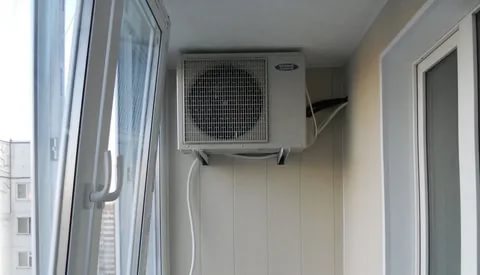
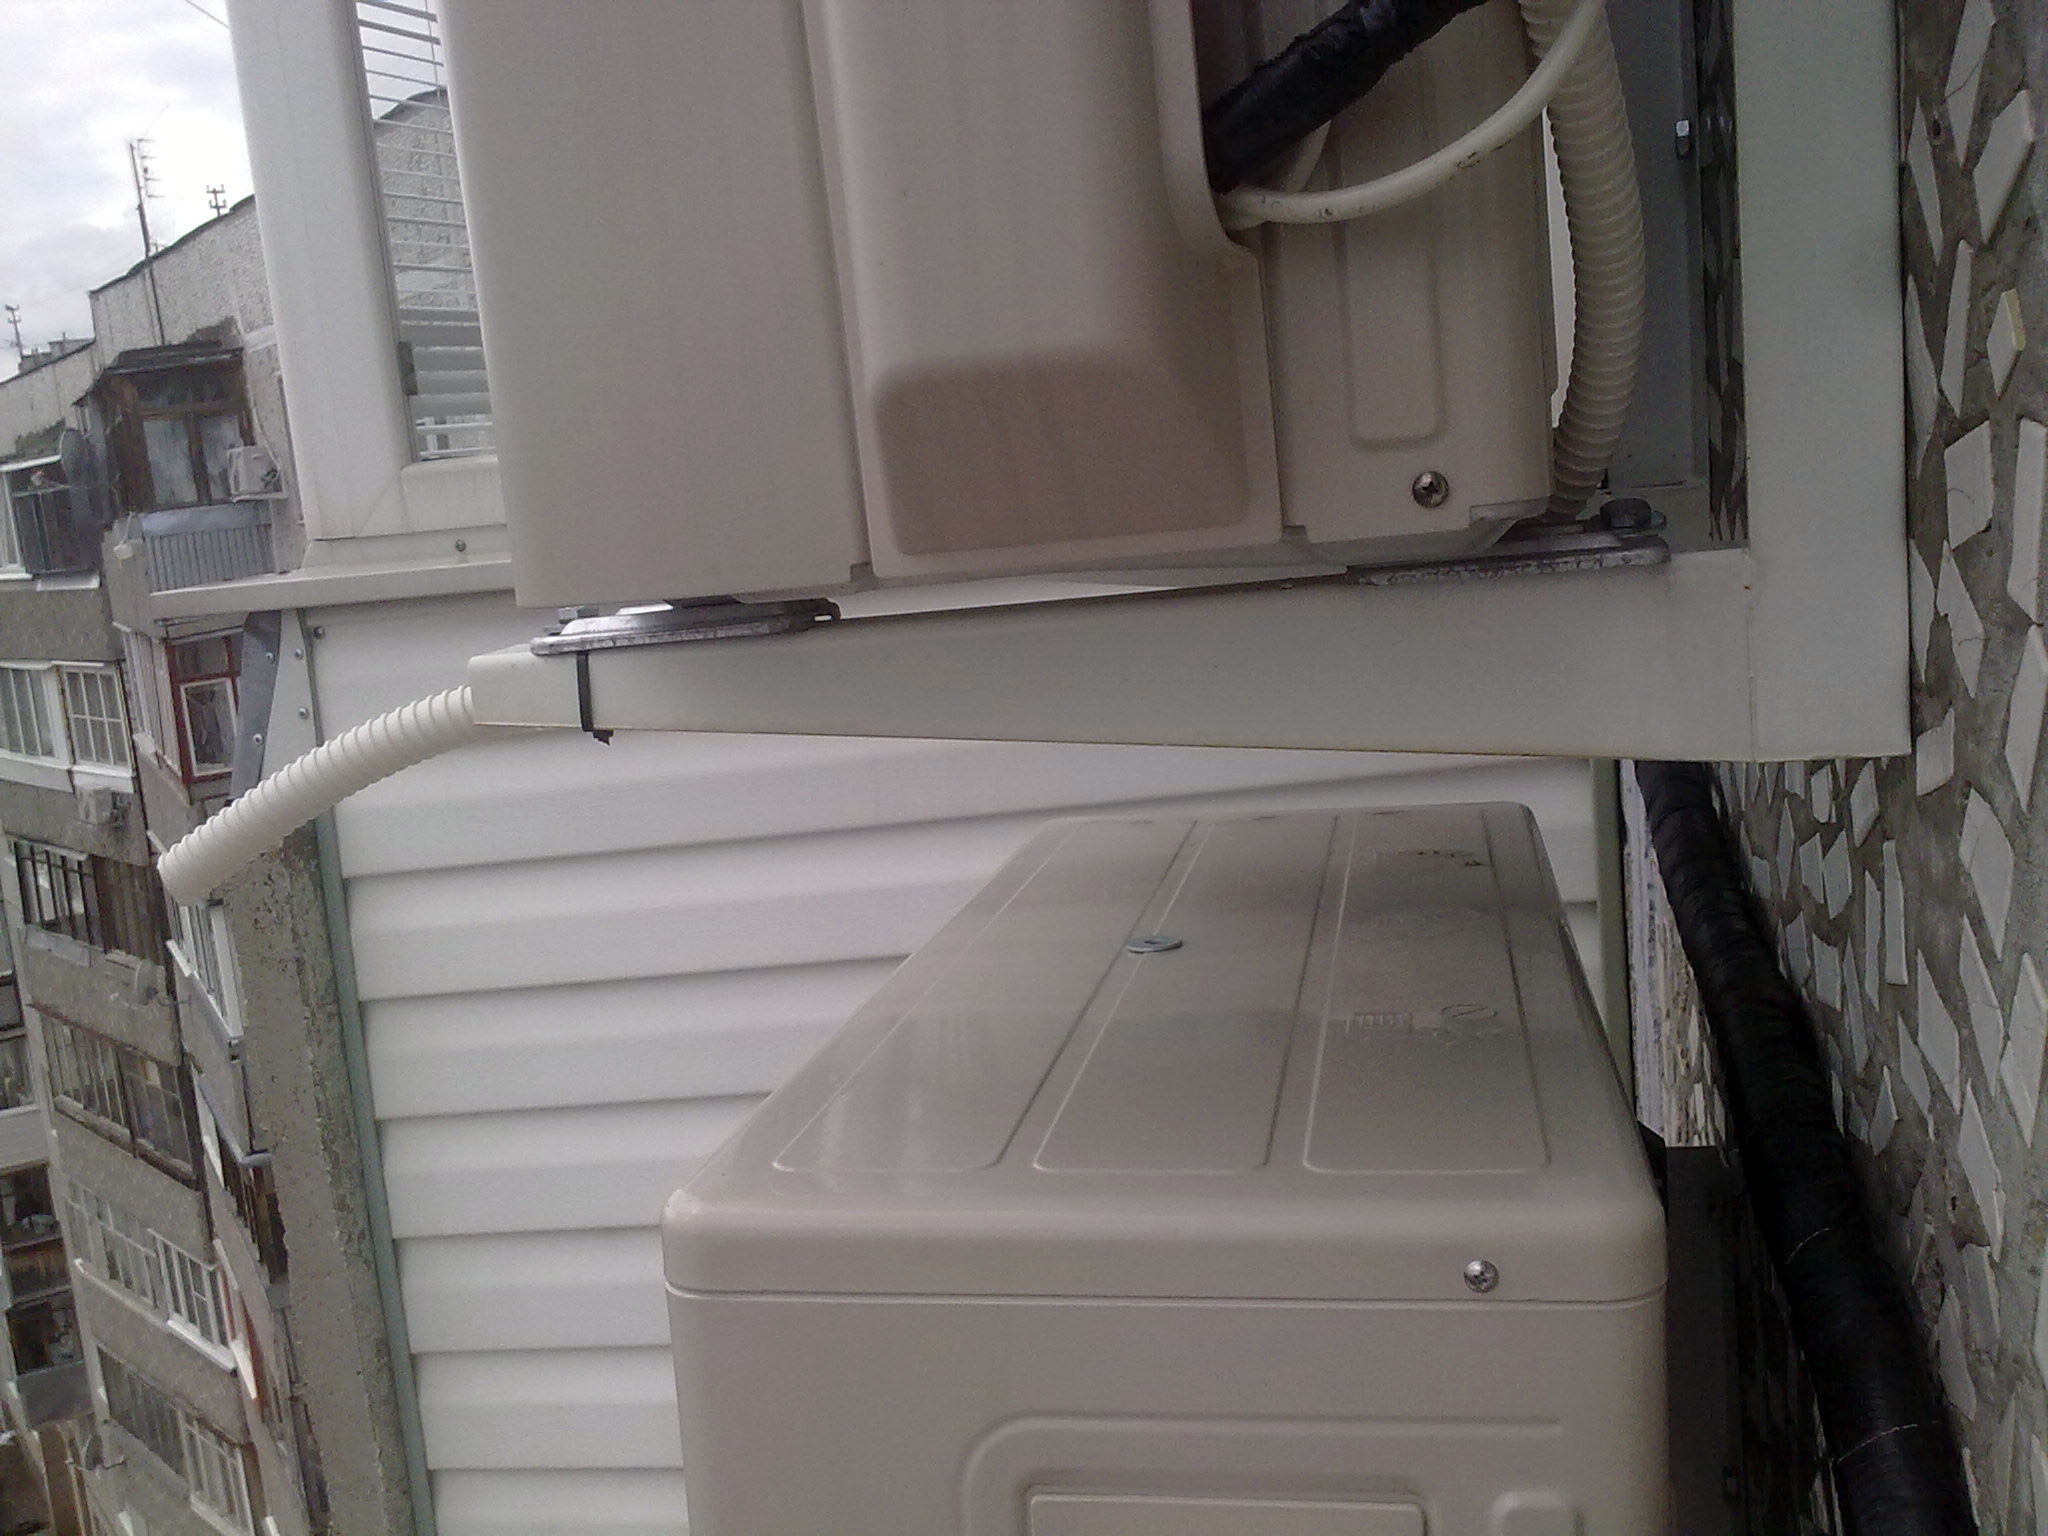
The nuances of mounting the outdoor unit inside the balcony
- As I said, the most important thing is that the loggia is well ventilated. Otherwise, the air inside will quickly heat up, and the air conditioner located there will turn off from overheating (in the worst case, it may burn out).
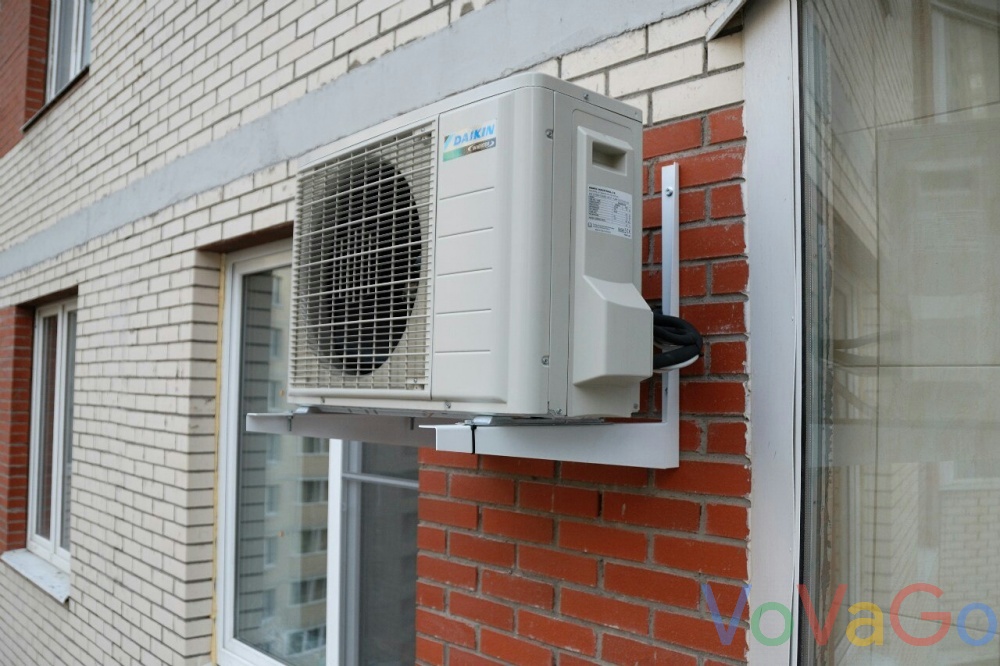
- On an unglazed balcony, I recommend positioning the outdoor unit so that it does not extend beyond the side wall. If window frames are subsequently installed, then the outdoor unit will not interfere.
- It is better to place the device higher. It is desirable that at least 10 cm remain to the ceiling, from the edges to walls and windows - at least 15 cm.
- I repeat, the drainage from the external unit and from the internal one must be taken out to the street. During cooling operation, water will drip from the indoor unit, during heating, from the outdoor unit.
Proper step-by-step installation of a split system
How professional teams carry out the correct installation of the air conditioner, step by step is written below.For example, taken wall Split system LG 18 sizes. It was placed in an office with an area of 35 m², where 7 people are permanently located and 7 computers + 2 printers are installed. The room has 2 large windows that face the sunny side. Installation location - near one of the double-glazed windows opposite the copy machine.
Stages:
- A hole is drilled in the wall with a large puncher to the street. To do this, use a drill with a diameter of 55 mm.
- Next, a 6 * 6 cable channel is laid from the hole to the indoor unit.
- Mark the holes for the mounting plate from the indoor unit and for the brackets for the outdoor unit.
- Drill the corresponding holes with a small puncher and fix the mounting plate with dowels and self-tapping screws. Brackets are fixed with dowels 12 * 100 mm.
- Mount the outdoor unit of the air conditioner on the brackets and fix it with bolts and nuts. Next, fix the indoor unit to the mounting plate.
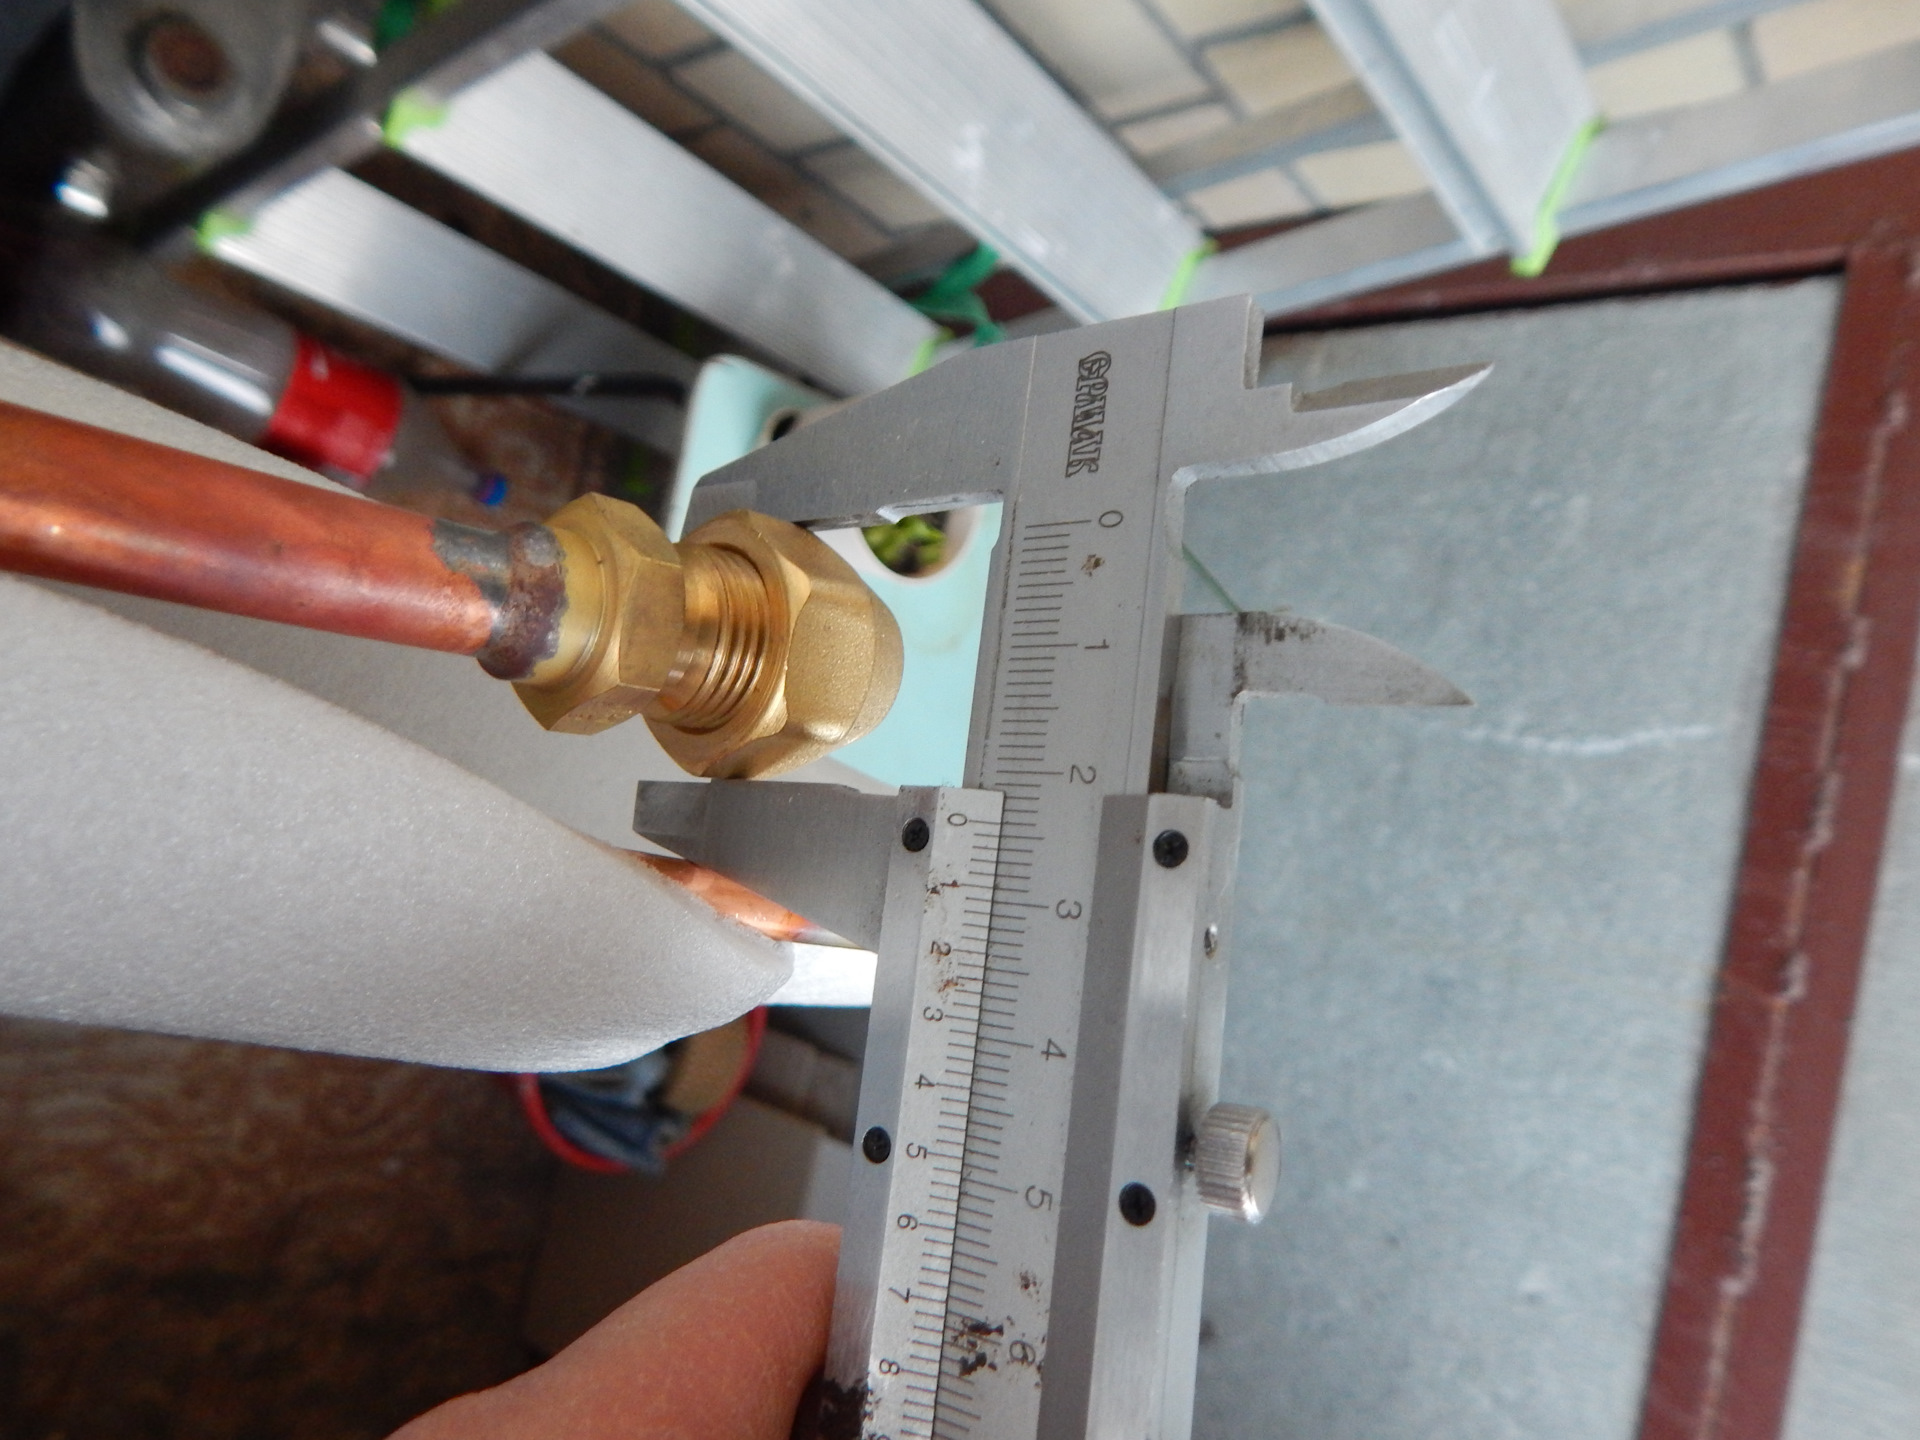
- The route and interconnecting cables are being laid. Before that, a heater is put on the copper pipeline. Tubes must be flared. Connect to both blocks.
- Connect electrical connections. The wires are pre-cut, stripped, crimped, only then connected to the terminal blocks.
- Drainage is laid with a pipeline and connected to the indoor unit.
- Connect the power to the unit that is needed for this model. For the aforementioned air conditioner, the power cable from the shield was extended to the outdoor unit.
- Carefully seal the holes for the route in the wall with mounting foam and close the covers on the box.
- The circuit is evacuated for at least 10 minutes. Open the valves and start the working gas.
- After that, they turn on the split system in test mode and check its performance: they measure the pressure and look at the quality of the cooling of the outgoing stream.
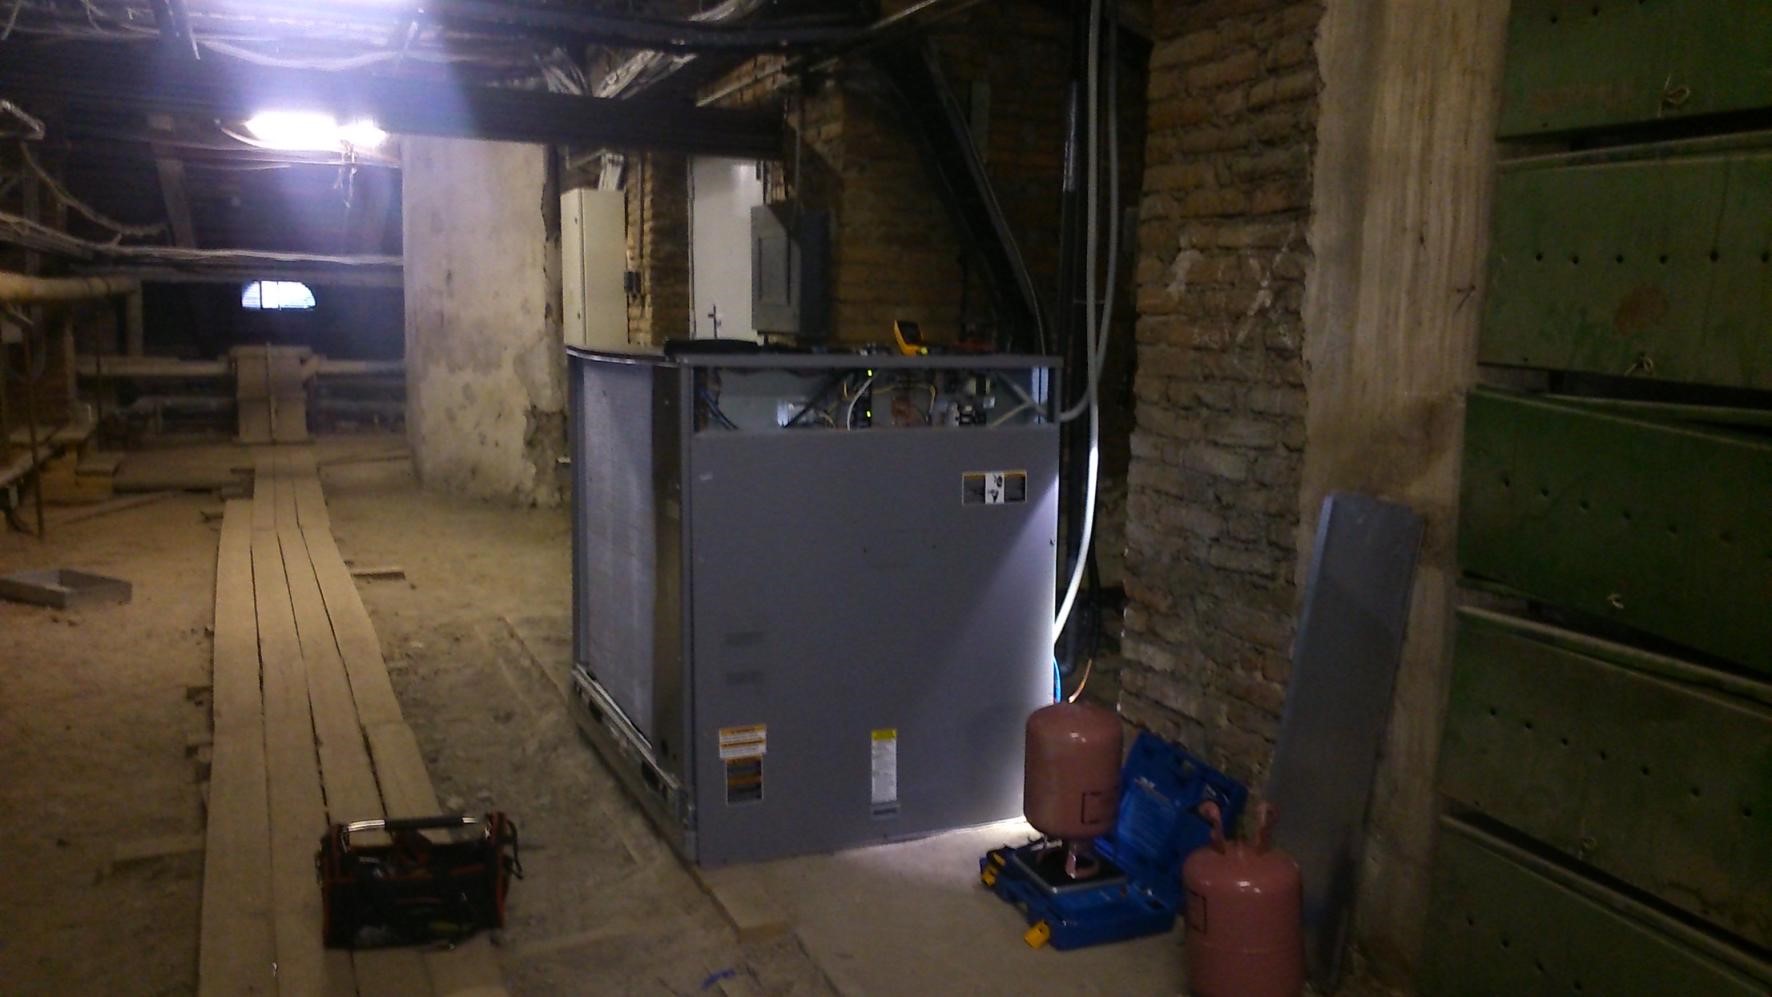
This describes the installation of a conventional household split system. If a semi-industrial or industrial air conditioning system is being installed, then additional features arise in the installation of a room module.
Features of installation of cassette and duct air conditioners
For example, the installation of a cassette split system begins with fixing the suspension for the indoor unit to the anchor bolts in the suspended ceiling cell. When fixing the room module, be sure to align it at the specified level from the ceiling, which is usually specified by the manufacturer. Fixation occurs with the help of mounting studs. The drainage of a cassette split system is most often diverted to a special centralized drainage system.
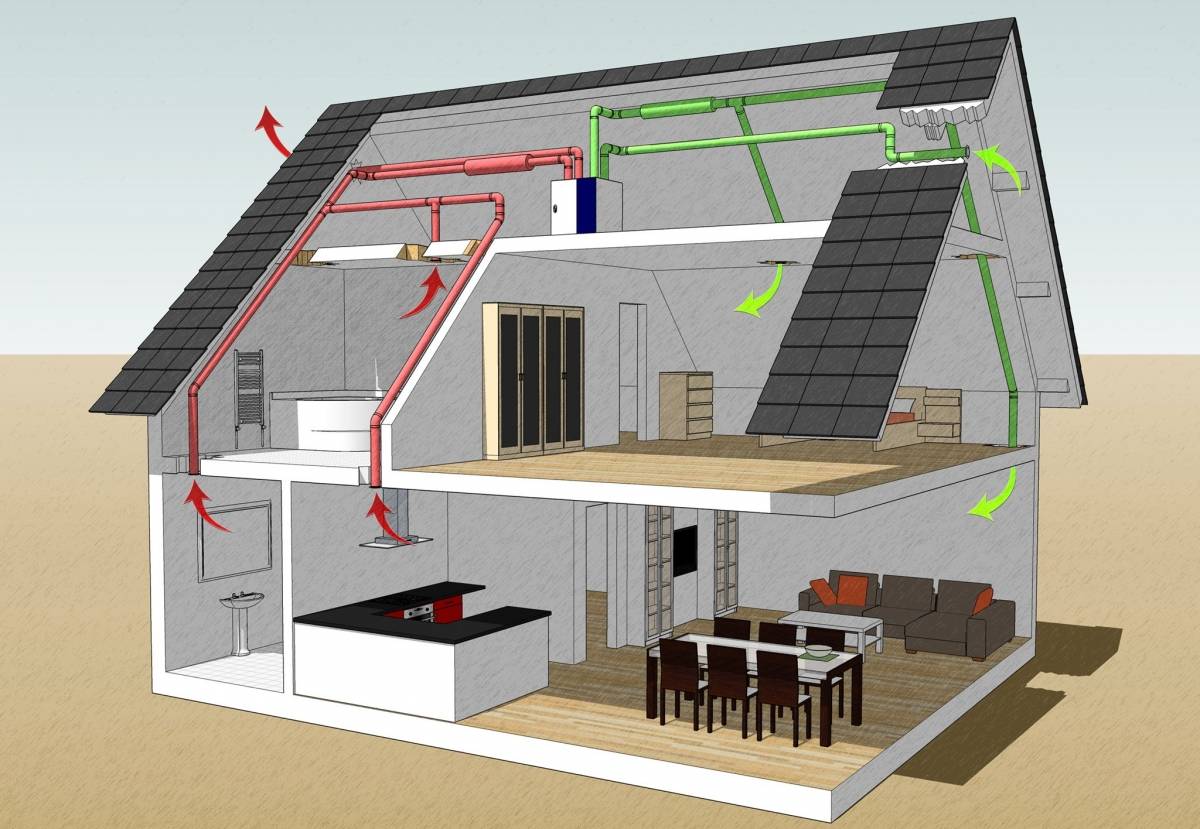
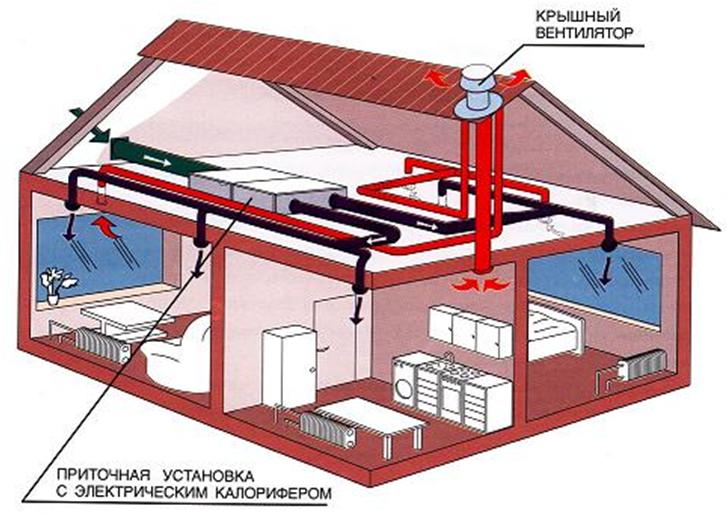
Channel split systems can have an extended network of air ducts that are attached to an adapter and lead to distribution grilles in each room. The installation of the indoor unit is carried out behind the false ceiling of a residential or utility room.
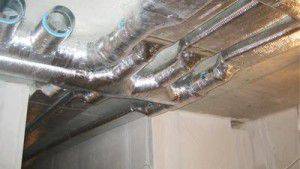 air ducts
Here, first of all, it is important to calculate the required pressure of the outgoing air, since the length of the air ducts and their number will depend on this. Their shape and style may also depend on this.
There are ducts:
- round and straight section;
- straight-line and spiral construction;
- with flanged, flangeless and welded type of connection;
- flexible and semi-flexible.
It is also necessary to insulate and soundproof the air ducts. Insulation is required to prevent condensation. Soundproof for quiet operation. Otherwise, such a split system will make noise.


To control the duct system with a wired remote control, you will need to run a separate wire to the indoor unit in the same way as in the situation with a cassette air conditioner.
In fact, the main differences in different split systems are observed when installing the indoor unit, external modules are mounted and connected to the room everywhere according to the same scheme, as described in the LG wall air conditioner installation plan.
Of course, installing any air conditioner with your own hands is a dangerous undertaking, especially when it comes to semi-industrial or industrial systems.
Legal requirements - permission and obtaining it
Before hanging an air conditioner on the facade of a residential building, it is necessary to formalize and legalize its installation. The first right step for a homeowner is to contact the State Housing Inspectorate for advice on this issue.
The norms of federal law do not have direct instructions for obtaining permits for the installation of outdoor structures. Legislation in different regions may differ, because local authorities independently adopt regulations and conditions for approvals for the installation of climate equipment. For example, in St. Petersburg, the authorities strictly monitor the reconstruction of facades.
Housing legislation recognizes the installation of an air conditioner as a wall conversion (paragraph 1 of article 25 of the Housing Code of the Russian Federation) and regulates the placement of an additional device on the wall. The administration of the municipality may not give permission in the following cases:
- if this building is a cultural heritage or architectural landmark;
- if a wall fragment is covered with valuable architectural decoration;
- if the facade borders on the carriageway of the street;
- the intended installation cannot be carried out above the footpath.
The outdoor unit of the split system must comply with accepted sanitary norms and rules. Therefore, the installation project (design architectural task) is first developed, which must be coordinated by the following authorities:
- Committee for Urban Planning and Architecture (for standard buildings).
- Committee for State Control, Use and Protection of Historical and Cultural Monuments (for structures within its competence).
- Rospotrebnadzor.
- Housing and Construction Cooperative (HCC), Association of Homeowners (HOA), Housing and Communal Service - an organization on whose balance sheet the building is located.
- Municipal government authorized to resolve such issues.
Installation of domestic and semi-industrial air conditioners is much easier than industrial counterparts. To obtain permission to install the outdoor part of the air conditioning system, the following documents must be submitted to the local authorities:
- project assignment (drawing of the future design), agreed by authorized institutions;
- photographs of a fragment of the wall on which the equipment is installed;
- object address data;
- description of the building and its location;
- a copy of the certificate of ownership of the apartment.
There are no difficulties in obtaining permits when installing an air conditioner in the buildings of sleeping areas and inside courtyards. In addition, if local governments have not adopted relevant regulations and developed a procedure for agreeing on a reconstruction project, then no permits will be required.And also do not need documents for the installation of the air conditioning system on the loggias and open balconies.
Requirements for the installation of air conditioners (split system)
Most used air conditioners have a split system. This is the design of the air conditioner, consisting of two parts: external and internal. They are connected to each other by copper pipes and an electric cable.
The outer block consists of the following elements:
- fan base. It circulates the air passing through the air heat exchanger;
- capacitor. In it, freon condenses and cools;
- compressor. It compresses freon and pumps it into the refrigeration circuit;
- automation.
The indoor unit consists of:
- filter systems (coarse and fine cleaning);
- fan. It circulates cool air in the room;
- air heat exchanger cooling air;
- blinds. They control the direction of the airflow.
In order for the installed air conditioner to justify the hopes placed, to serve for a long time and not cause questions from the relevant authorities and neighbors, you need to adhere to three main points:
- Choose a quality air conditioner model. It should be powerful for the room, as quiet and compact as possible.
- Correctly install the air conditioner, choose the ideal place and check the quality of the fastening.
- Operate the structure in full compliance with the rules, regularly perform preventive measures and monitor it.
Basic requirements for installing an air conditioner with a split system:
- installation of the outdoor unit is carried out on a solid basis;
- fastening of brackets to the wall is carried out by reliable mechanisms;
- maintain a distance of at least 10 cm from the heat exchanger of the outdoor unit to the wall;
- distance not less than 10 cm from the right modular block;
- distance not less than 40 cm from the left modular block;
- there must be no obstacles within 70 cm in front of the block;
- free access to service ports is provided;
- interior items should not interfere with the free exit of air;
- the unit inside is installed further from sources of moisture and heat;
- the indoor unit is not installed in front of the front door or okra, which is always open;
- direct air flows should not be directed at people or at a place where they are often;
- it is required to ensure high-quality removal of moisture through a drainage hose;
- the distance between the unit and the ceiling is 15 cm minimum;
- the mounting plate is fixed to the wall perfectly in level with screws.
Let us consider in more detail the rules for installing an air conditioner, delving into the features of a split system.
Location of the air conditioner
The mounting plate is set strictly according to the level.
At the same time, the distance from the ceiling to the air conditioner itself must be at least 10 cm. This ensures good air intake and free installation and dismantling of the indoor unit.


For reliable fixation, use high-quality dowel-nails 6 * 40mm or 8 * 32mm.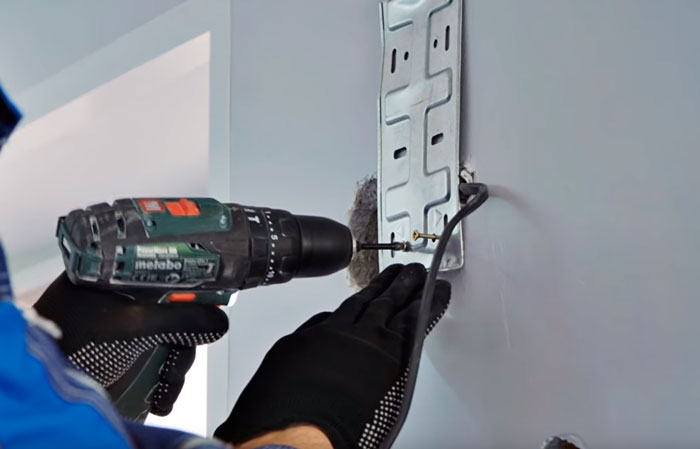
The next step is to install the outdoor unit. Mark the mounting points for the brackets.
Again, don't forget the level.
Make holes with a 12mm drill. Then fix the dowel brackets with nails 12 * 80mm.
Fasten securely, especially if the air conditioner hangs from the side of the house where the roadway or sidewalks are located.
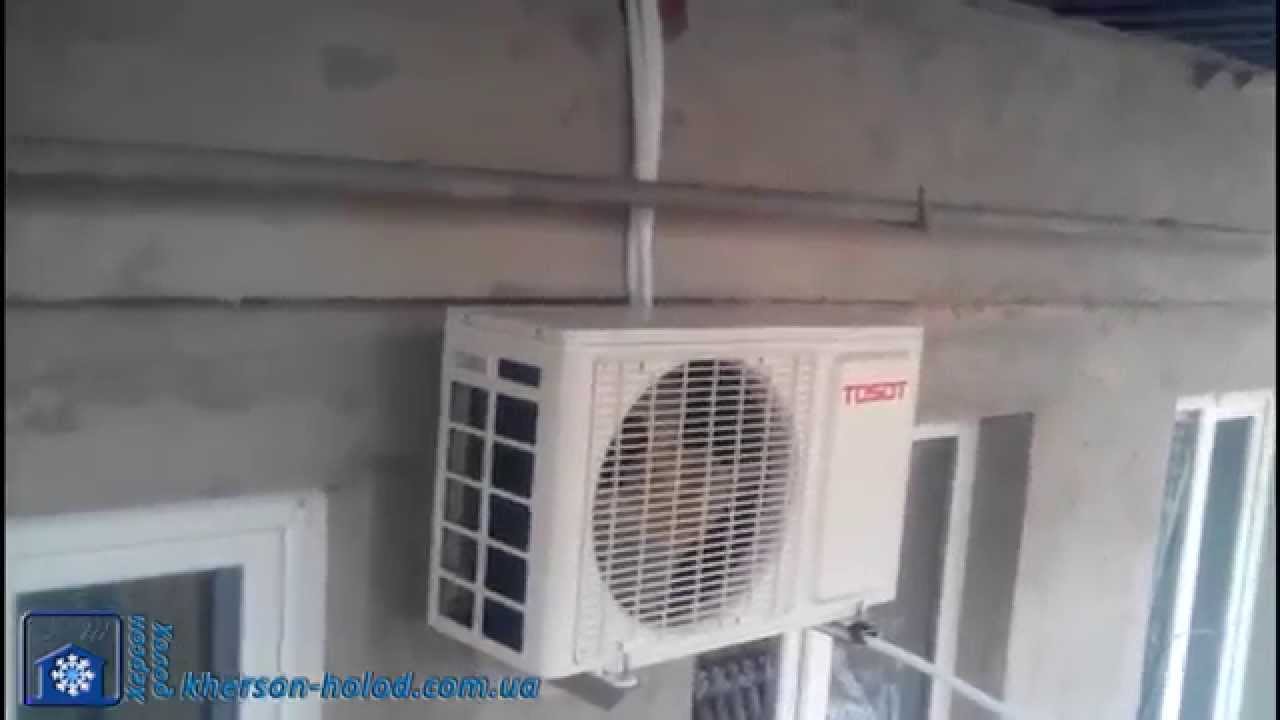
The distance from the rear wall of the outdoor unit to the wall of the building should be at least 10-20cm. Although a lot here will depend on the performance of the fan.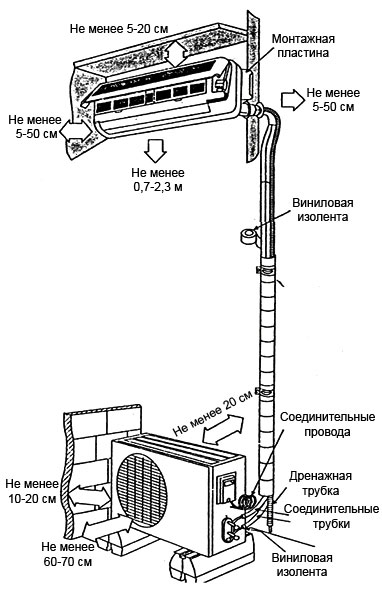
Where to place the outdoor unit, under the window or on the side, is a matter of aesthetics and ease of use.
Many simply do not like the extra meters of dangling cable and tubes hanging down the wall. In this case, the lateral position is selected.
Although competent installers and cable and freon piping can lay very beautifully. Here, much depends on the level of professionalism of the performers.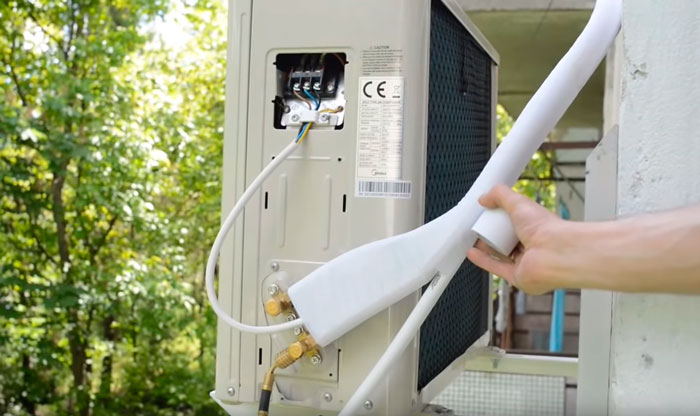
Air conditioning under the window is somewhat easier to maintain than on the side. Especially if after a few years his bolts completely rust. In this case, you can’t do without a tower or climbing equipment at all.
When installing the block on the side of the window, it will not be superfluous to play it safe. Here is the order.
Raise the air conditioner to the windowsill. You pass a rope through the drilled hole, pull it out from the street and tie it to the block.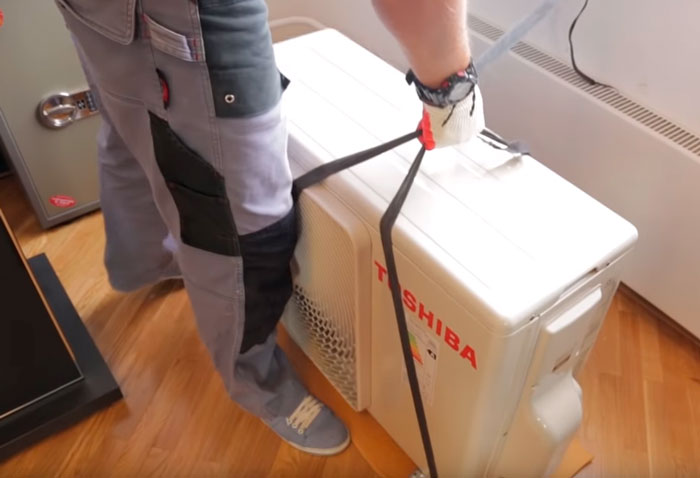
The partner insures the air conditioner with this rope, and you install it on the brackets. Until the bolts are tightened, it is better not to untie the rope.
Mistake #3
If after installation it turns out that the vibration of the air conditioner is given off by a strong rumble in the room (this happens when the brackets are directly mounted into concrete with anchor bolts without dowel nails with plastic inserts), then special vibration mounts or at least thick rubber inserts are placed under the legs of the outdoor unit.
Upon completion of the installation of the outdoor unit, proceed to the preparation and laying of interunit communications.
Stages of preparation
At the preliminary stage, it is required to keep the refrigerant in the system.It is located in the circuit, which consists of a compressor, evaporator, condenser, as well as connecting pipes.


Purpose of the preliminary stage: to collect all the gas in the condenser. To do this, follow these steps:
- The air conditioner turns on in cooling mode. The lowest temperature is set. The unit runs for 10 minutes.
- On the external block the valve with the union is located. A thin tube comes up to it, through which freon moves. On top is a protective cap. When it is removed, slots appear. A key is thrown at them and the valve is closed.
- The manometer is being monitored, the arrow of which should drop to zero in 1 minute. Immediately after this, the same procedure is carried out with the outdoor unit. The protective cap is removed and the second valve is screwed on. Then, using the remote control, the air conditioner is turned off. All refrigerant accumulates in the outdoor unit.
If there is no pressure gauge on the unit, then it is held for 1 minute and the second valve is closed, the device turns off.
General requirements for the installation of air conditioners
There are general rules for the installation of chillers. The main of them requires the presence of a normal working volume of the room for the installation of equipment. The following conditions must also be met:
- the installation should always have free access for maintenance and repair work, while taking into account existing fire safety standards;
- it is necessary to ensure normal air intake and outlet;
- provide a strong support for heavy structures;
- provide insulation from moisture, fire, steam and direct sunlight;
- prevent the appearance of noise above the established norms.
Any project documentation more deeply reveals the requirements for the installation of a particular chiller.
Features of work in winter
The process of dismantling the air conditioner in winter at temperatures below -5 degrees is not recommended. The reasons are as follows:
- the refrigerant does not fully enter the outdoor unit;
- in the cold, connections are not disassembled, valve seals may fail.
In case of urgent need, with the help of a building hair dryer, all fittings are heated in the outdoor unit. To save part of the freon in it, both valves are closed and the plugs are removed. Pipes are unscrewed from the fittings, and the rest of the refrigerant goes into the atmosphere. Further work is carried out in accordance with the instructions.
If the air temperature is negative, but above -5 degrees, then dismantling is carried out in the usual manner. In this case, a prerequisite is the presence of a manometer.
Removing an air conditioner is a complex process. However, if you have sufficient knowledge, you can do it yourself. It is better to do this in the summer. Before starting such a procedure, you should purchase tools and a pressure gauge. The presence of an assistant is desirable, since the equipment is heavy.
In what cases it is impossible to put
There is a limitation when it is not possible to install equipment indoors. The ban on installation is issued by the management company if the house is of cultural or other value, and the presence of an air conditioner on the facade will violate its appearance.
> The solution to the problem in this situation is installation inside the balcony, but the following rules will need to be taken into account:
- according to safety regulations, at least 3 windows must be open during the operation of the air conditioner, and one of them must be located opposite the structure;
- forced removal of warm air and a system to increase the power of the air conditioner should be organized on the balcony, since when creating equipment, heat inflows that affect the room through the glass are not taken into account.


