- Dismantling
- Drill winch
- Idea N1: Making a local mini-heater
- Idea # – Compact model for local heating
- Advantages of wire crafts
- Fan made of two plastic bottles
- Operating tips
- Press for wringing
- Manufacturing instructions
- Blueprints
- Zherlitsy
- How to make a gas gun with your own hands - step by step instructions
- Winch classification
- Wobbler
- Disc construction
- The main essence of the article
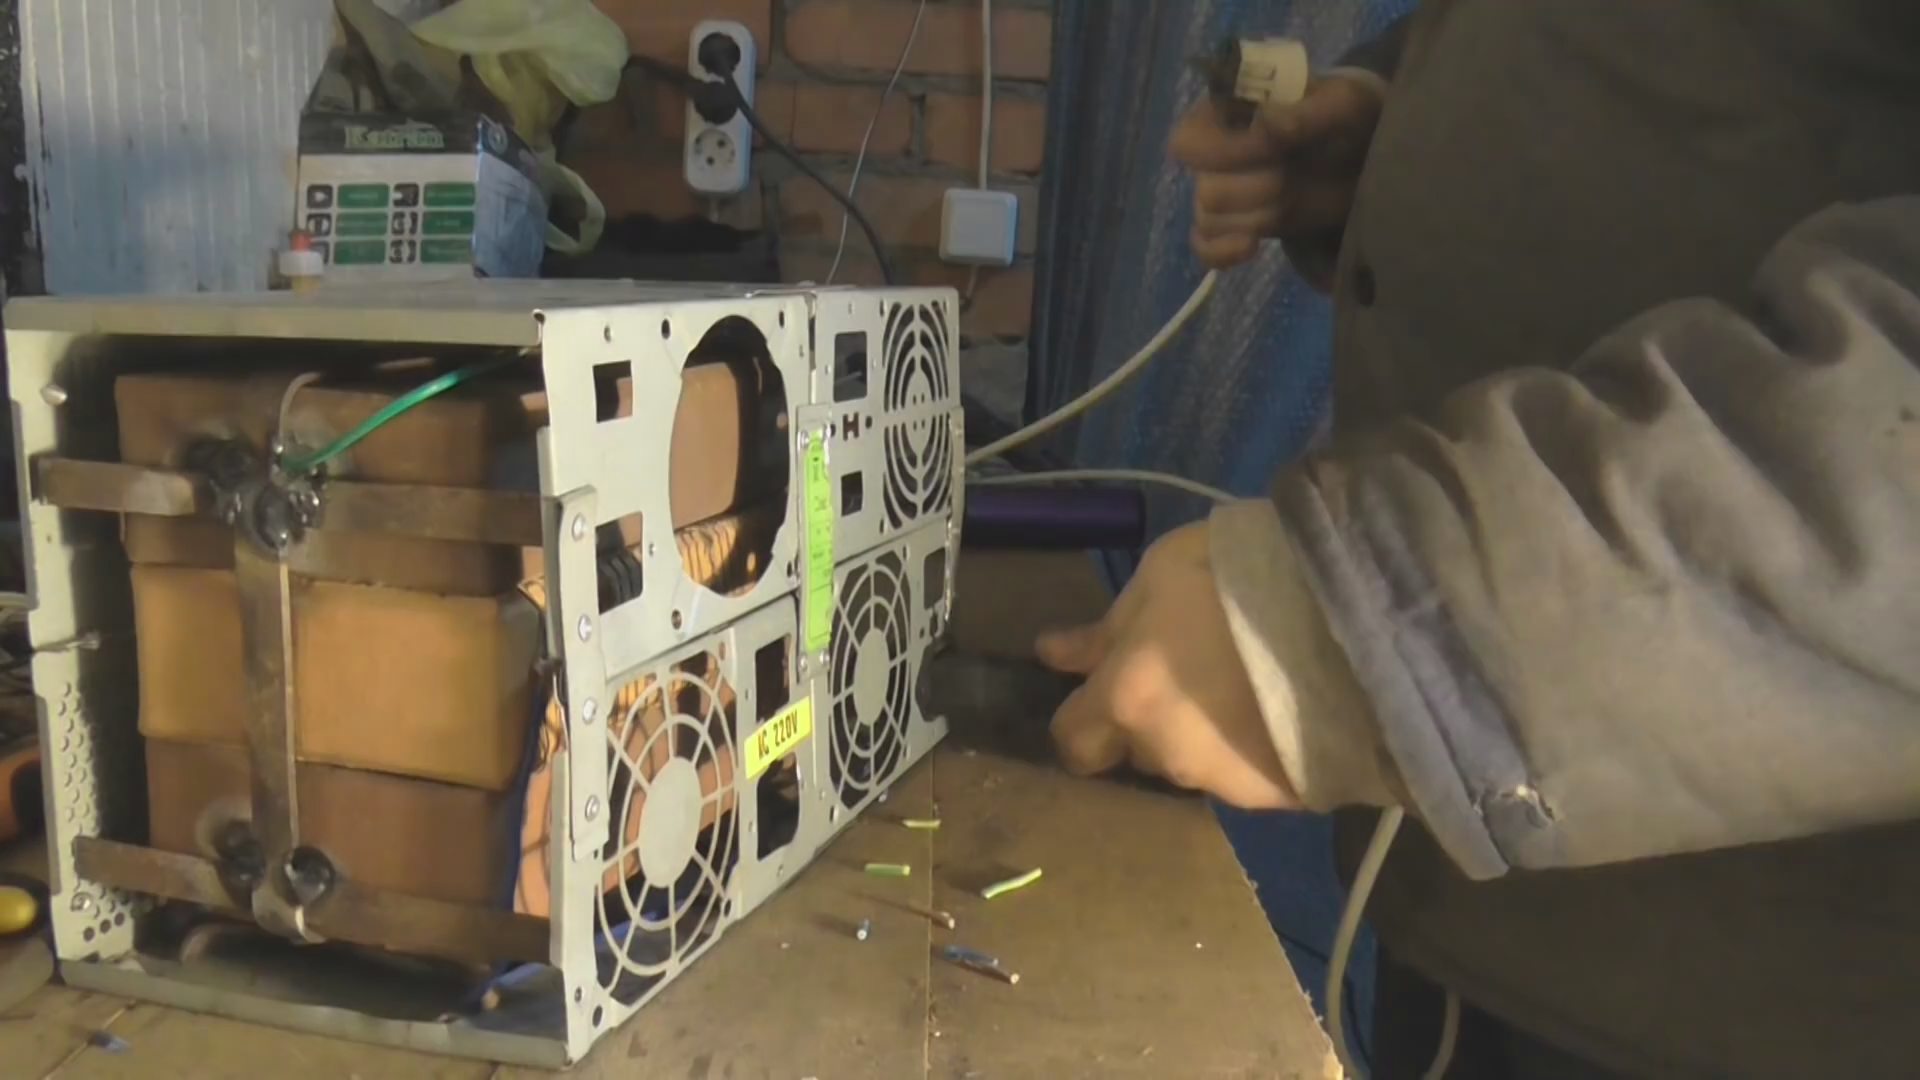
Dismantling
To remove the compressor from the old refrigerator, you will need the simplest tool - a few keys and screwdrivers, pliers. The unit to be disconnected from the systems is located at the bottom rear.

Turning the refrigerator door to the wall, the first step is to transfer the copper pipelines connecting the compressor to the cooling grill.

Old models of refrigerators were filled with freon - a very toxic gas, which is why the operation should be carried out in a well-ventilated area, and preferably outdoors, with extreme caution so as not to inhale the poison.

When the tubes are pinched, you can bite them with pliers, and then dismantle the assembly by unscrewing the fasteners.

Drill winch
The electric drive of even inexpensive drills has the right torque, but its speed is too high.Therefore, to make a winch, you need to use a power regulator. A winch from a drill is not suitable for long-term operation due to overheating.

The design corresponds to the device of a simple manual winch. But, in this case, a drill is used to set the drum in motion. A shaft is attached to the drum, which is fixed in the drill chuck.

The unit can only be operated at home, since drills are connected to a household electrical outlet. There are also battery-powered models, but their power is not enough to move heavy loads.

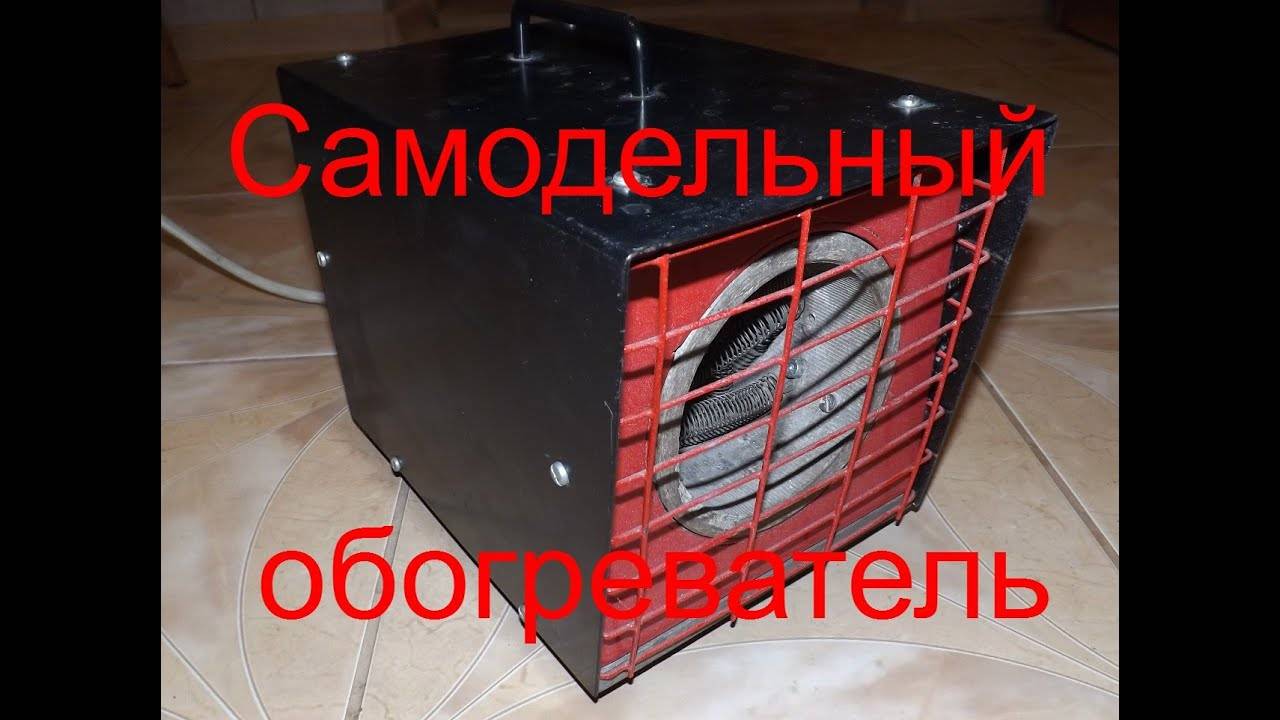
Idea N1: Making a local mini-heater
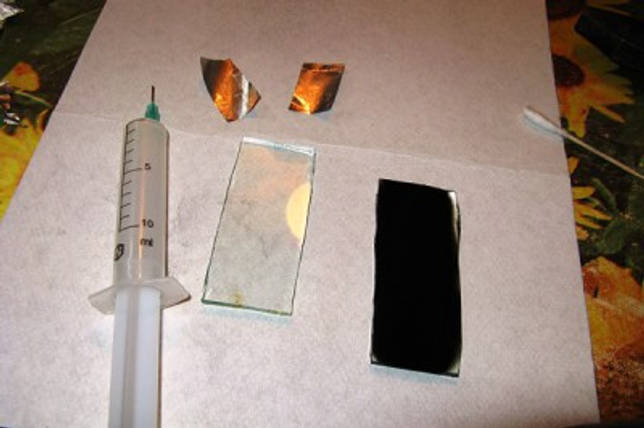
For this design, you will need two pieces of rectangular glass, metal foil, a paraffin or stearin candle, a block of wood (or a block of other dielectric material), an electrical cord with a plug, sheet metal for contacts.
The manufacturing procedure for such a mini heater is as follows:
- Take two identical pieces of rectangular glass, in this example the dimensions are 4 × 6 cm, but this is not critical, you can take another ratio, the main thing is that the area is about 25 cm2. Clean and degrease their surface.
-
Using a lit candle, gently apply a layer of soot to one surface of the glass. Keep an even coating and distribution of soot, as it will act as a conductive material.
Figure 1: elements for making a heater
- Using a cotton swab or ear stick, clean the edge of the smoked glass, approximately 5 mm.
- Cut a piece of foil the same width as the sooted glass surface. In length, it should protrude 3 - 4 cm beyond the edge of the glass. Lay the foil on the glass.
-
Coat the edge of the glass with sealant and align the two halves together with the foil in between.
Rice. 2: match two glasses
Bend the edges of the foil under the glass to one side.
Fix metal contacts on a wooden block and solder the ends of electrical wires with a plug to them. Install the glass on the bar - the heater is ready.
Rice. 3: fix the pins on the wooden block
It should be noted that the maximum temperature of such a heater should be about 40ºС. Naturally, it will not work to heat a house, a summer house, a garage with such a home-made heater; it is suitable for heating tents, a work area in front of a workbench, or other space directly in front of the work surface. If the device gets too hot, you will need to reduce the resistance of the conductive elements, for this you can use a thicker foil or increase the thickness of the soot.


Idea # – Compact model for local heating
The easiest way to make an electric heater is this one. To get started, prepare the following materials:
- 2 identical rectangular glasses, about 25 cm in area
2
each (for example, 4 * 6 cm in size);
- a piece of aluminum foil, the width of which is not greater than the width of the glasses;
- cable for connecting an electric heater (copper, two-wire, with a plug);
- paraffin candle;
- epoxy adhesive;
- sharp scissors;
- pliers;
- wooden block;
- sealant;
- several ear sticks;
- clean rag.
As you can see, the materials for assembling a homemade electric heater are not at all scarce, and most importantly, everything can be at hand.So, you can make a small electric heater with your own hands according to the following step-by-step instructions:
- Thoroughly wipe the glass with a cloth from dirt and dust.
- Using pliers, gently grab the glass by the edge and burn one of the sides with a candle. The soot should evenly cover the entire surface. Similarly, you need to burn one of the sides of the second glass. In order for carbon deposits to settle on the surface better, it is recommended to cool the glass before assembling the electric heater.
- After the glass blanks have cooled, carefully clean the edges with the help of ear sticks no more than 5 mm around the entire perimeter.
- Cut out two strips of foil, exactly the same width as the smoked area on the glass.
- Apply glue to the glass over the entire burnt surface (it is conductive).
-
Lay the pieces of foil as shown in the photo below. Then apply glue to the other half and connect them.
- Then seal all connections.
- Using a tester, independently measure the resistance of a homemade heater. After that, calculate its power using the formula: P \u003d I
2
*R. We talked about how to use a multimeter in the corresponding article. If the power does not exceed the allowable values, proceed to the completion of the assembly. If the power is too high, you need to redo the heating element - make the layer of soot thicker (the resistance will become less).
- Glue the ends of the foil to one side.
-
Make a stand out of a bar by installing contact pads connected to an electrical cord on it.
Here, using this technology, you can make an electric mini DIY heater. The maximum heating temperature will be about 40
about
, which will be quite enough for local heating. However, for heating a room, such homemade products will, of course, be small, so below we will provide more efficient options for homemade electric heaters.
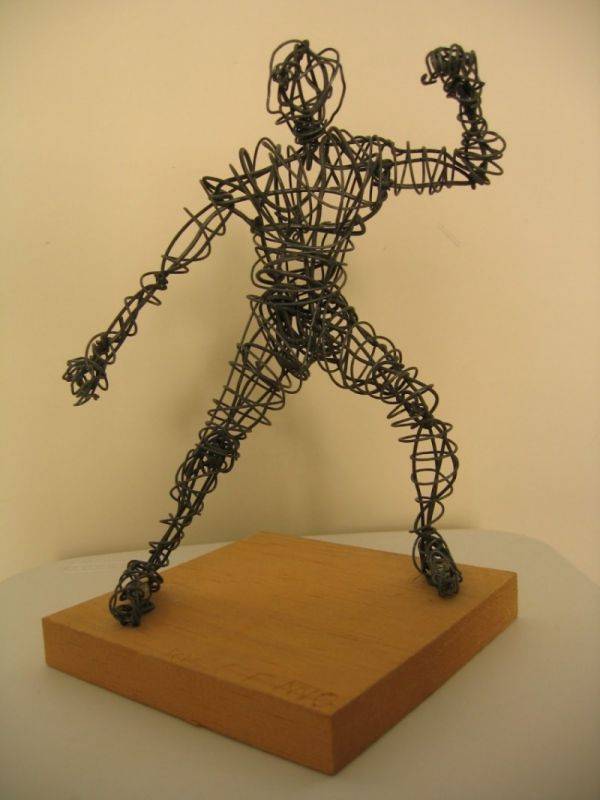
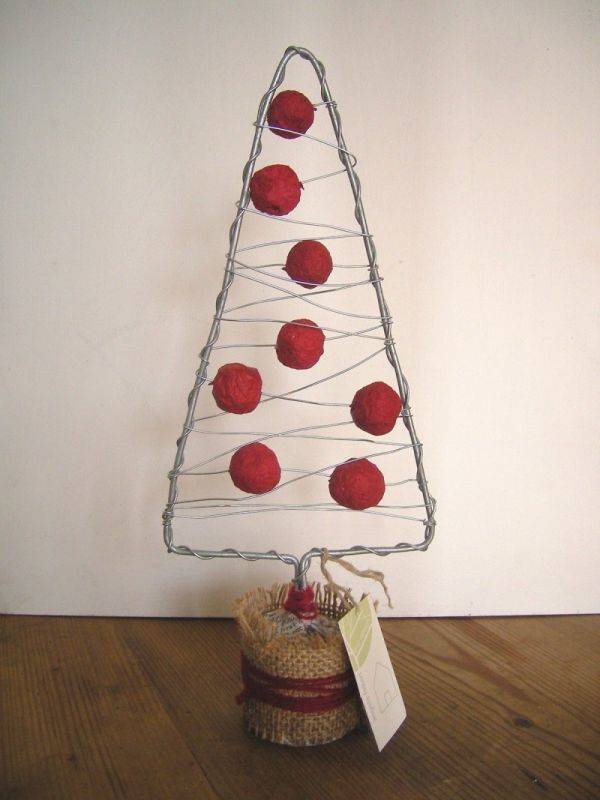
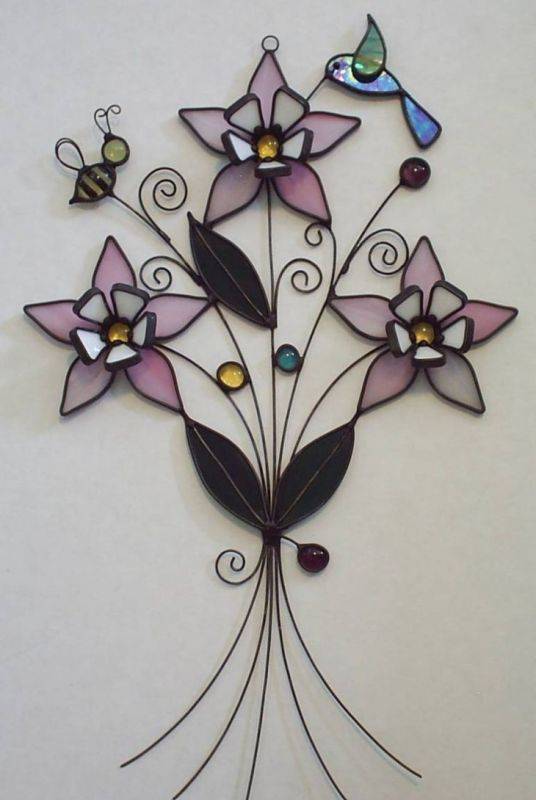
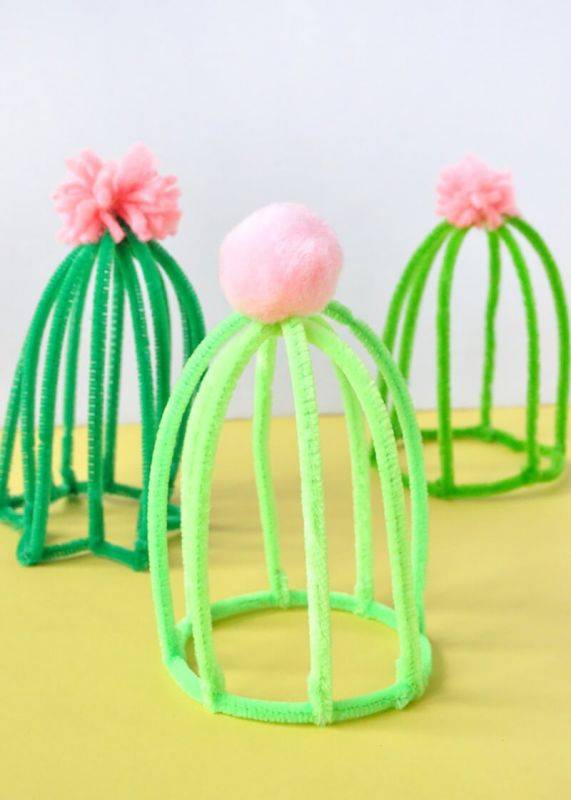
Advantages of wire crafts
Products made of thin wire have a number of advantages that have determined the particular popularity of this technique among needlewomen:
- The strength of manufactured products.
- Beautiful appearance.
- The metallic sheen of the surface gives a certain charm to all crafts.
- In some types of work, special skills are not required from the master (for example, simple wire weaving).
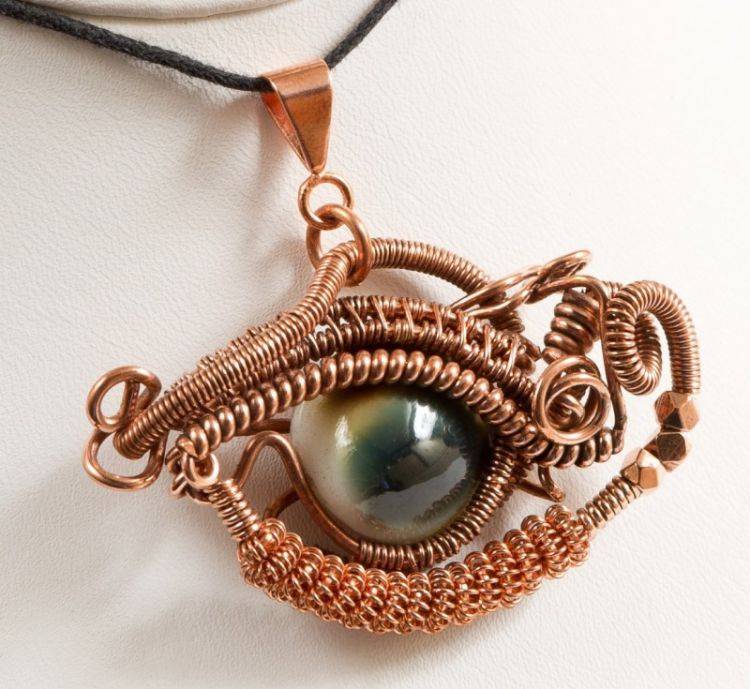
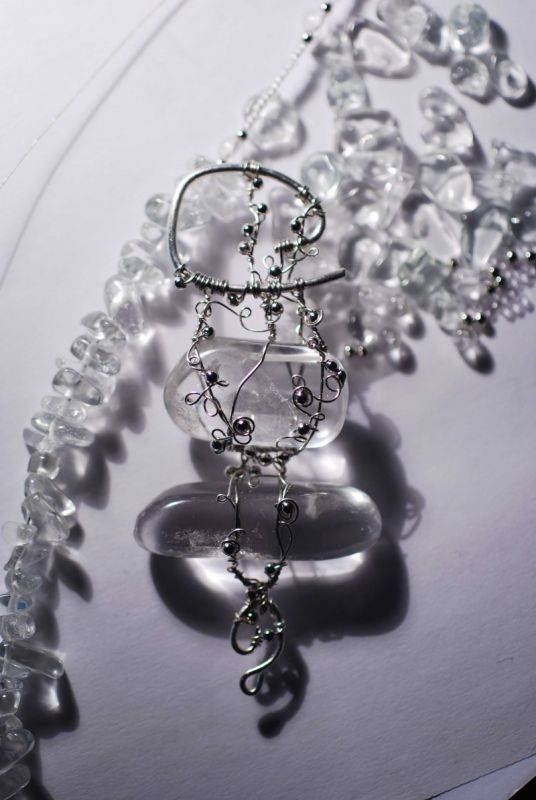
To date, new types of wire have appeared that allow you to create stylish jewelry and fashion accessories using a minimum of decorative elements.
For example, fluffy wire crafts can be presented as a gift immediately after production. The surface of the material is already decorated for the convenience of the master.


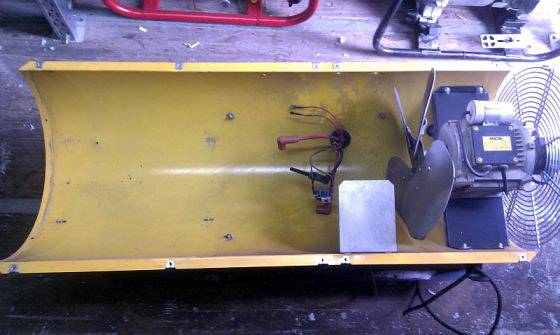
Fan made of two plastic bottles
This design is more complex, requires a more serious approach in manufacturing. The result is a great way to make a sort of tabletop or floor standing DIY fan.

For the manufacture we need:
- two bottles of different sizes - 0.5 and 1.5 liters;
- small motor type 12 V DC;
- 7 thick tubes for drinks;
- power supply and connector to it;
- CD disk;
- hot glue and superglue;
- switch;
- plastic ties.

Accessories:
- marker;
- scissors or knife;
- insulating tape;
- soldering iron;
- wire cutters.

From a bottle with a smaller volume, we cut the blades, as indicated above.We make a hole in the center of the cork with a hot awl or nail. We put the cover on the engine and fix everything with hot glue.


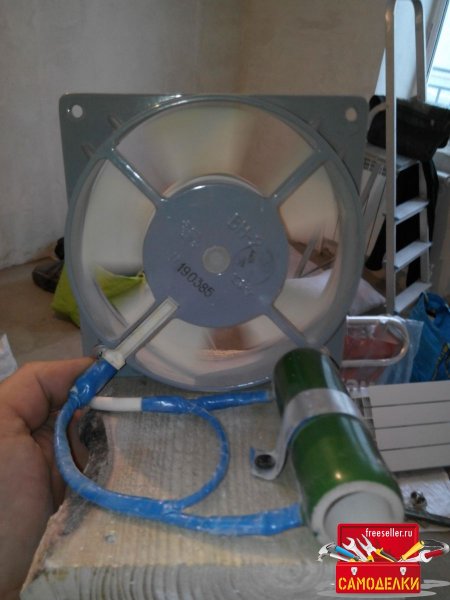


We build a stand. We firmly glue the drinking tubes together with superglue - this is our future rack. We cut out the upper part from the second bottle and insert the glued tubes up to the middle of its length, not forgetting to fix the connection with superglue.

We install the engine with blades on a rack of tubes, additionally again smearing everything with hot glue. We hide the wires in tubes, so they are inside the rack. We fasten the design of the engine and the rack with plastic ties, gluing them along the tubes with hot glue and cutting off the remaining excess edges.


For weighting and stability of the base, we construct a bottom from a disk. To do this, simply glue the disc with the edges of the plastic bottle with hot glue.

We connect the power supply to the connector, and now - the fan is ready to work!

Operating tips
In order for a homemade winch to serve for a long time, you need to follow a few simple rules:
- The device must always be secured to the base or support as securely as possible.
- Bearings and other moving parts should be lubricated regularly. You can use liquid or thick lubricants.
- Before operation, check the operability of all components.
- The winch must be installed so that the load is in the field of view of a person.
- The maximum permissible load must not be exceeded. This is fraught with a cable break, breakage of the winch itself and injury to people.
- Do not touch the rope while lifting the load.

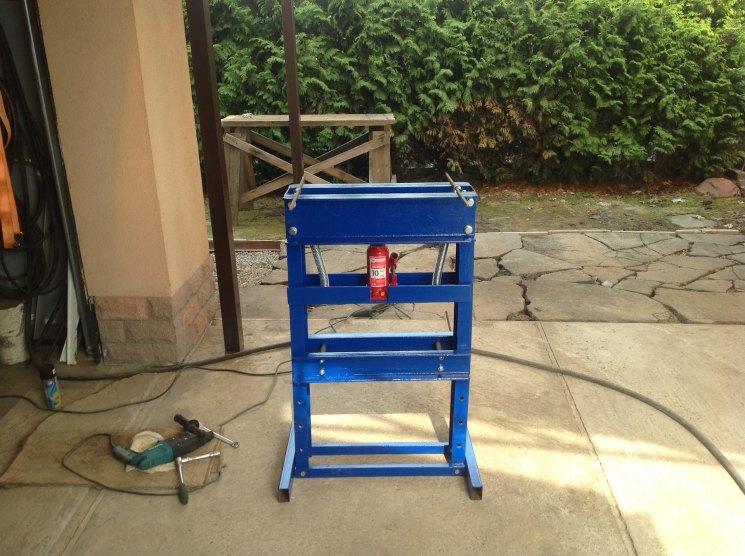
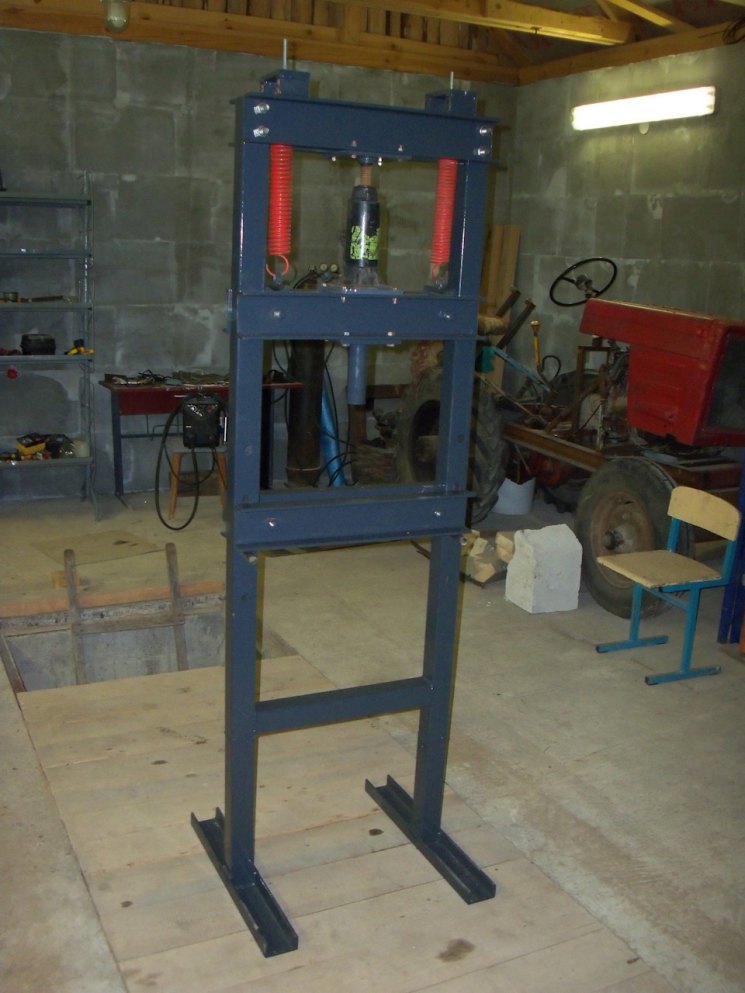
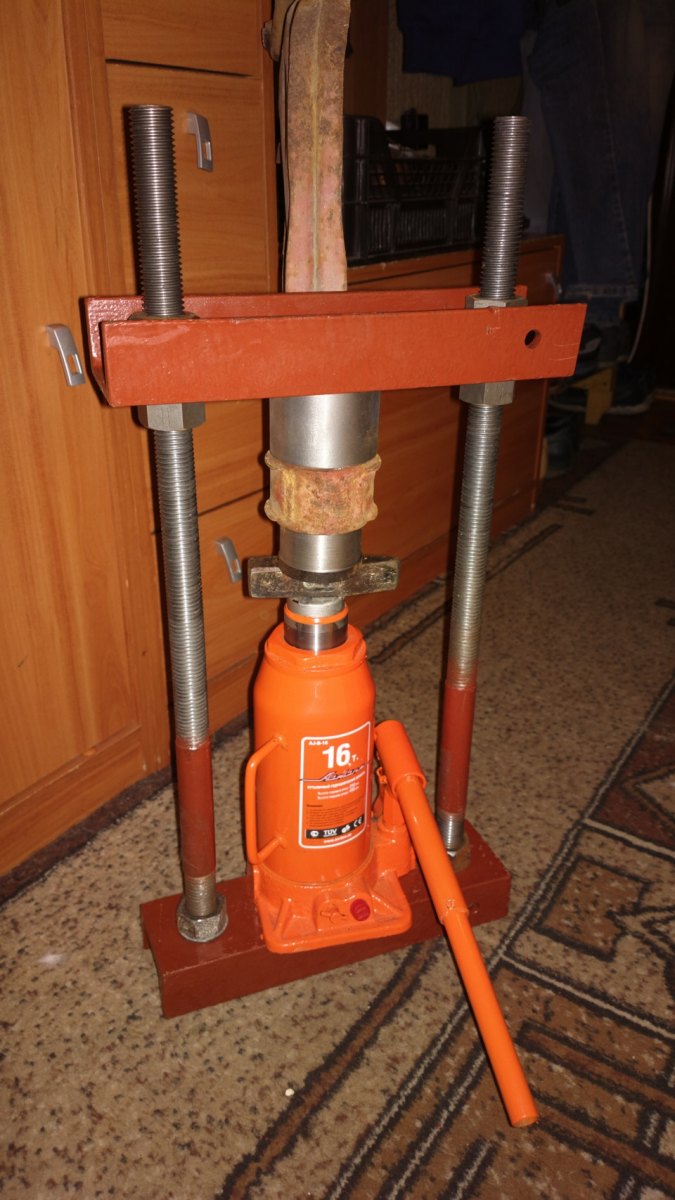
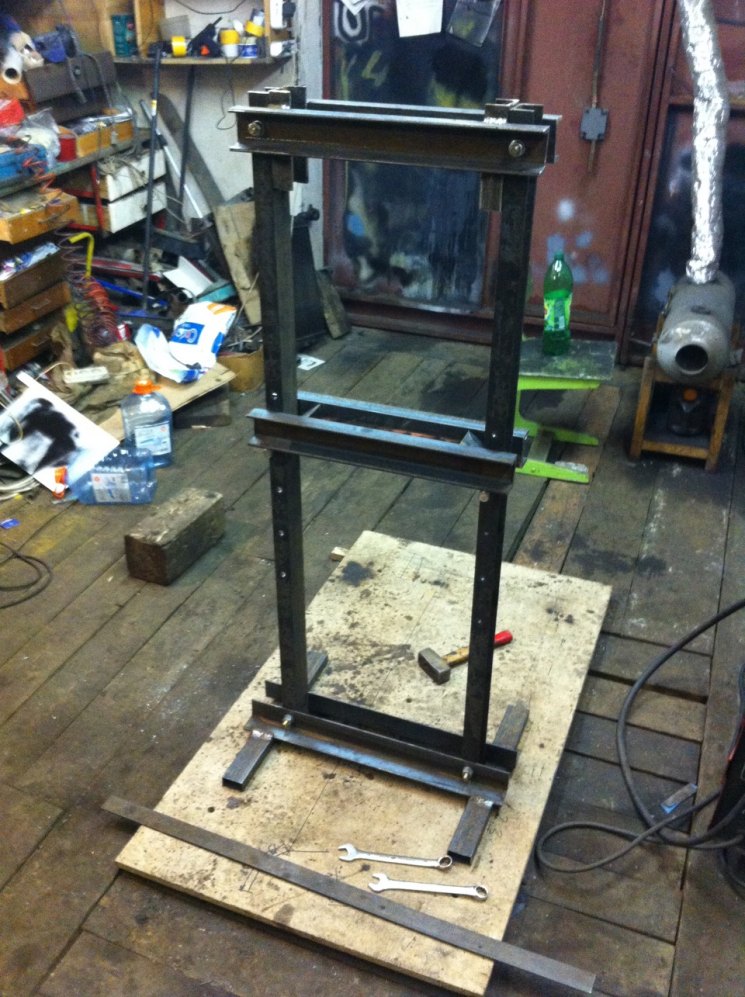
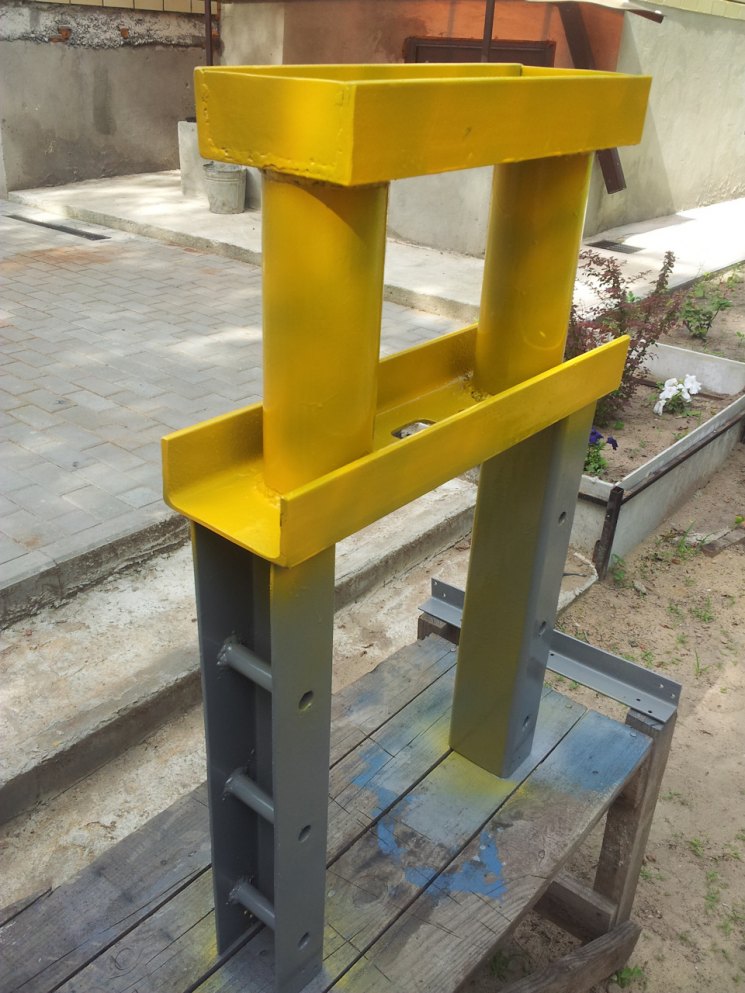
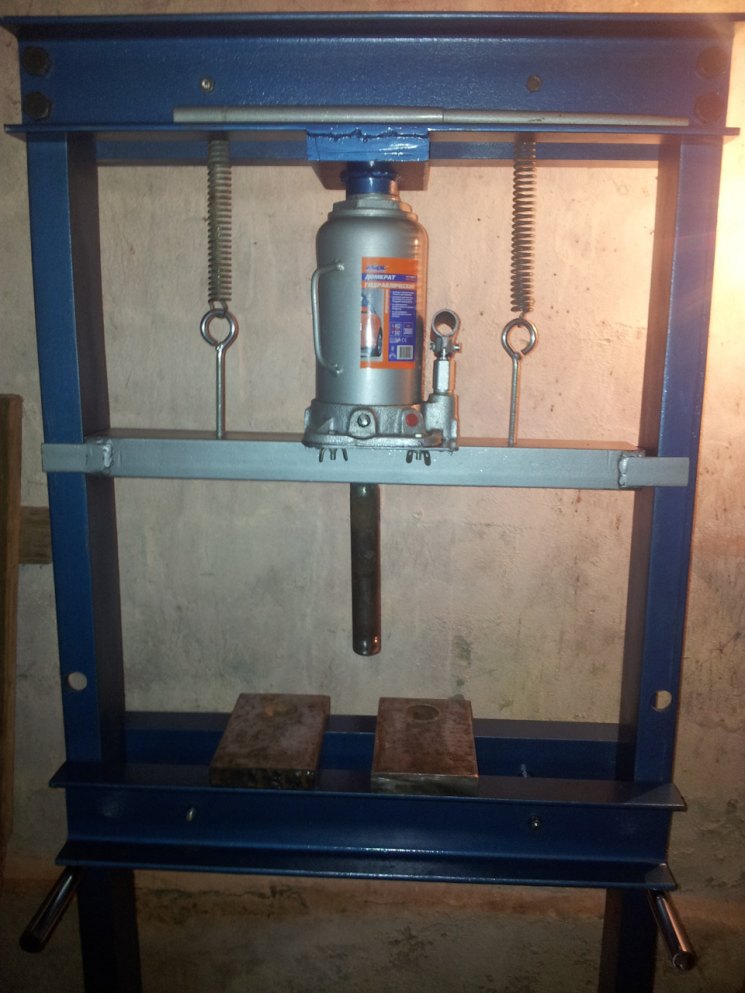
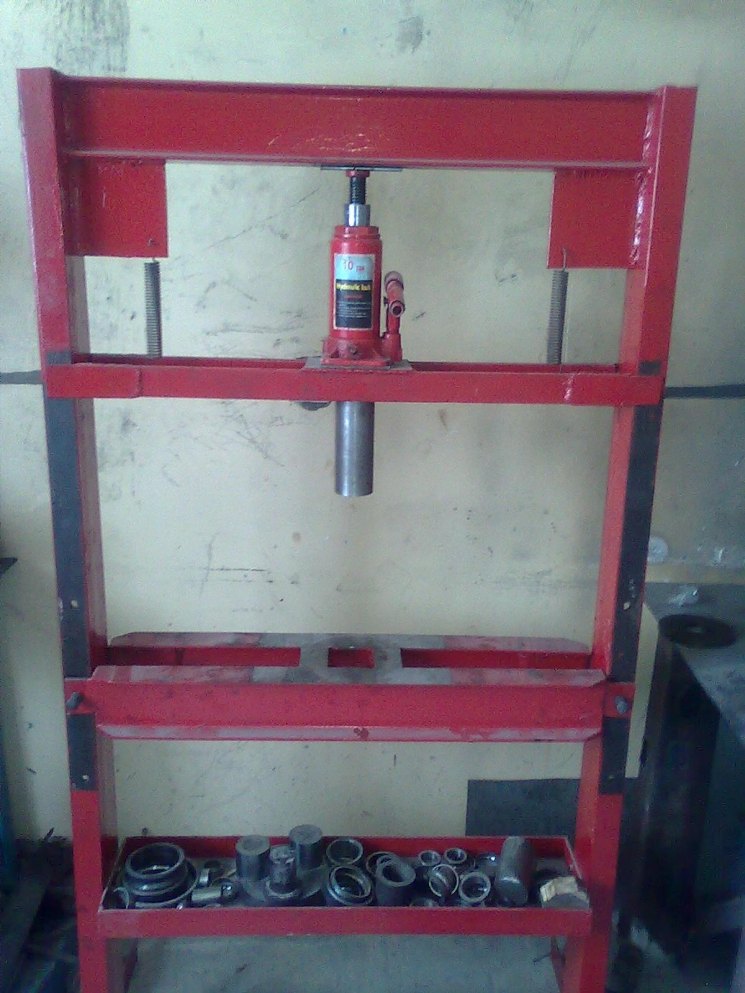
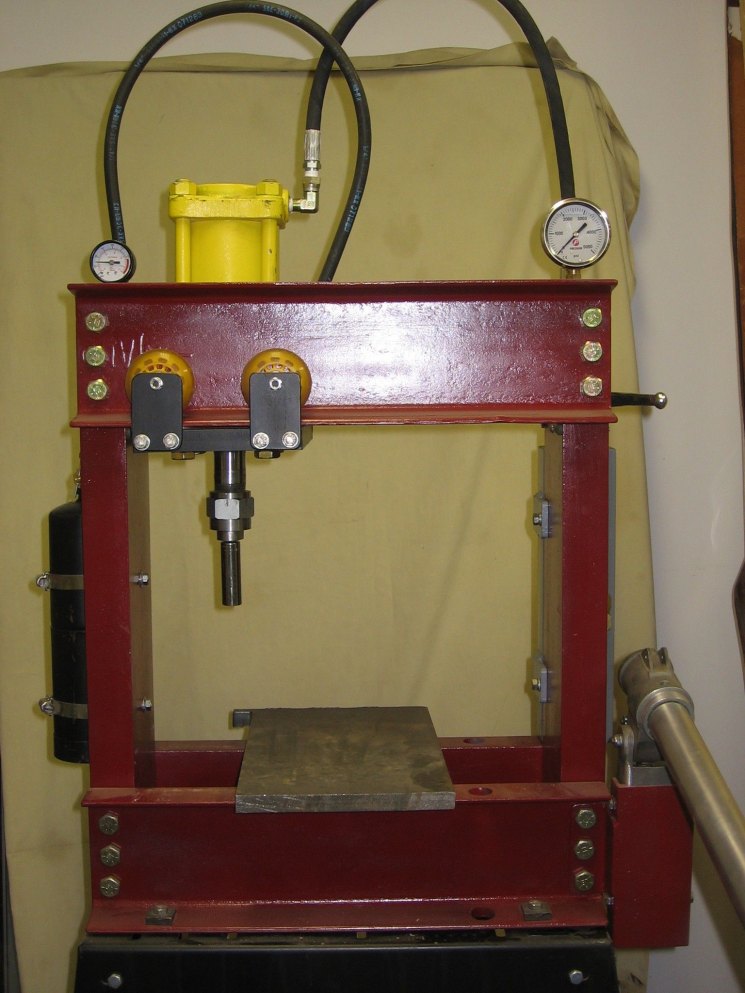
Press for wringing
This is the best way to process the grown crop. A juicer can not always cope with the processing of fruits. Especially if the amount of work to be impressive.
How to make a juice press with your own hands? Before answering this question, let's analyze what models are. The equipment for wringing is usually divided into the following types:
- mechanical;
- hydraulic;
- pneumatic.
The last two types can have both manual and electric drive.
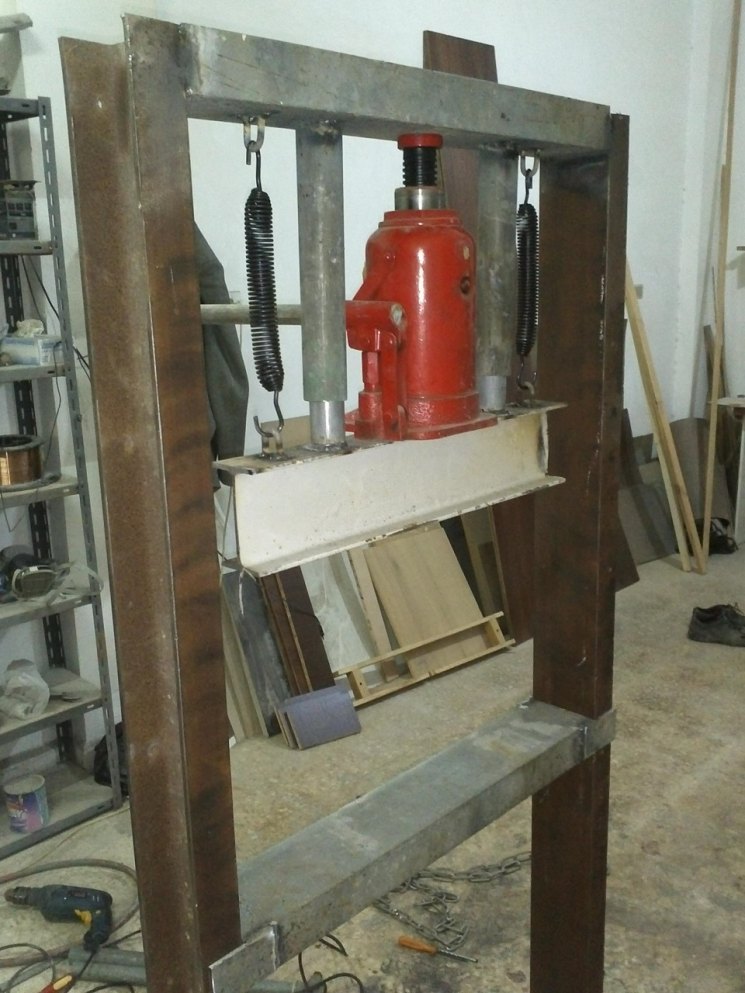
Here is an instruction from the series “make a do-it-yourself wringer press”:
- Prepare a container of the volume you need for chopped fruits. A drum from an old washing machine will do. Drill a series of holes on its walls.
- Find a larger container, but without a bottom. Also make holes in it.
- Insert one vessel into another, placing a block of wood between their walls.
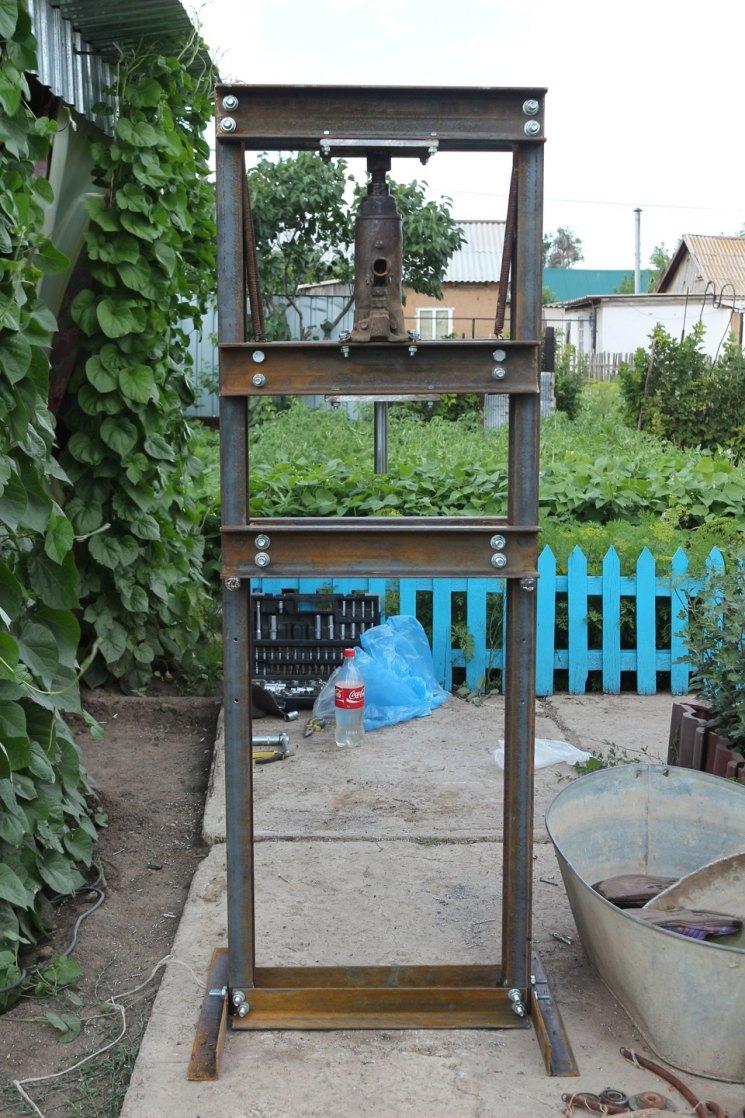
- Make a U-shaped frame from lumber. On its crossbar, install a thick metal circle and securely fix it.
- Place both containers inside a large plastic basin, in the bottom of which make a hole for draining the squeezed liquid. Don't forget to secure the tube itself.
- Concrete the frame. Install the resulting structure on its body.
- Prepare a container for collecting juice and lower the free end of the tube into it. The simplest pneumatic device is ready!
Having assembled the press with your own hands, you will receive exactly the equipment that you need. And if you take the time to choose the right materials, the device will serve you for many years.
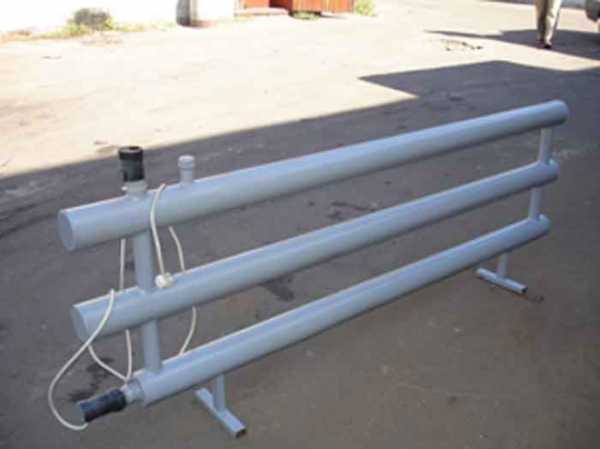
Manufacturing instructions
Blueprints
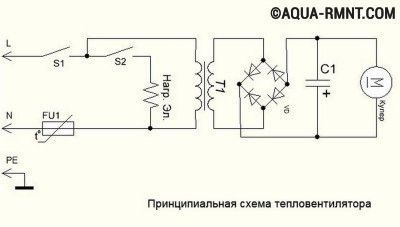
Figure 1. Electrical induction heater circuit
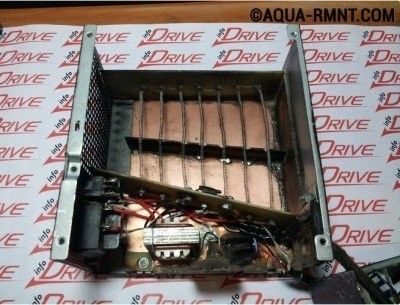
Figure 2. Device.


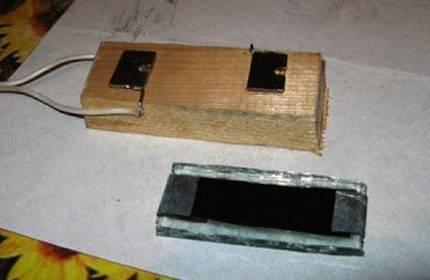


Figure 3. Scheme of a simple induction heater
For the manufacture of the furnace you will need the following materials and tools:
- soldering iron;
- solder;
- textolite board.
- mini drill.
- radioelements.
- thermal paste.
- chemical reagents for board etching.
Additional materials and their features:
- To make a coil that will emit an alternating magnetic field necessary for heating, it is necessary to prepare a piece of copper tube with a diameter of 8 mm and a length of 800 mm.
- Powerful power transistors are the most expensive part of a homemade induction setup. To mount the frequency generator circuit, it is necessary to prepare 2 such elements. For these purposes, transistors of brands are suitable: IRFP-150; IRFP-260; IRFP-460. In the manufacture of the circuit, 2 identical of the listed field-effect transistors are used.
- For the manufacture of an oscillatory circuit, ceramic capacitors with a capacity of 0.1 mF and an operating voltage of 1600 V will be needed. In order for a high-power alternating current to form in the coil, 7 such capacitors are required.
- During the operation of such an induction device, the field-effect transistors will be very hot and if aluminum alloy radiators are not attached to them, then after a few seconds of operation at maximum power, these elements will fail. Putting transistors on heat sinks should be through a thin layer of thermal paste, otherwise the efficiency of such cooling will be minimal.
- The diodes that are used in the induction heater must be of ultra-fast action. The most suitable for this circuit, diodes: MUR-460; UV-4007; HER-307.
- Resistors used in circuit 3: 10 kOhm with a power of 0.25 W - 2 pcs. and 440 ohm power - 2 watts. Zener diodes: 2 pcs. with an operating voltage of 15 V. The power of the zener diodes must be at least 2 watts. A choke for connecting to the power outputs of the coil is used with induction.
- To power the entire device, you will need a power supply unit with a capacity of up to 500. W. and a voltage of 12 - 40 V. You can power this device from a car battery, but you will not be able to get the highest power readings at this voltage.
The very process of manufacturing an electronic generator and coil takes a little time and is carried out in the following sequence:
- A spiral with a diameter of 4 cm is made from a copper pipe. To make a spiral, a copper tube should be wound onto a rod with a flat surface with a diameter of 4 cm. The spiral should have 7 turns that should not touch. Mounting rings are soldered to the 2 ends of the tube for connection to the transistor radiators.
- The printed circuit board is made according to the scheme. If it is possible to supply polypropylene capacitors, then due to the fact that such elements have minimal losses and stable operation at large amplitudes of voltage fluctuations, the device will work much more stable. The capacitors in the circuit are installed in parallel, forming an oscillatory circuit with a copper coil.
- The heating of the metal occurs inside the coil, after the circuit is connected to a power supply or battery. When heating the metal, it is necessary to ensure that there is no short circuit of the spring windings. If you touch the heated metal 2 turns of the coil at the same time, then the transistors fail instantly.
Zherlitsy
Fans of winter fishing know the price of zherlits. With the help of such gear, you can ensure good pike fishing.For this reason, fishermen do not skimp on the purchase of finished products, and are also willing to take the time to create excellent vents on their own.
Making them is easy:
- The sewer PVC pipe is taken as a basis, the diameter of which is 32 mm.
- The pipe is cut into segments 10-15 cm long.
- Irregularities of cuts are eliminated by processing them with a file.
- Three holes are drilled in the pipe (two holes are needed to install the tripod, and one is for the fishing line stopper).
- The stopper is created in the form of the letter "P".
- A ring is formed from the fishing line, which is threaded through two opposite holes, and then this ring is strung on a metal rod, previously driven into the ice.
- Ten meters of fishing line are wound around the pipe, to the end of which a hook and a load are attached.
- Red tape is fixed at the suspension point, which will act as an indicator of pike biting.
The process of making a variety of interesting homemade products for fishing can be viewed on the video. It clearly demonstrates the entire process of making baits, traps with their own hands. Each fisherman, armed with diagrams and drawings, will be able to surprise not only those around him, but also himself with created products that provide a good catch.
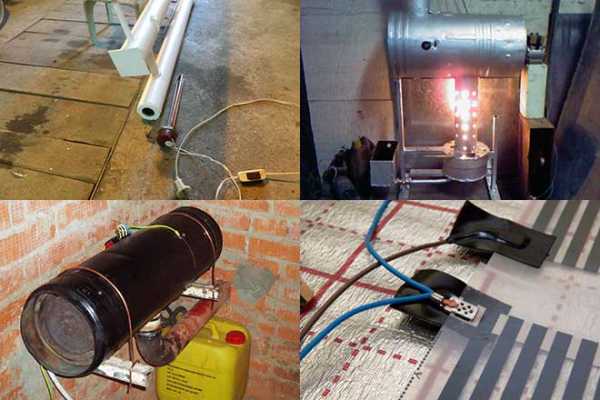
How to make a gas gun with your own hands - step by step instructions
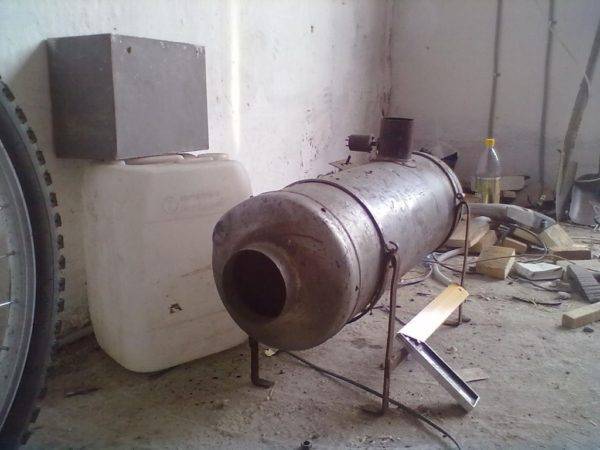
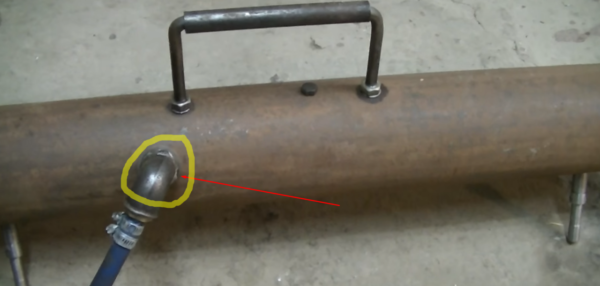
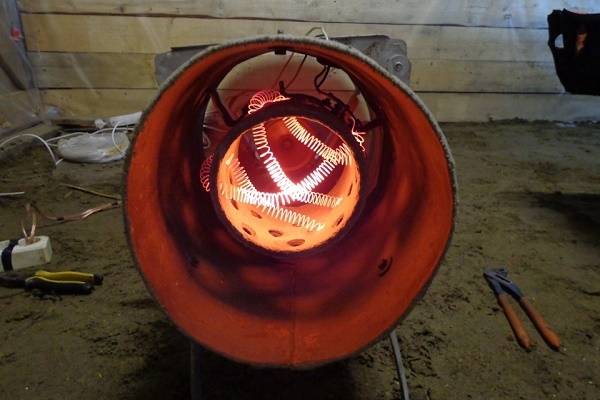
Knowing the principle of operation of the simplest gas gun, you can understand that making the same design at home on your own will not be a problem. The main thing is to choose accessories. As a body, you can use either a piece of a pipe galvanized on the outside, with a diameter of 100 mm (recommended - 200 mm), and any primus is suitable as a burner (preferably with adjustable intensity of fuel supply to the burner).All this can be purchased at a building or household goods store.
Another nuance is forced convection. With a powerful gas flow, it is not necessary to install a system that will independently blow out heated air. The main thing is to use a pipe not with soldered ends, because in this case the air flow is created automatically (due to the difference in air temperatures at the ends of the cylinder).
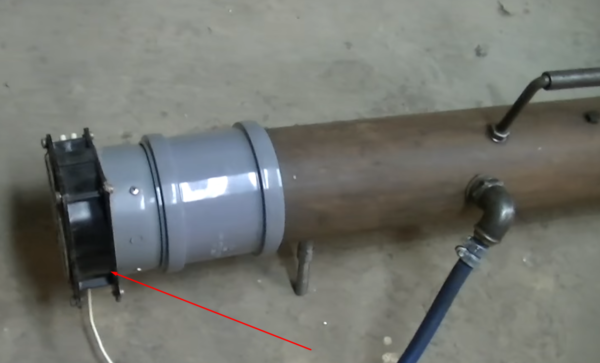
If convection is still necessary, then an ordinary household fan is simply installed from the back of the pipe. The main thing is to adjust the speed of the blades in such a way that the generated air flow does not lead to the extinguishing of the burner. As a rule, 200 - 300 rpm is enough.
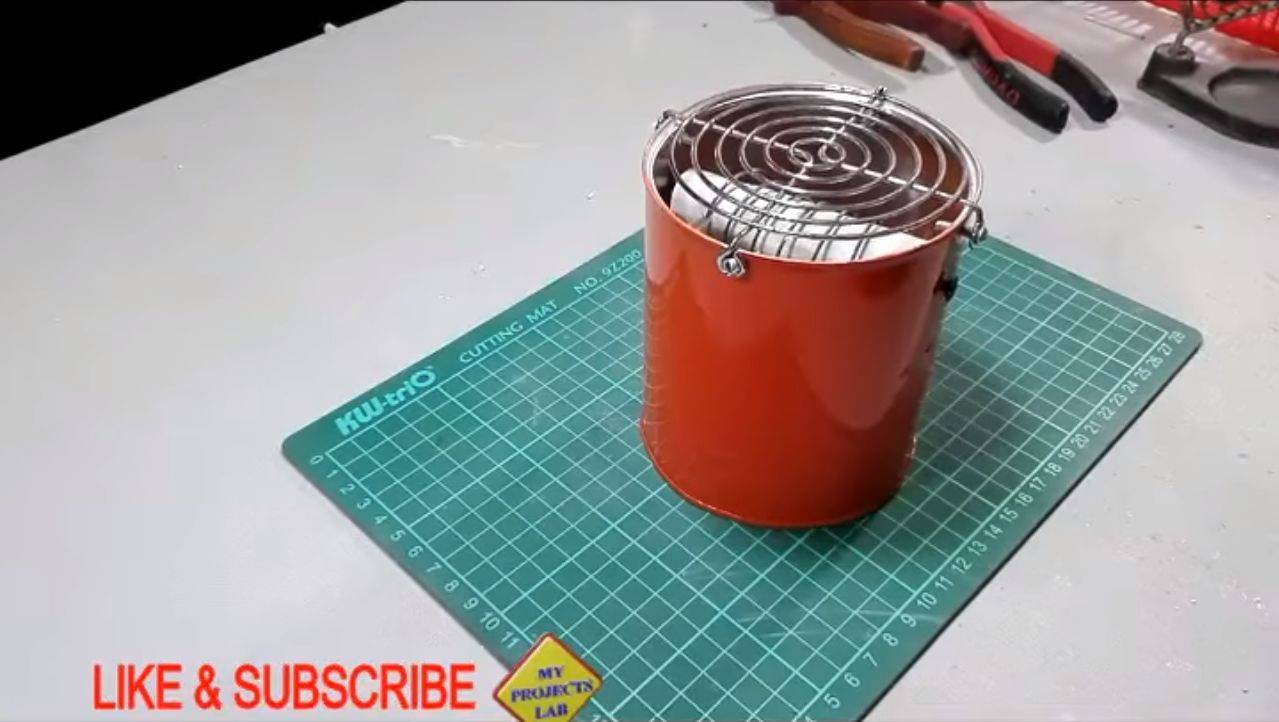
Total, to create a gas do-it-yourself guns necessary:
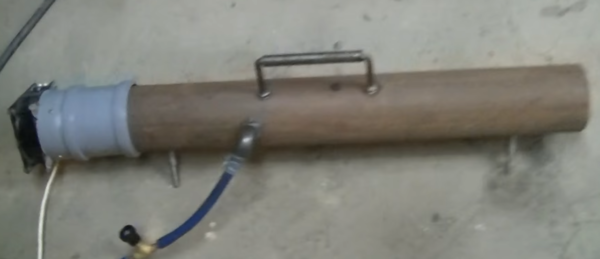
Step 1. Choose a suitable case. Ideally, a steel pipe with a diameter of 200 mm and a length of at least 80 centimeters.
Step 2. In the upper part of the pipe, prepare a hole for installing a nozzle with a burner. It can be done with a step drill. The standard entrance under the nozzle is about 25 mm (then you can also put a water tap, but it is recommended to use a gas one - they are structurally different).
Step 3 Mount the burner. All this is fixed on a washer or coupling, which is tightened outside the pipe. A refractory sealant (automotive, the one used when installing gaskets in the cylinder block) must be added under all fasteners to avoid gas leakage and reverse thrust in the combustion chamber.


Step 4. If necessary, mount a fan behind the pipe.It is not necessary to make everything airtight, the main thing is to create a directed air flow.
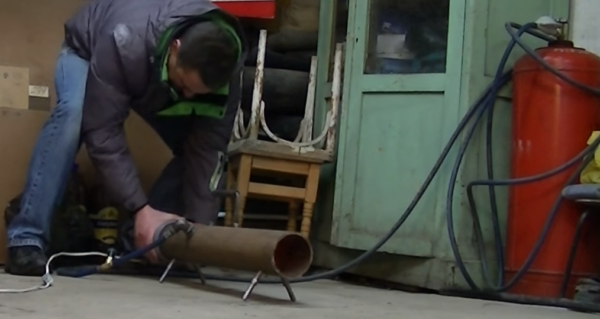
Step 5. Connect the resulting gun to a gas source (propane or methane - depending on the type of burner installed) and conduct a test run. Auto-ignition in such a system, of course, is not provided, so the burner will need to be started manually.
During a test run, the most important thing is to make sure that there is no gas leakage (recheck all connections), as well as that the burner is heating up normally (it should not overheat, become covered with soot or turn red).
Test run and performance checks are carried out outdoors, not indoors. But it should be remembered that such devices are very dangerous, therefore, without proper experience, trying to make them yourself is not the best solution. And when working with them, someone must be nearby so that in the event of any breakdown, immediately turn off the device.

You should not use self-made heat guns for heating. They are better suited for quickly drying a room or for heat treatment of surfaces (for example, to combat mold and fungus).

Winch classification
Winches are divided into several types according to the following criteria:
- design;
- connection type;
- technical features.

Depending on the design and drive, the following types are distinguished:
- Manual. Has small dimensions. Usually equipped with a drum rotated by hand using a crank. Not suitable for scales over 1 ton.
- Mechanical. It does not have its own drive, therefore it is connected to a separate motor. Differs in big weight, is not applied in cars.
- Electric. The most comfortable and practical model.The drum is rotated by an electric motor. Can lift up to 4 tons.
- Hydraulic. Features a complex structure, quiet operation, high power and load capacity,

They are also fixed and removable.

Wobbler
A wobbler is an expensive bait, which not every spinning player can afford to buy. But everyone can create a homemade wobbler - this requires only the desire to create and create.
This process cannot be called complicated, and there is no need to look for special equipment. All actions are simple.
A wobbler can be obtained from two symmetrical parts that are cut out of wood or plastic. You can also use foam, but such material will be significantly inferior in terms of strength. Cut out details can be decorated if the fisherman feels the need.
The next step is to create fasteners for rings and hooks. To do this, use thin sheets of stainless steel. These mounts are fixed in the holes of the two parts of the bait. Next, both of these parts are smeared with glue and pressed tightly against each other.
After the glue has completely dried, a special cut is made, as in the photo, for the front blade, which is also glued to the structure.
It remains to fill the voids with epoxy, and then show design inclinations, decorating the wobbler at your own discretion.
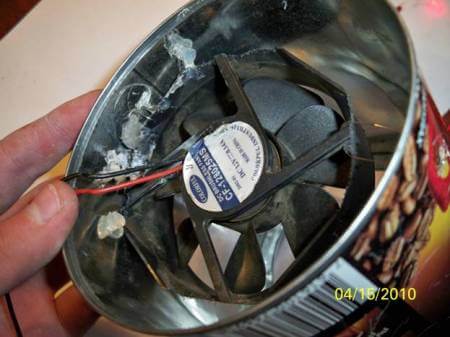
Disc construction
This device is more complex than the one made from a cooler. For manufacturing, we need a motor with a protruding iron rod. These motors can be taken from an old toy, VCR or player (the latter option is the most suitable, because it is the player that has a standard disc attachment). We connect the motor with the wires in the above way.


We cut the disk into eight future blades; when cutting, we do not reach the end of the inner edge. Slightly heat the disc to soften and bend the blades, like a conventional fan. Instead of a disc, you can use a plastic bottle.
We insert a cork from a bottle into the center of the blades, it is the cork that will be the connector of the motor and the blades
If the insert is too big, then carefully cut it with a knife
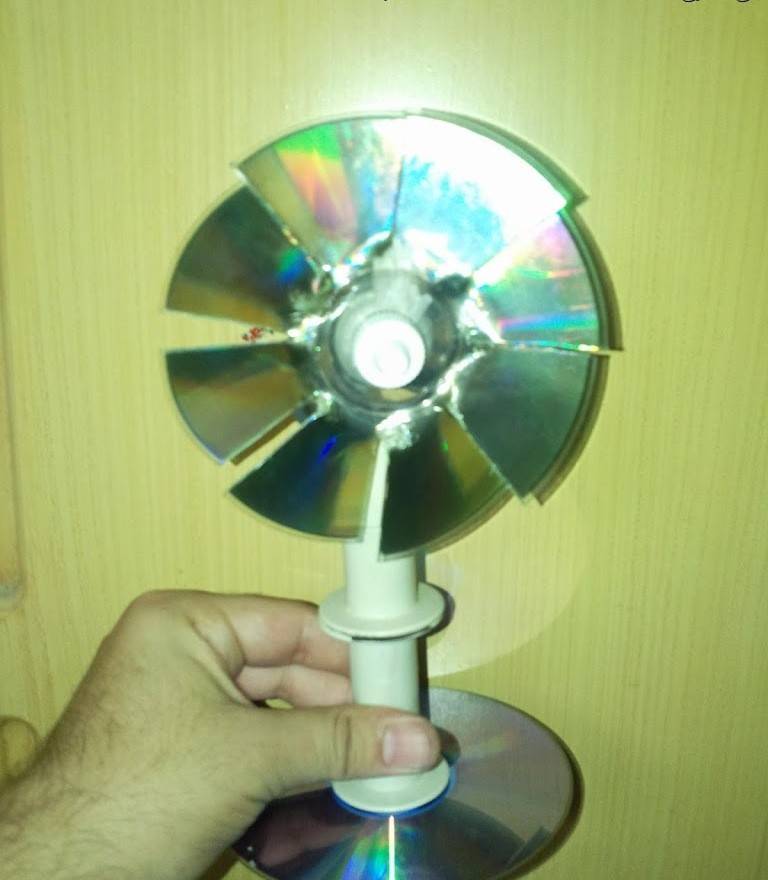
Having connected all the details, we supplement the finished structure with a stable stand. To do this, you can use a sleeve from a toilet paper roll and a second whole disk, which will serve as a common support.

To fasten parts to each other, it will be better to use high-quality glue, so that in the future the structure will last a long time and not crumble.

The main essence of the article
- Handicraft heaters have not become obsolete even in the conditions of saturation of the modern market with industrial heating equipment.
- The use of home-made heaters is prohibited by the current Fire Safety Rules, therefore, the responsibility for the consequences of their use lies entirely with the consumer.
- An electric heater made of a sectional cast-iron radiator based on a heating element is a durable, efficient unit, but not economical due to increased electricity consumption. However, given its relative safety compared to liquid-fuel devices, the device is made by craftsmen and is used in everyday life quite often.
- An electric heater made of a nichrome spiral on a ceramic brick frame is a device that can be self-made in a couple of hours without special professional skills.The efficiency of the device with its compactness depends on the spiral used, does not imply the efficiency of the unit, but is combined with a relatively low degree of risk of operation.
- The choice of a heater for home-made production should be based on a successful combination of three characteristics - a well-thought-out degree of safety, the necessary efficiency, and the competence of the manufacturer sufficient for assembly.


