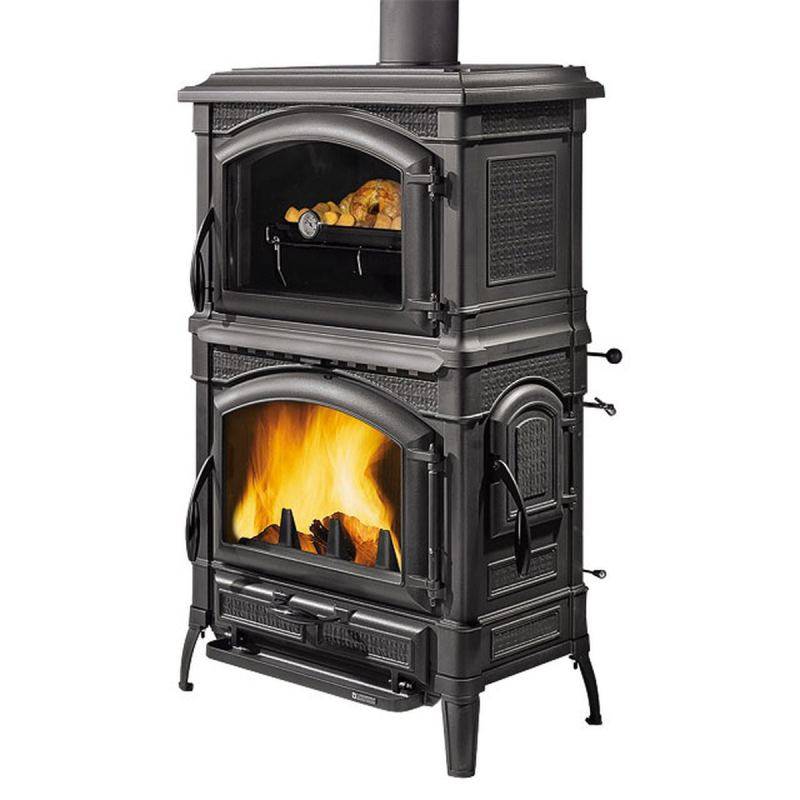
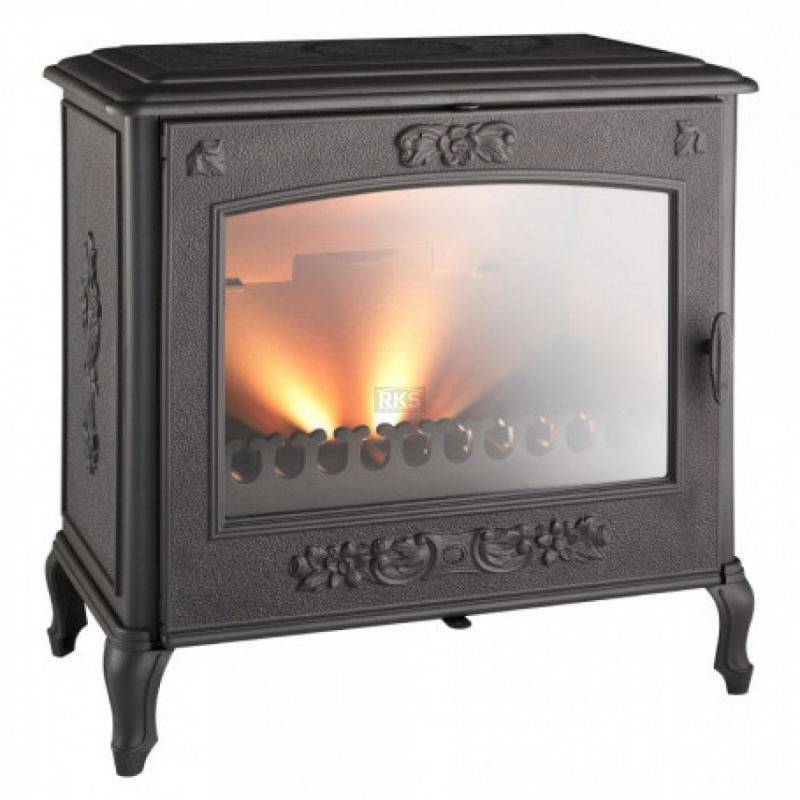
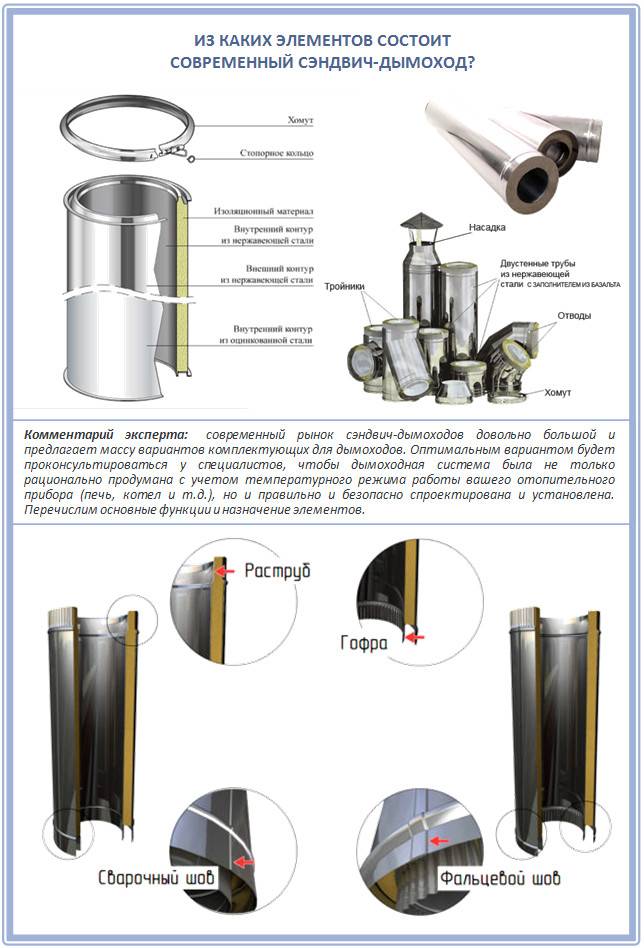
- Features of manufacturing and installation of products
- How to self-assemble chimney elements
- System installation
- The main difficulties of installing a chimney
- Negative consequences
- General conditions for passing through a wall
- Passage through a log wall
- Walking through a brick wall
- Loft
- Other Tips
- Installation rules
- Do-it-yourself installation
- What you need: tools and materials
- Installation rules
- Do-it-yourself installation
- Preparation for self-assembly
- The main stages of installation of a sandwich chimney
- We connect all the elements of the structure
- Let's secure the floors
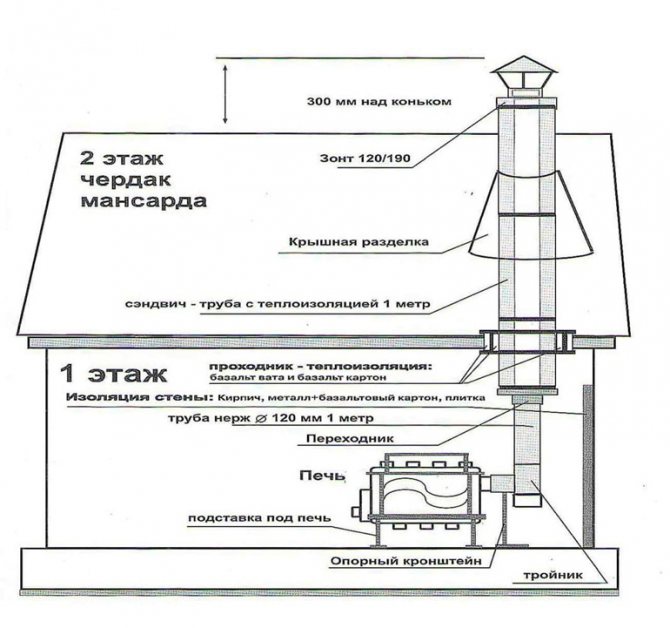
- We bring the pipe to the roof
- Design features
- Pros and cons of stainless steel chimneys
- Benefits of a stainless steel chimney
- Possible reasons for dissatisfaction
Features of manufacturing and installation of products
You can find a large number of products for chimneys on the market, but their cost is quite high, and such costs are far from always justified, especially if the system is made in a country house where savings are important. We will look at how to make a sandwich pipe with your own hands and carry out the correct installation of the system.
How to self-assemble chimney elements
In order to understand the process, consider the manufacture of a sandwich pipe with your own hands in the form of step-by-step instructions:
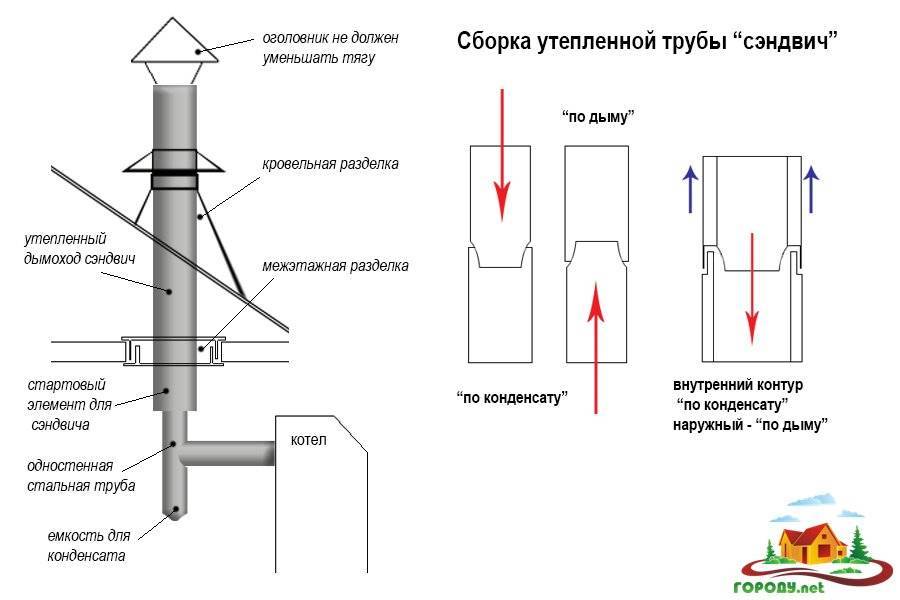
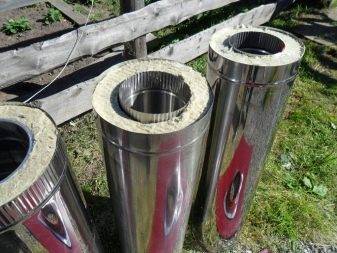
To begin with, a pipe for the internal cavity is purchased, the diameter of which is calculated based on the power and type of equipment. As a rule, the size is 100-120 mm, and for the most powerful equipment options - 150-180 mm. Larger diameters are used in industrial facilities, so it does not make sense to consider them.
It is best to purchase a pipe with ready-made fasteners, this will greatly simplify assembly and increase the reliability of the structure.
Next, you will need stone or basalt wool to insulate the inner element, the thickness may be different, but it is important to remember that the larger the layer, the safer the structure is, and the less the outer part of the element will heat up. (Cm
See also the article Pipe for a potbelly stove: features.)
The outer casing should be selected taking into account the inner pipe and the insulation layer, the resulting design should provide a dense location of the heat insulator. Most often, inexpensive galvanized steel is used, you can make pipes yourself, or you can buy them ready-made.
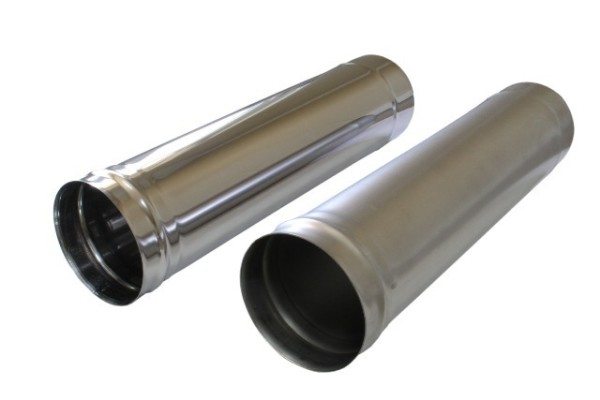
Stainless steel differs from galvanized steel in that the surface shines, moreover, its appearance practically does not change over the years.
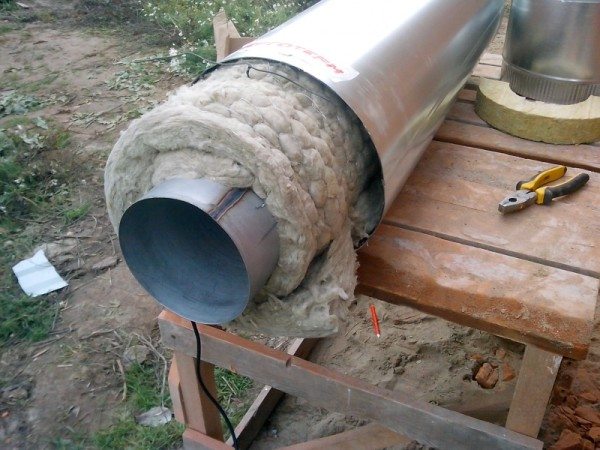
Loose fit of the insulation significantly reduces the insulating properties of products
As you can see, the manufacture of sandwich pipes is a fairly simple process, it is important that all elements fit together very accurately so that smoke and condensate do not penetrate from the inner chimney pipe into the insulation or even outside
For water heaters and small boilers, pipes with an inner diameter of 100 mm and an insulation thickness of 2 cm are perfect
System installation
This stage is also of great importance, since improper installation of a sandwich pipe leads to the penetration of smoke and condensate into the room and significantly reduces the service life of the structure. Unlike pipes for ventilation, much higher requirements are imposed on chimneys, and any violation can lead to a ban on the operation of the system by technical and fire control authorities.
Assembly is carried out in the following order:
- Installation is carried out from the bottom up, starting from the boiler. It is not recommended to isolate the pipe section near the boiler, moreover, this part must be removable, since it burns out faster than others, and it will have to be replaced much earlier than all the others.
- As you know, condensate collects inside the pipe, and in order to remove it at the turn of the pipe, you can put a tee on which to attach a funnel with a tap from below. Condensation will collect in it, and you can remove it easily and simply, which has a positive effect on the durability of the entire system.
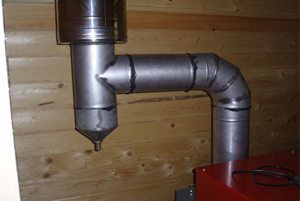
It is important to provide for a condensate removal unit
- The internal elements are installed with sockets up, this prevents the leakage of condensate. Each subsequent pipe is inserted into the previous one, due to which the liquid flows down into a specially designed moisture collector, from which the caustic condensate is subsequently removed.
- To ensure the best reliability of the joints, all mates are additionally treated with a sealant. Moreover, you need to use a heat-resistant version that can withstand temperatures up to 1500 degrees, most often the composition is red or black, and the temperature maximum at which the composition can be used is indicated on the package.
The sealing compound must withstand even the highest temperatures
- External pipes, on the contrary, are put on top of each other and fixed with self-tapping screws or rivets.
- If you need to fasten pipes to sandwich panels or other metal sheets, then it is best to use special clamps with the ability to adjust the distance from the wall.
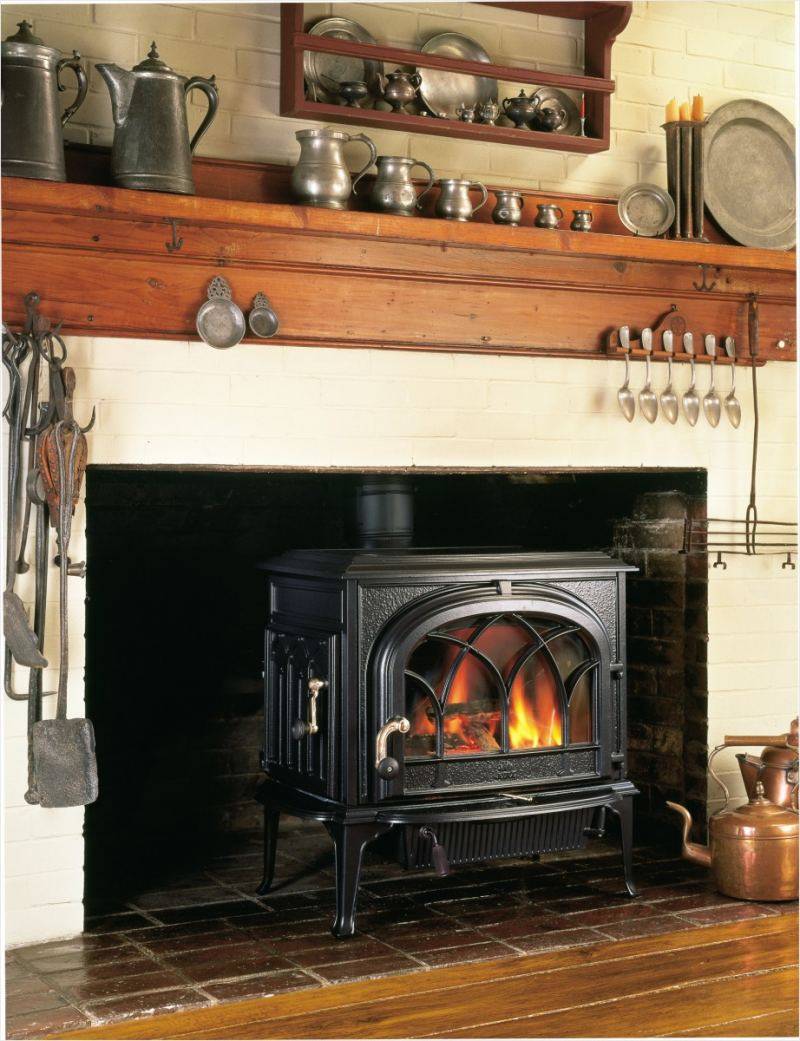
The main difficulties of installing a chimney
The chimney is used to discharge the products of combustion of various types of fuel (gas, coal, firewood, oil products, etc.). Its laying through the roof of the house should be carried out in accordance with the requirements of SNiP 41-01-2003, which are partially outdated. Nevertheless, this document is guided by the supervisory authorities, therefore, it is necessary to follow the standards specified in it.


A chimney outlet through the roof may be required in the following cases :
- when building a new house;
- in the process of reconstruction of the roofing system in the presence of a heating unit;
- when installing an autonomous source of heat supply in an already operated building.
If the construction of a building or the reconstruction of the roof allows you to design a chimney outlet taking into account all the requirements, then installing a chimney through a finished roof will create many problems. Usually this situation arises when the owners of the house want to install a fireplace or stove in an already finished building. If we are talking about an automatic boiler, it is recommended to create a separate extension for the boiler room, or to lead the chimney through the wall of the building.
The main difficulty in installing a chimney is that the roofing cake through which the pipe passes is largely composed of materials that are not designed for close contact with very hot objects. The composition of the roofing pie includes :
- roofing;
- crate;
- counterlattice;
- waterproofing;
- rafters;
- insulation;
- vapor barrier layer;
- inner lining.
Wood, bituminous and polymeric materials are sensitive to high temperatures, therefore, according to SNiP, the gap between the brick, concrete or ceramic chimney pipe in insulation and the elements of the roofing pie should be at least 130 mm. If the ceramic pipe is not provided with insulation, the clearance must be at least 250 mm. It should also be noted that at the point of passage through the roof, the pipe must have a special thickening - a retreat. Accordingly, in the roofing cake, it is required to make a hole of considerable size. The gap between the pipe and the roof after the installation of the flue must somehow be reliably thermally and waterproofed.
Negative consequences
A through hole in the roofing pie significantly reduces its performance and durability, since :
- violation of the integrity of the waterproofing and vapor barrier layers leads to wetting of the insulation, while the thermal insulation characteristics of cotton materials deteriorate significantly;
- due to the rupture of the thermal insulation layer, the heat losses of the house increase;
- in the under-roof space, air exchange may be disturbed, which provokes the accumulation of moisture and further decay of the wooden elements of the roof structure;
- the resulting gap not only contributes to the penetration of rainwater into the building, but also the formation of snow pockets in winter;
- if the truss system is broken in the process of making the hole, then this largely affects the strength of the roof.
To avoid problems, the passage of the chimney through the roof should be equipped by erecting its own rafter system (box) around it or by installing a standard modular chimney .

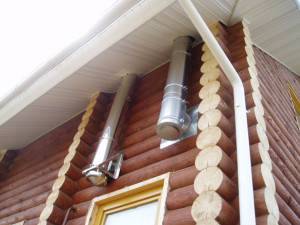
General conditions for passing through a wall
In fact, the arrangement of the transition through the wall or through the roof can be done at the design stage. That is, the designer has every opportunity to lay in the documentation the chimney passage through the wall. At the same time, he must and will be guided by the requirements of GOST, SNiP and SP on fire safety. Thus, the homeowner can be sure that this node will be completely safe.
When making a transition through a wall, it must be taken into account that next to the pipe there should not be engineering structures that are not protected from heat. The minimum distance to them should be about 400 mm. If it is not possible to provide this distance, then it is necessary to take measures for additional insulation of the pipe.
 The diagram illustrates how to pass a sandwich pipe through a wall.
Passage through a log wall
Before laying a chimney through a wall assembled from a log or timber, it is necessary to prepare a hole. If the building is just under construction, then, directly during the assembly of the crowns of the log house, using a gas or electric saw, cut a piece of log or timber in the laid crown. Its size must exceed the diameter of the chimney.
If a decision is made to pass the wall with a round hole, then before proceeding with its manufacture, it makes sense to drill a center hole, its presence will allow drilling using core drills or “ballerinas”.
Note: When arranging the transition node through the wall of a frame-panel house, it makes sense to pre-drill, and then markup. The hole can be obtained using a "ballerina" or an electric jigsaw.
The passage through the wall of a building built of logs is performed in the following ways:
- you can use a telescopic assembly, that is, several pipes made of heat-insulating material and with a diameter greater than the chimney. In this case, the pipes must be inserted into each other;
- the chimney can be led through the wall without the use of additional pipes, but the space between the walls and it must be lined with heat-insulating materials, such as basalt wool.
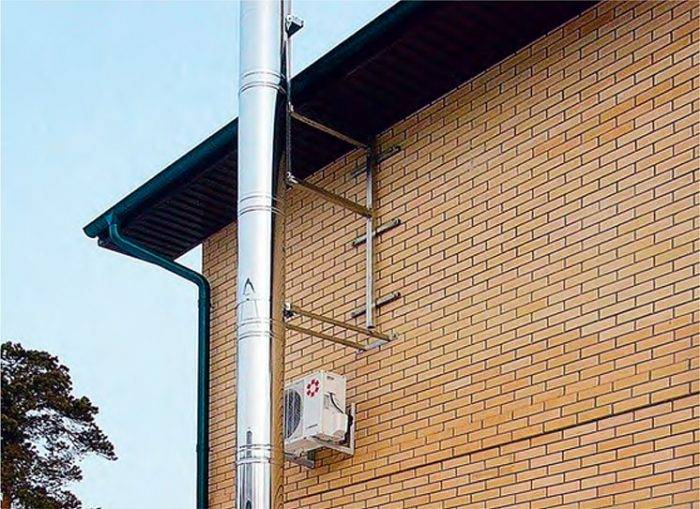
Walking through a brick wall
For arranging the transition through a wall built of bricks or blocks, with different fillers. Before you perform its penetration, it is necessary to carry out the markup. For these purposes, it is advisable to use a laser measuring tool. In this case, errors will be minimized. When making a hole, it must be remembered that such a deformation of the load-bearing wall can lead to cracks. Therefore, builders must provide measures to prevent their formation, for example, install a pre-prepared frame in it, which will prevent subsidence of the wall structure.
- the installation itself is carried out in several operations:
- a pipe must be installed at the exit from the boiler;
- install a tee with a valve built into it;
- after installing the tee, pass the sandwich pipe through the previously prepared hole and connect it to the tee.
The space around the pipe must be filled with refractory material. At the inlet and outlet of the pipe, it is necessary to install shields that cover the transition. This shield can be made in several modifications, for example, it can be made of an asbestos sheet and a sheet of stainless or galvanized steel attached to it from above.
Subsequently, the chimney can be assembled as a children's designer. After the wall is passed, work begins on fixing the chimney to the wall.
The homeowner, when installing a chimney from a sandwich pipe with his own hands, must understand that assembling a gas exhaust system is a very important undertaking and the safety of the building structure and the residents living in it largely depends on it.
Loft
This year the style remains in demand. It is often used to equip kitchens combined with a living room. Such a combination gives more free space, which will only emphasize all the details of the loft.
For example, stylists play with brickwork, wires or concrete walls. The photographs show well how well it can look like a living room that is combined with a kitchen.
Rough and heterogeneous surfaces, rough materials are selected for the loft. In apartments decorated in this style, wall lamps are installed. In this case, the light is directed along the walls.
Due to this, the shadows fall so that uneven surfaces look voluminous. At first, the loft was treated with caution, but it quickly became popular. Designers do not hide finishing materials and even fake them.To imitate a concrete surface and smudges, decorative plaster is used.
Other Tips
The living room with the kitchen can be combined and decorated with various shortcomings.
It is important to calculate and anticipate everything in advance.
Designers and craftsmen share tips that will help you avoid problems during repairs and arrangements:
The result depends on how detailed the project will be. Oddly enough, it is worth considering the growth of loved ones and relatives. It is also advised to calculate the approximate number of possible guests.
You can get rid of the smell of food if you install a strong hood or ventilation system.


Small models are more suitable for housewives who cook little.
If a sleeping place is planned in the living room, then it is important that the ringing of appliances and other kitchen utensils is not heard. Silent dishwashers and other appliances will come in handy.
In addition, you can install a sliding door and install a soundproof partition. If there is sensitivity to ultraviolet light, the owners hang thick curtains made of opaque fabric.
If household appliances do not fit the direction of the interior, they are hidden behind furniture or put away in kitchen cabinets.
When installing fixtures and lamps are guided by several criteria
It is important that the light falls evenly throughout the space. Particularly bright lighting is preferred in the kitchen area and where the dining table is installed
In the living room, designers create a subdued atmosphere using wall lights and table lamps. Multi-level stretch ceilings with LED strip also look good in this room.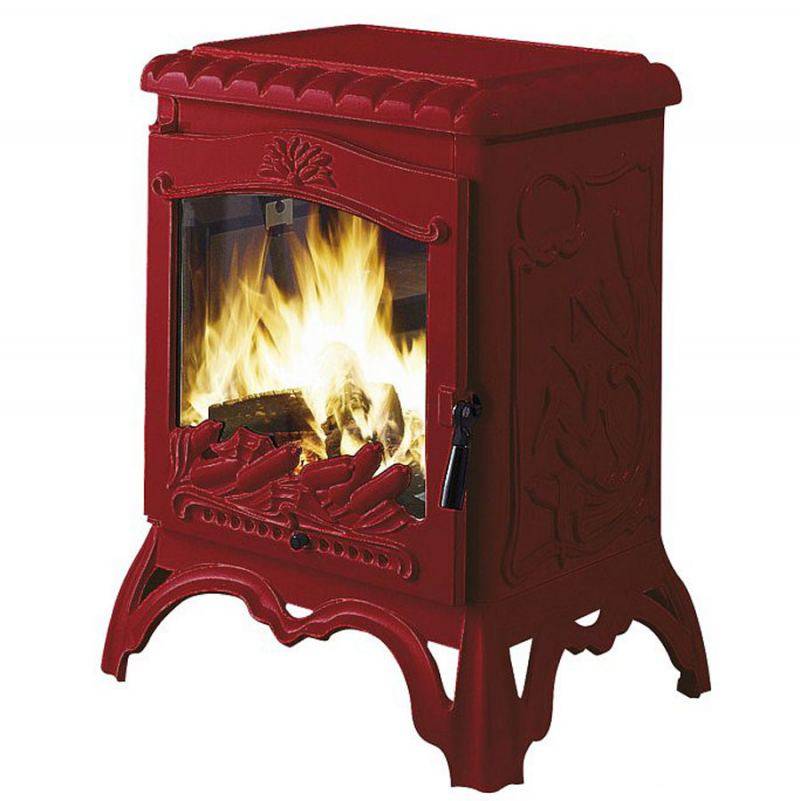
Moisture-resistant finishing materials are more durable and easy to clean. Thus, they retain their appearance for a long time.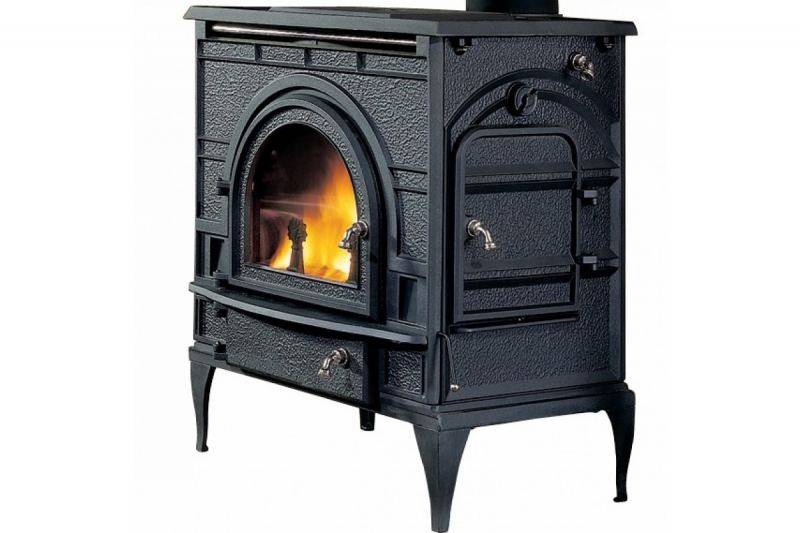
The kitchen, combined with the living room, combines:
- personal tastes of the owners;
- reliable finishing materials;
- current design ideas;
- convenience;
- trends. The best photos of living room kitchen design


Installation rules

Installation of insulated pipes is carried out in the same way as ordinary single-walled pipes. Before assembling the ventilation system, it is imperative to design it in accordance with building codes.


The work presents no particular difficulty. The main thing is to strictly follow the scheme contained in the design and estimate documentation.
For the arrangement of smoke exhaust ducts, there are separate criteria, the main of which is fire safety. The design of chimney channels should take into account the recommendations contained in SNiP 41-01-2003, P 7.13130.2013 and VDPO.
Here is some of them:
- The distance from the sandwich channel to the structural elements of the building, which are made of combustible materials (beams, roof rafters, battens, etc.), should not be less than 130 mm.
- The temperature of the exhaust gases cannot be more than +500 0C for stainless steel pipes.
- If the flue duct is mounted outside the building, it must be at least 500 mm from the wall. This is the case if the wall is built of flammable materials. If it is, for example, brick, then this gap can be 380 mm.
- The wall thickness of the chimney must not be less than 0.5 mm.
- The diameter of the inner shell must be greater than or equal to the diameter of the outlet pipe of the furnace or heating boiler.
- Normal draft should be calculated by selecting the diameter and length of the insulated pipe (clause 5.1.1. VDPO).
- The minimum length allowed for natural draft chimneys is 5 m. If it is less, then mechanical means to strengthen it, such as pumps, should be used.
- Inside the flue passage, the air flow velocity should be in the range of 15-20 m/s.
From the above examples, it can be seen that the design and calculation of a smoke exhaust system is not an easy task. To avoid mistakes, you should order the scheme from professionals.
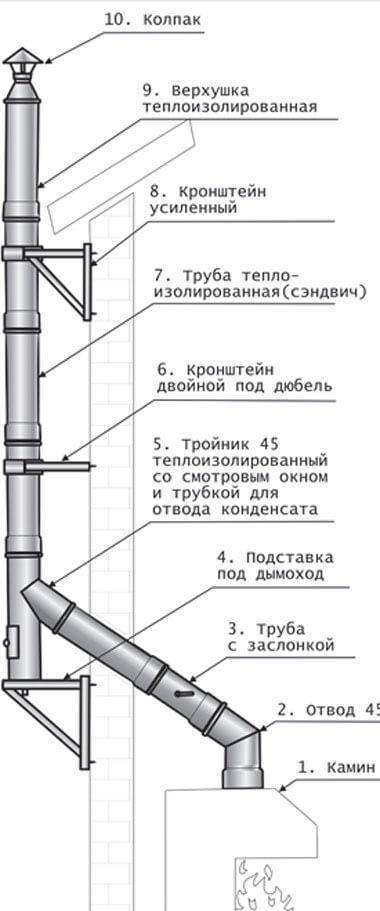
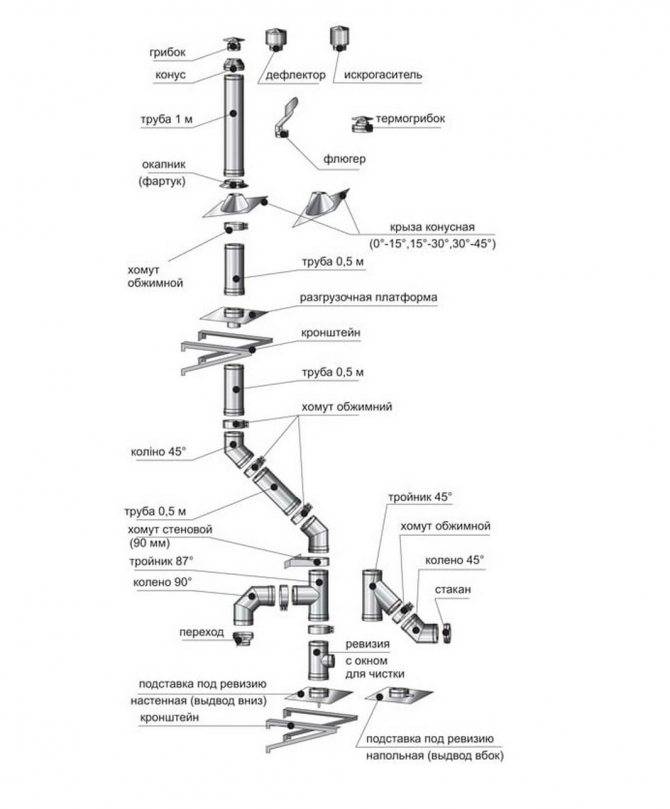
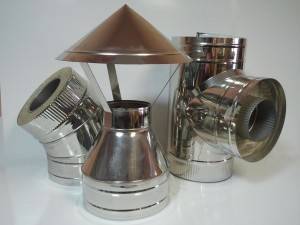
For ease of installation of sandwich pipes, the industry produces a whole range of accessories:
- connections for joining socketless endings;
- adapters-transitions to the boiler or furnace;
- transitions from sandwich to single-wall channels;
- tees and bends;
- support platforms;
- ends and dampers for chimneys, etc.
With their help, installation is easy to do with your own hands.
Work on the collection of a smoke exhaust structure always starts from below, from the boiler or furnace.
Separate sections are mounted so that the constituent elements fit snugly together to prevent carbon monoxide leaks and condensation. To remove condensate, you can install a tee.
We must not forget about the periodic cleaning of the ventilation duct and checking the traction force. To do this, a revision is installed closer to the base.
To protect against external influences, a special fungus is mounted on top.
Do-it-yourself installation
It is easy to install a chimney from sandwich pipes, because they are light in weight. Elements of the system are easily assembled into a single whole. To get high-quality ventilation, you do not need to have special skills, but just be patient and take the choice of quality materials with all seriousness.
What you need: tools and materials
You will need the following materials:
sandwich pipes;
brackets - for fixing the pipeline to the wall;
adapters;
elbow - will allow you to change the orientation of the pipeline;
clamps;
roof - an element that ensures the exit of the chimney from the roof;
tees - for connecting vertical and horizontal pipelines. It also serves to remove smoke from the ventilation system;
rosette - to give an aesthetic appearance to the connections of pipe parts to each other or a pipe to a roof;
comfrey - serves as protection against moisture ingress into the pipeline;
plug - for closing the hole in the ventilation;
unloading platform - to reduce the load from the elements of the ventilation system;
pipes with revision - for inspection and cleaning of the pipeline;
sealant - used to seal joints
It is important to choose a material that can be used at high temperatures.
galvanized metal sheet;
cone - for the top of the pipeline. For these purposes, you can use a thermo fungus, wobbler; weather vane - protects from the wind;
couplings for sealing;
fastening materials.
weather vane - protects from the wind;
couplings for sealing;
fastening materials.
Installation rules
- If the pipeline is located at a distance of 1.5 m from the ridge, it must be at least 0.5 m higher than it.
- If the pipeline is at a distance of 3 m from the ridge, their top may be at the same level.
- If the pipeline is located at a distance of more than 3 m from the ridge, the top of the ventilation can pass along a line drawn from the ridge to the pipe at an angle of 10 degrees.
- If there are extensions near your house, the chimney should be higher than them.
- Do not place the chimney from sandwich modules closer than 250 mm from combustible materials.To reduce this distance, sleeves with additional thermal insulation are used.
- Install most of the pipes inside the house to reduce heat loss.
- Isolate the chimney from other communications to avoid emergency situations.
- Fix the pipes with the bracket. Use one fastener for every 2.2 m.
- Do not use horizontal elements longer than 1 m.
- The pipe that is first connected to the boiler or stove should be ordinary. Do not use a sandwich in this case.
Do-it-yourself installation
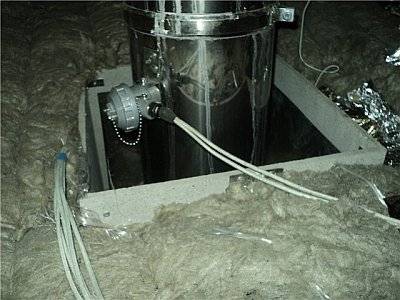
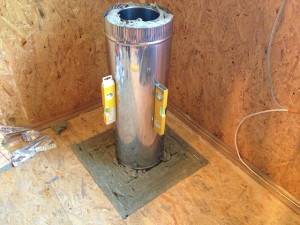
- Before installing the pipeline, prepare the nozzle. It is needed for ventilation to pass through the interfloor ceiling. For this:
- Apply a mixture of basalt wool and mastic to the surface of the pipe.
- We insulate all parts of the pipe that are attached to the ceiling.
- We cut a hole in the ceiling for the pipeline. We isolate it with basalt wool and install a branch pipe.
- Install the ventilation system from the bottom up.
- Put the first ordinary pipe on the pipe of the heater. This will prevent carbon monoxide from escaping the pipeline.
- Put the first sandwich pipe on the regular one, and insert the next ones inside the previous ones. This will prevent the accumulation of moisture in the inner thermal insulation layer.
- It is difficult to connect the outer and inner casing at the same time. Do this in stages: first join the inner part, and then the outer.
- Treat all joints with sealant and tighten with clamps. Also fix the piping to the wall with the bracket.
- In the middle of the pipeline, install a tee for revision.
- Install the horizontal ventilation section 5 cm below the boiler so that moisture does not get there.
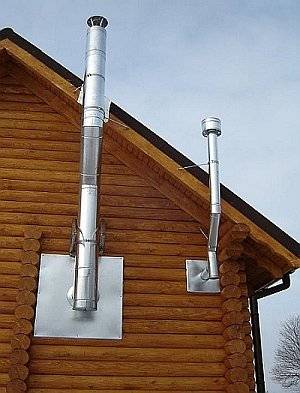
- Leading the pipe through the roof, a galvanized steel sheet is attached to the hole from the inside of the building, and a roof cutout from the outside.
- After the ventilation exits, a tee is installed to collect condensate.
- Install a fungus or cone on top of the pipe.
- Install a deflector at the top of the chimney.
- After completing the installation work, remove the protective film from the pipes.
Preparation for self-assembly
Installing a chimney with your own hands is easy. The main thing here is to observe the correct connections in the main nodes. During the execution of work, a building level should be used to clearly control the accuracy of the vertical position of the system. No less attention should be paid to the remoteness of the channels from elements with flammable properties.
Work sequence:
- A pipeline is connected to the stove (heater) with special fittings.
- Pipe sections with fittings must be crimped properly using clamps.
- Attach them to a wall or ceiling surface, depending on the installation method.
- If the horizontal section is too long, then somewhere in the middle you need to install a branch pipe with a revision. It is necessary to clean the channel.
- The slope should be maintained in the direction where the drain device is located near the boiler so that moisture cannot enter the stove.
- For each linear meter of the pipeline, a slope of 20-30 mm should be maintained.
- Near the place of docking with the vertical pipe and the chimney passage area, it is necessary to mount a tee equipped with a socket. It is needed for soldering with a vertical pipe and condensate drainage.
- In the passages through the floor slabs, couplings made of fireproof materials must first be installed. And only then, through them, to conduct pipes.
How is the passage through the roof
The main stages of installation of a sandwich chimney
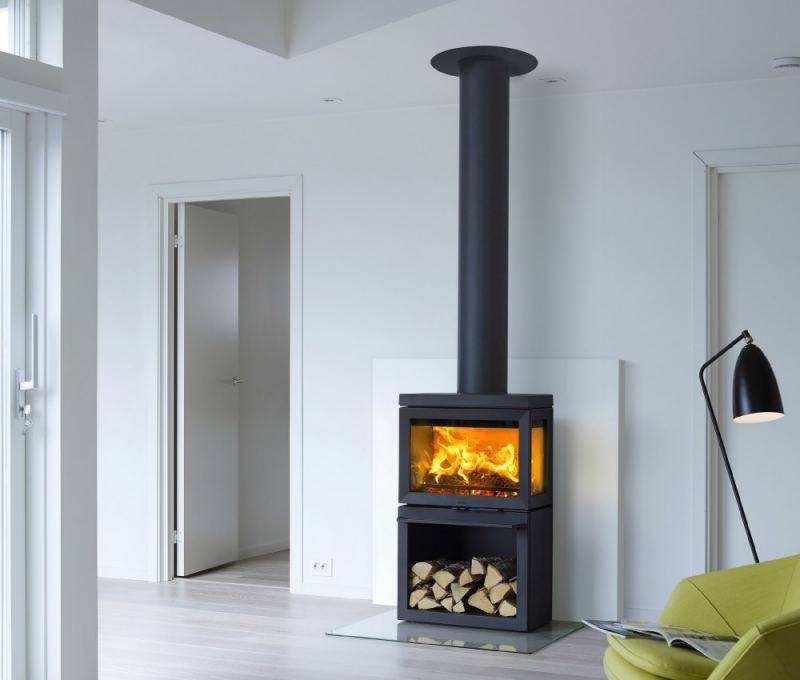
How to install a chimney quickly? The answer is simple: buy a sandwich pipe. This material is an ideal solution for a private house, especially if there is no much experience in construction. For the installation of this material, you do not even need an assistant, all the steps can be performed independently.


We connect all the elements of the structure
The sandwich pipe has one design feature - a ribbed coating on both sides. Such a device allows you to connect the elements to each other, simply by inserting different parts one into the other. To drain the condensate that will occur during operation, additional tees should be installed.
Serial connection of the chimney
All joints must be tightened with steel clamps with high quality and reliability. To connect the starter part to a boiler, fireplace or other heating device, you must purchase an appropriate adapter with two different diameters.
A simple method is used to connect internal products. They take out one inner pipe at a distance of 10 cm, connect it to the second one (using a steel clamp of a smaller diameter) and push it inside the outer pipe. For greater tightness, it is not enough to use only clamps, you will also need a special sealant designed to work at high temperatures.
Let's secure the floors
When installing a chimney made of sandwich pipes, or other material, through a wall, fire safety rules should be taken into account. If it is concrete or brick, then it will be enough to simply seal the joint with sealant.Much more difficult in wooden houses, where the contact of the chimney with a wooden wall will lead to a fire.
Closing the pipe passage
How to secure the junction of the drainage system with the ceiling:
- Use galvanized sheet, which should be fixed to the ceiling. A hole is cut in the middle of the sheet, and a chimney is inserted into it. Galvanized sheet does not heat up completely and does not transfer excessive heat to the wooden surface.
- Treat the distance from the pipe to the nearest wooden surface with a heater. Almost all modern heaters are heat-resistant - they do not ignite at high temperatures.
Instead of galvanized sheet, many builders use asbestos material. It also has increased resistance to high temperatures.
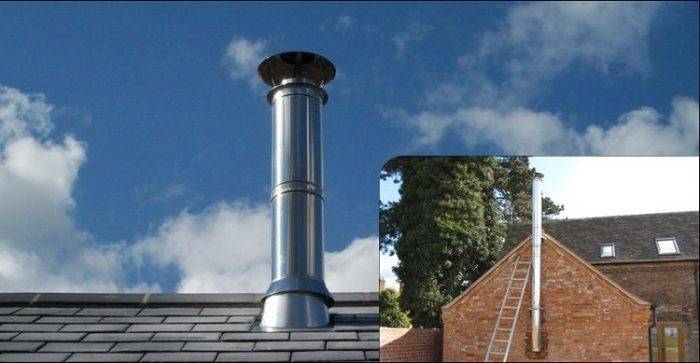
We bring the pipe to the roof
Installing a chimney from sandwich pipes and laying it through the roof is the most painstaking part of the work. Here you will need not only to apply physical force, but also to accurately and correctly calculate everything.
Protective structure for the chimney
The procedure for bringing the chimney to the roof:
- Make a hole in the roof. To make it neat, the place should be marked in advance with a construction marker. There is no need to rush, because a crooked hole will not add aesthetics to the entire structure. It is most convenient to cut the roof from its inner part.
- From the inside, a roof sheet is installed, securely fixed, and from the outside - roof cutting.
- It remains only to bring the outer part through the hole and securely process the edges with sealant.
Now you can once again check the quality of the construction, and as a final step, remove the entire protective film.You can safely melt the boiler or fireplace and look at all the joints and holes treated with sealant.
Design features
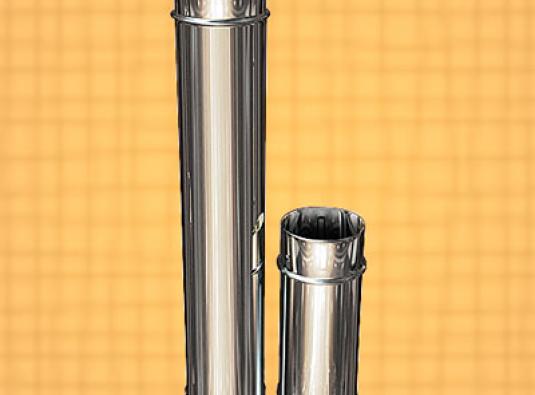
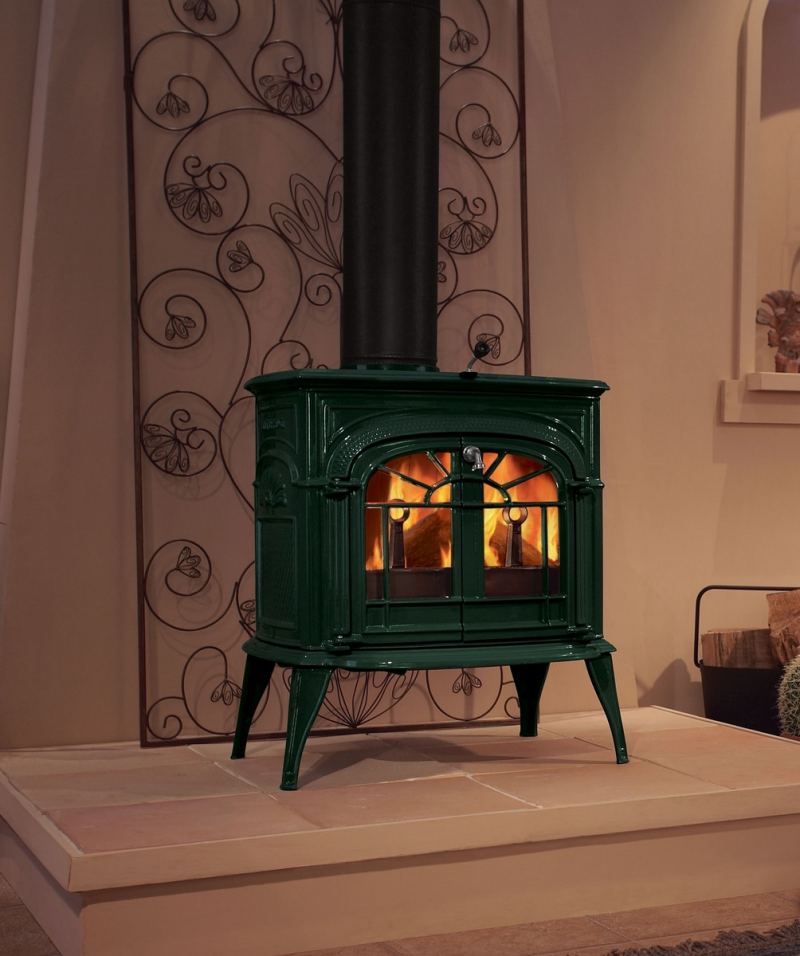
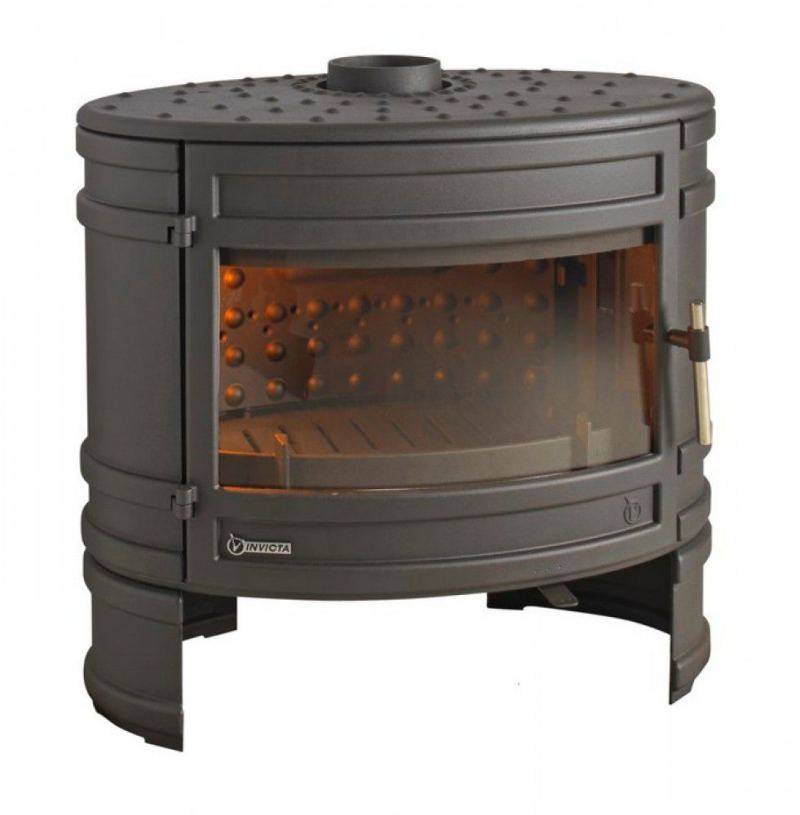
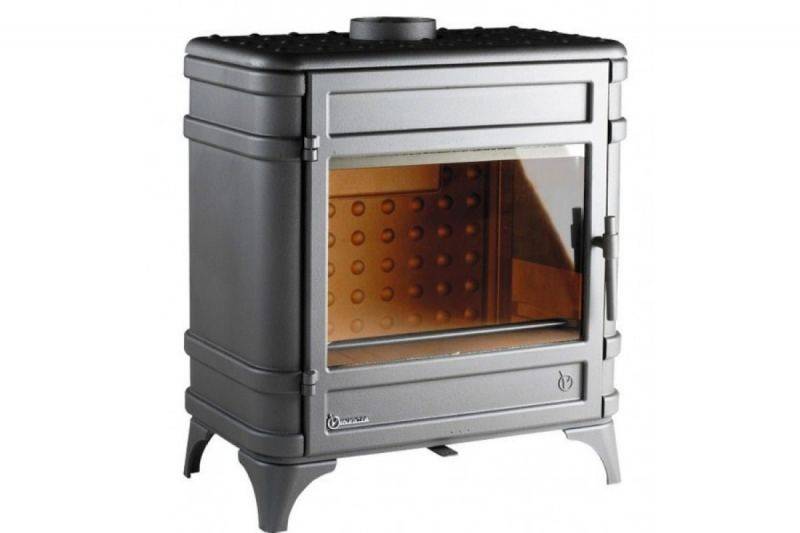
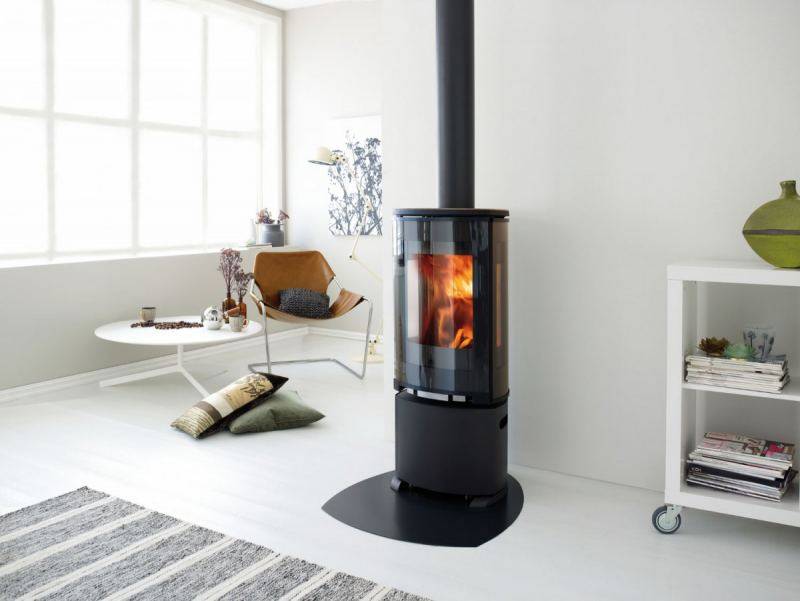
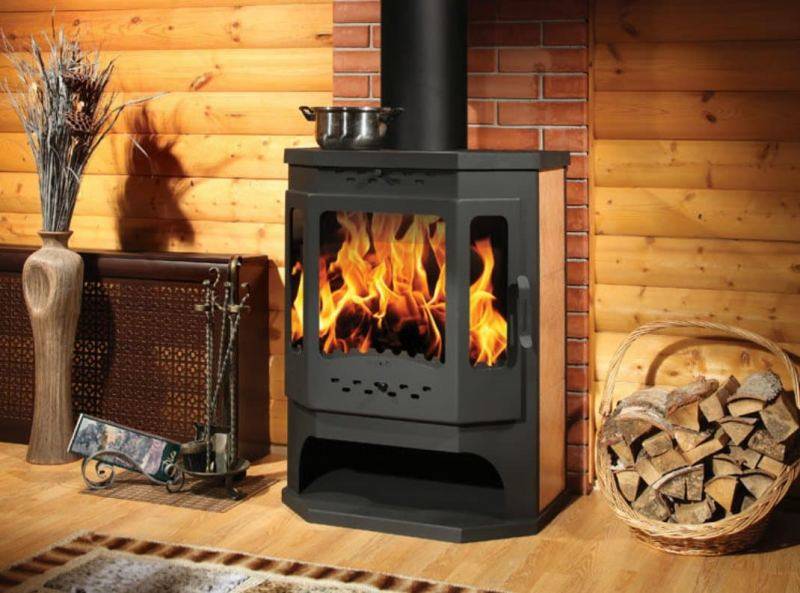
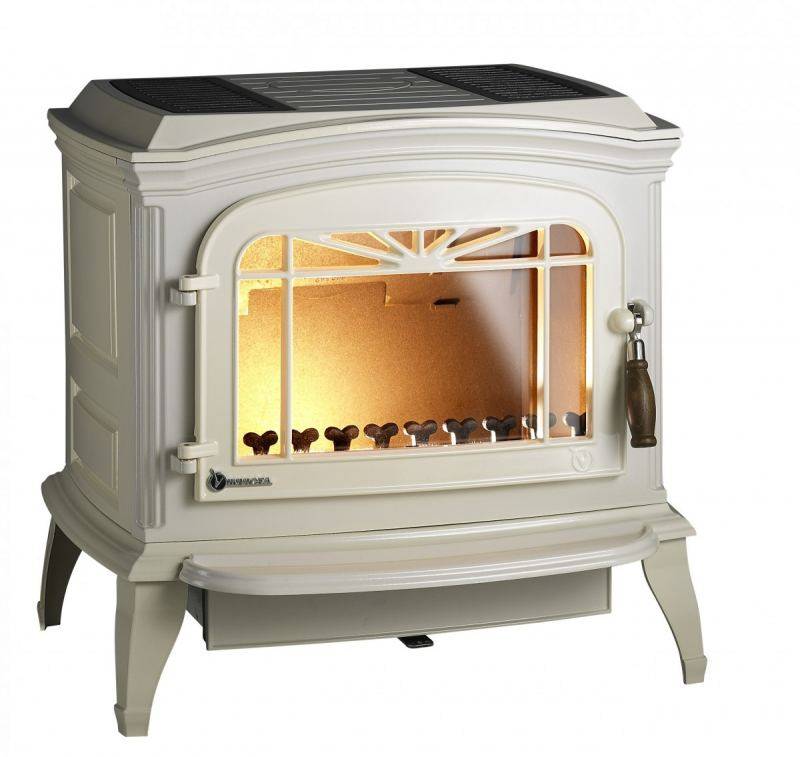
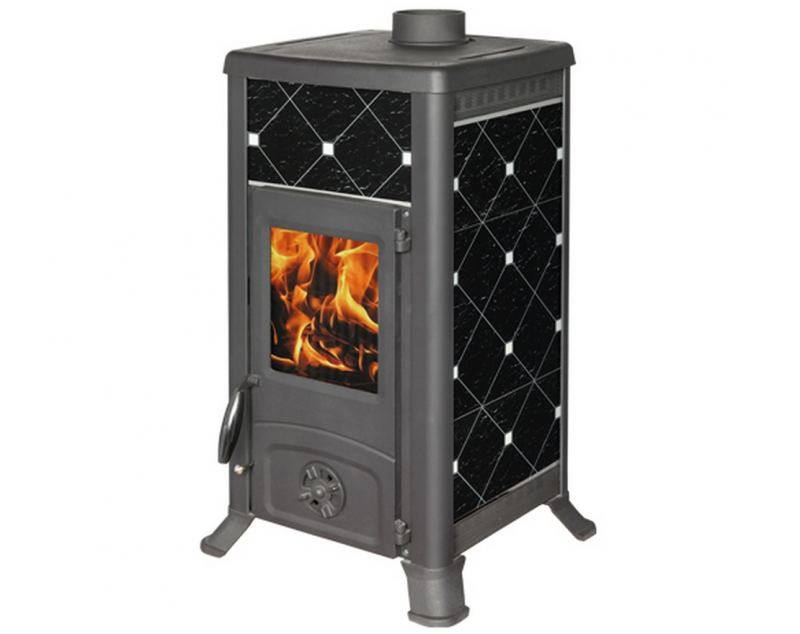
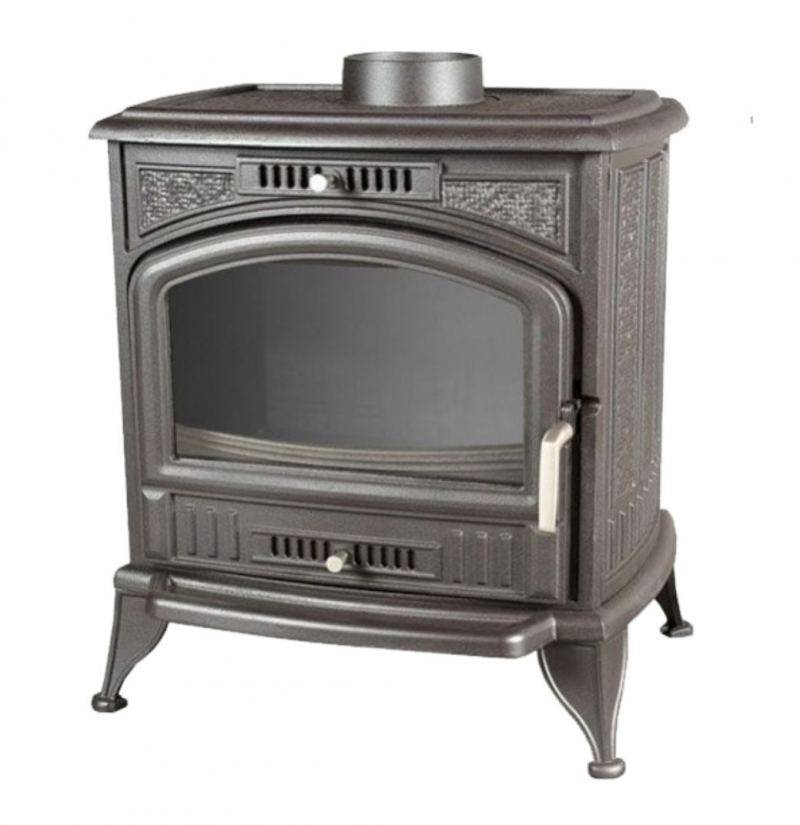
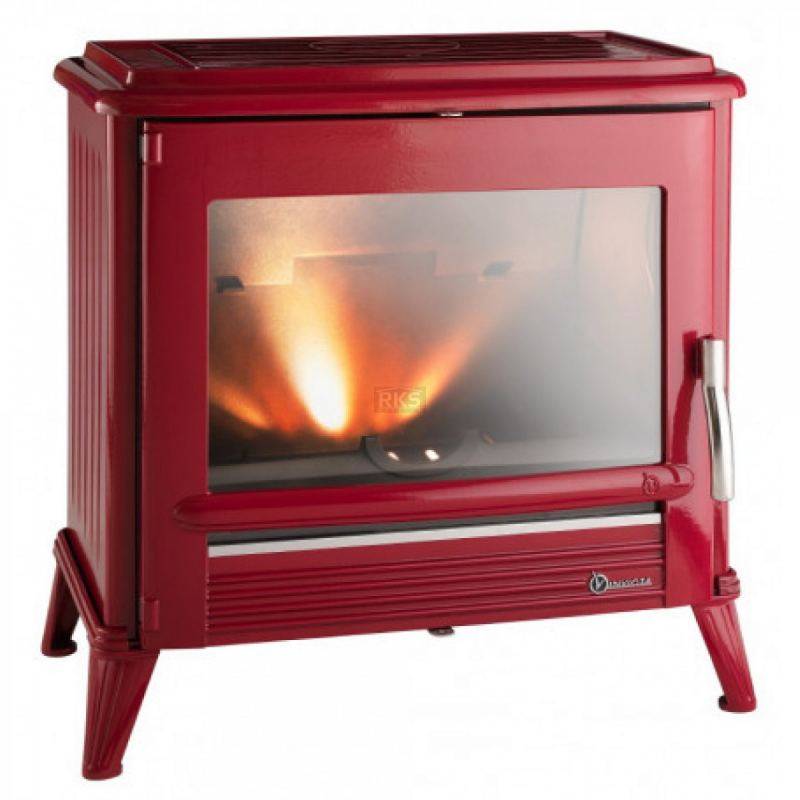
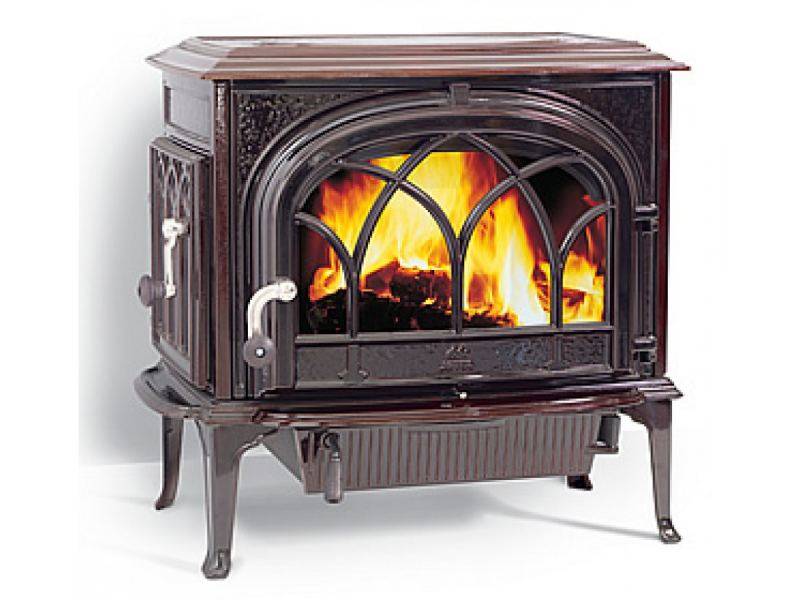
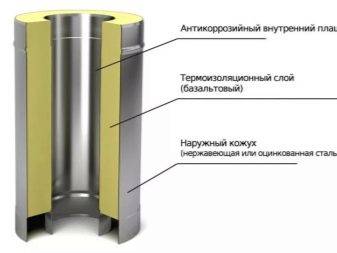
Most fires in private households occur due to gross violations of the installation technology of furnace equipment, including smoke exhaust pipes. Modern sandwich pipes are more fireproof than conventional ones. The sandwich type chimney is a three-layer pipe. These products are made of stainless or galvanized steel.

The sandwich consists of three layers.
- Inner contour. It is a round cylinder with a thickness of 1 mm or more. The inner tube is made from a single sheet of metal by means of a sealed weld. Due to the anti-corrosion properties of the material of manufacture, the sandwich pipe is not afraid of exposure to moisture and condensate.
- Insulation. Located between the inner and outer layers. It does not allow the heat from the chimney to heat the roof and other nearby elements, and also does not allow the smoke to cool down while moving through the chimney, which significantly reduces the formation of soot on the chimney walls. This allows you to clean the chimney much less frequently than with conventional pipes. For the insulation layer, fire-resistant materials of the highest class are used, for example, basalt mineral wool, capable of withstanding temperatures from 7000 C. The thickness of the insulation layer, depending on the material and manufacturer, can vary from 40 to 60 mm.
- Outer shell. Can be made from stainless steel or other metals. In order not to damage the galvanic layer of stainless steel, which prevents corrosion, the seam is made using laser welding.Variants of sandwich pipes with an external stainless steel contour are the most budgetary, those made of copper and brass are expensive, but very spectacular in appearance.
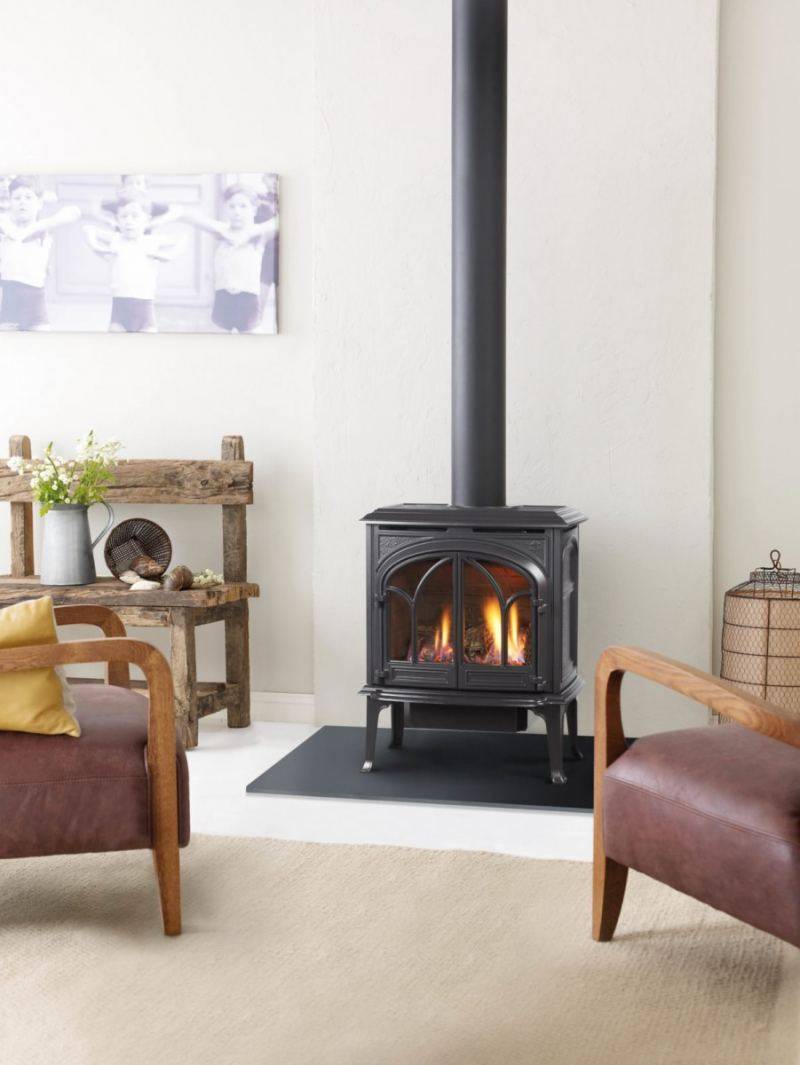
Pros and cons of stainless steel chimneys
The list of advantages of these alloys is headed by resistance to acidic condensate, which appears when cooling hot air passing through the cold part of the chimney. Such a negative impact gradually destroys the metal, however, a stainless steel chimney is able to withstand the threat much better than all other metal structures. Often this property becomes the main criterion when choosing a material.
Benefits of a stainless steel chimney
The list of advantages does not end here, it includes:
- Versatility of design, comparative ease of installation of a stainless steel chimney. These pipes can be combined with any heating equipment. Self-installation is possible in any season, and special skills are not needed for such work.
- Safety for people. Stainless steel channels heat up quickly, so they guarantee sufficiently effective traction, which will prevent any force majeure from happening.
- Long service life of the chimney. It is not as outstanding as that of brick or stone structures, however, if the installation of the chimney was carried out in accordance with all the rules, then the pipes promise more than one decade of trouble-free operation.
- Excellent permeability. Plus - the complete absence of corners that can cause turbulence of combustion products. The rounded shape avoids the settling of a large amount of soot, because there are no obstacles for the exit of smoke.
- Light weight of the chimney channel, maintainability.The lightness of the design allows you to avoid arranging a serious foundation for the furnace. Replacing any module is simple, it does not require dismantling the entire system.
- High level of heat resistance. Such a chimney will be able to withstand temperatures up to 600 ° and more, but in this case the exact figure depends on the grade of stainless steel.
- Frost resistance, anti-corrosion properties, no fear of aggressive environments.
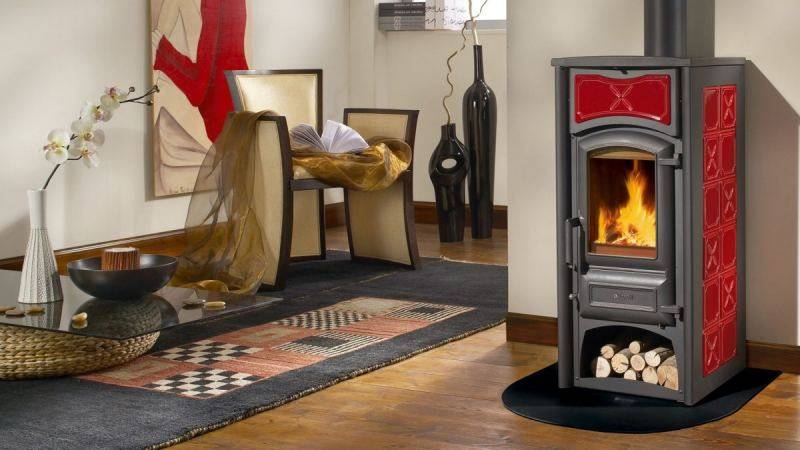
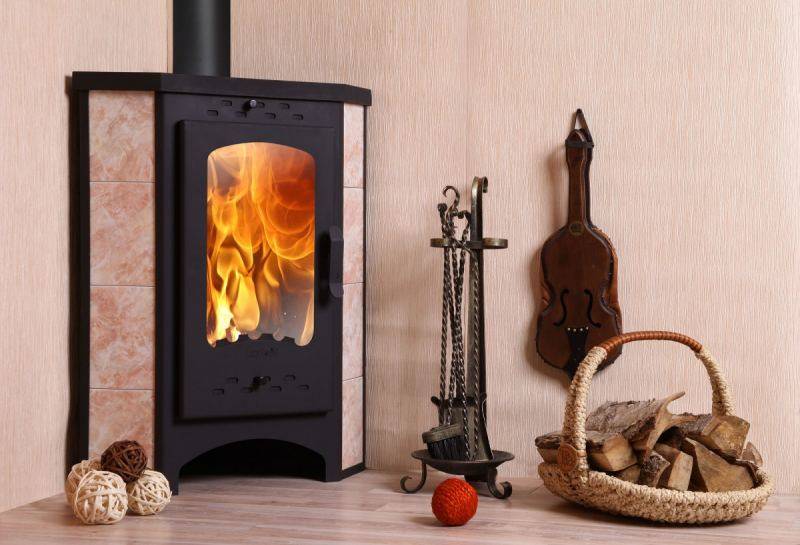
- Aesthetic appearance and a wide range of models.
- Acceptable set price.
The list of advantages is quite impressive, but there are also disadvantages to chimneys. But are they serious?
Possible reasons for dissatisfaction

In a large number of pluses, the only significant minus "got in". This is the need to take care of the insulation. However, this shortcoming is often absent. Thermal insulation measures are needed only if the chimney is located outside the room, and when a model with single-layer modules is selected.


