- Pros and cons of painting
- In what cases is it advisable to restore an old bathtub with the help of painting?
- Coating Requirements
- Types of paints
- What paint is better to choose
- By properties
- By scope
- How to paint a bath with enamel. Method 2.
- Priming and painting
- Manufacturers
- Choosing the Perfect Battery Paint
- Color selection
- When can I use a renovated bathroom?
- We restore the bath with our own hands using enamel
- Varieties of paints for painting
- Epoxy enamel
- acrylic paint
- Features of painting the bath
- Liquid acrylic - a modern version
- The main ways to update coverage
- Restoration technology
- What paint to choose?
- Conclusions and useful video on the topic
Pros and cons of painting
For painting, it is necessary to choose only a dye for metal structures.
This method has a number of advantages:
- Large selection of tones of paint and varnish coatings;
- The price of the dye saves a lot of money;
- The ability to paint a cast-iron bath without calling specialists;
- Saving time and effort, fast execution;
- No unpleasant odor after the dye dries;
- Nice glossy finish.
However, this method of updating the surface has disadvantages:
- The outer coating must be treated with a grinder before applying the composition, and after that with a soil mixture;
- It is necessary to apply a dye for an old cast iron product only after treating the coating with an antifungal compound;
- There are acrylic solutions that dry for a long time - three days.
How can you paint a cast iron bath? First you need to find the appropriate paint, only then begin work on the surface treatment of cast iron.
This is interesting: How to clean mounting foam from linoleum - frozen and fresh
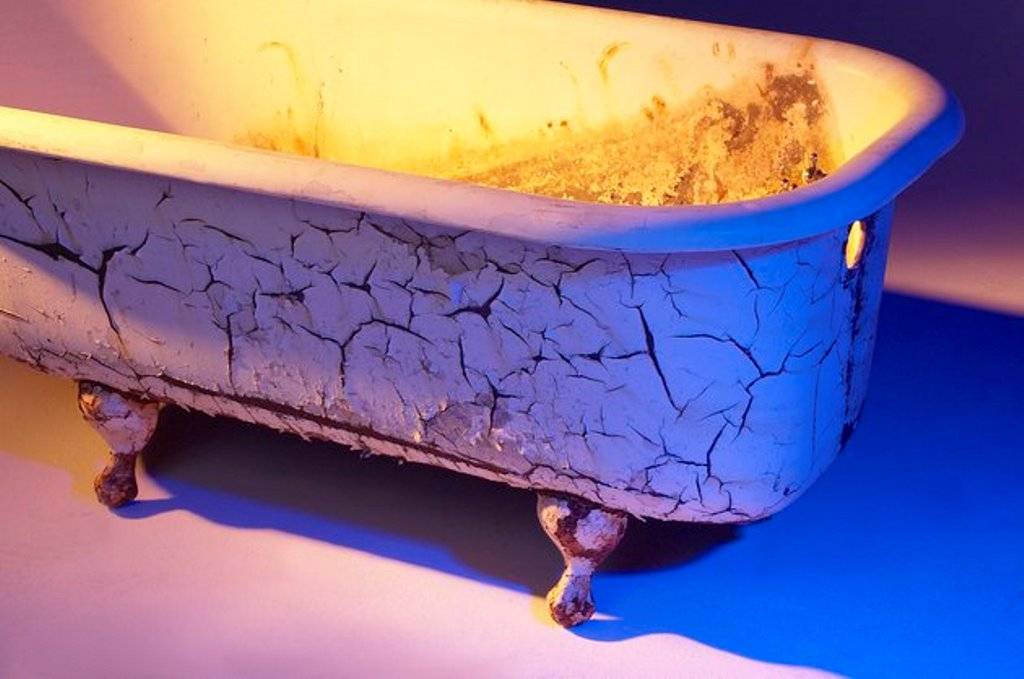
In what cases is it advisable to restore an old bathtub with the help of painting?
Even the most reliable and high-quality bath after many years of use needs to be updated. Yellowness, streaks from water and rust, limescale appear on its surface, which cannot be removed by any cleanser. What can be done? There are a few ways to solve the problem:
- purchase of a new product;
- using an acrylic liner;
- bathtub painting.
Mounting the acrylic liner
Restoration of plumbing equipment that has lost its original appearance with the help of painting is advisable when:
- The lack of the possibility of buying a new product or installing an acrylic insert.
- The difficulty of dismantling the product. To remove built-in and wall baths, sometimes you have to break the integrity of the side wall or niche. If the doors are narrow and were installed after the installation of the bath, it will not be easy to take it out of the bathroom.
- The appearance of minor defects on the surface of the cast-iron bath. Cast iron products are expensive, while they are solid and look decent. The cast-iron bathtub is very heavy, in order to dismantle it and take it out, you will need help, and, therefore, considerable costs. Cheaper and easier to restore the product.
- The presence of minor flaws on the surface of the bath, which can be masked with several layers of paint.
Deciding to paint the old bath yourself, you need to weigh the pros and cons. This method has both advantages and disadvantages. The pluses include:
- cheapness;
- ease of execution;
- the ability to choose the color of the product;
- no need to clean the old bath and, accordingly, make cosmetic repairs to the bathroom after completion of work.
Among the disadvantages of this restoration method are:
- short service life of a fresh coating in case of violation of technology;
- inability to hide significant defects;
- forced refusal of water procedures for a certain time and a sharp smell of paint during repairs.
Coating Requirements
There are many types of paint and varnish coatings (LKM) on the market and there is something you can paint a bathtub with. There are restrictions that prohibit painting the bath:
- The composition of the paintwork materials should not contain toxic substances that can interact with water, detergents and oxygen;
- The texture of the paint should be dense and firm, with a glossy effect. This paint fits perfectly on the surface of the old cast iron.
Paintwork - that's what you can paint the bath. But you need to test in advance for color. To do this, it is worth applying one coat of paint before painting the cast-iron bowl, on a clear glass and allow to dry. You can evaluate the quality of the tone like this: look from the back of the glass.
Types of paints
It is logical to assume that painting a cast iron bath at home is done with special paints.Strict requirements are imposed on coloring compositions: they must tolerate constant contact with water, exposure to high and low temperatures, as well as strong detergents. In order to restore and restore the original appearance of the old bowl with your own hands, you need to choose a high-quality moisture-resistant paint that can be used to paint cast iron. Bath paint of this type comes in 2 varieties:
- Epoxy enamel. Cast iron wash basins are painted with epoxy enamel for 25-30 years. This is a proven tool with which you can paint an old bath at home. However, the technology for preparing enamel for work is highly complex, so it is rarely used when painting with your own hands. The enamel compound consists of a base, a hardener and a plasticizer, which is used as dibutyl phthalate. The mixture turns out to be viscous, thick, so without experience it is rather problematic to apply it in an even layer.
What paint is better to choose
When choosing a paint, the conditions under which the coating will be used, the properties and composition of the material are taken into account. Be sure to check the quality certificate to exclude harmful additives.
By properties
When choosing paint, the resistance of the finished coating to:
- friction
- the influence of aggressive detergents;
- exposure to ultraviolet;
- possible temperature fluctuations.
By scope
For the design of barbecues, fireplaces, stoves and radiators, as well as areas near kitchen stoves, only heat-resistant compounds can be used.Waterproof paints are designed primarily for walls, ceilings and floors in rooms where high air humidity is constantly maintained and frequent cleaning with aggressive detergents is required.
 Walls in the kitchen, painted with waterproof paint.
This decorative material is recommended for painting walls in:
- hallways;
- bathrooms;
- kitchens;
- showers;
- baths;
- saunas;
- halls.
When using paints that are not resistant to moisture in these rooms, the risk of peeling and blistering is increased during operation. Foci of the fungus quickly appear.
The use of waterproof paints with low toxicity is recommended when decorating children's rooms. This will make cleaning easier. It is acceptable to use this material to cover walls and ceilings in bedrooms and halls. This finishing material is recommended for finishing industrial premises.
How to paint a bath with enamel. Method 2.
The result of applying this method of painting the bath can be felt no earlier than after 5 days. In order to achieve it yourself, in addition to patience, you should stock up on a solvent that will help in removing layers of old enamel, grease and lime. It is poured into the volume mixed with water. After full filling, the composition is drained, and the bath is left to dry for an hour. Over time, a primer is applied, which must also dry. Next, the remaining dirt is thoroughly washed off, and the surface is polished, either with a sandpaper or with a grinder. After that, the bath is finally washed out, left for a while to dry - now it is completely ready for applying enamel.


Bathtub painting with enamel is carried out both with a brush and with a spray gun. You need to choose the method that you like best. The main thing is to try to paint the bath in an even layer, so that tubercles do not form during drying.
Today, in stores selling sanitary ware, you can find special kits designed for self-restoration of bathtubs. However, for the correct implementation of this procedure, it is necessary to consult with a specialist. Sets include colors of various colors, as well as all the necessary tools.
Priming and painting
After you have cleaned the surface of the bath from old paint and enamel, it must be dried. This can be done by simply leaving the bath for a few hours, or you can use a regular hair dryer. After drying, a primer should be applied to the surface of the bath, and only after that proceed with painting.
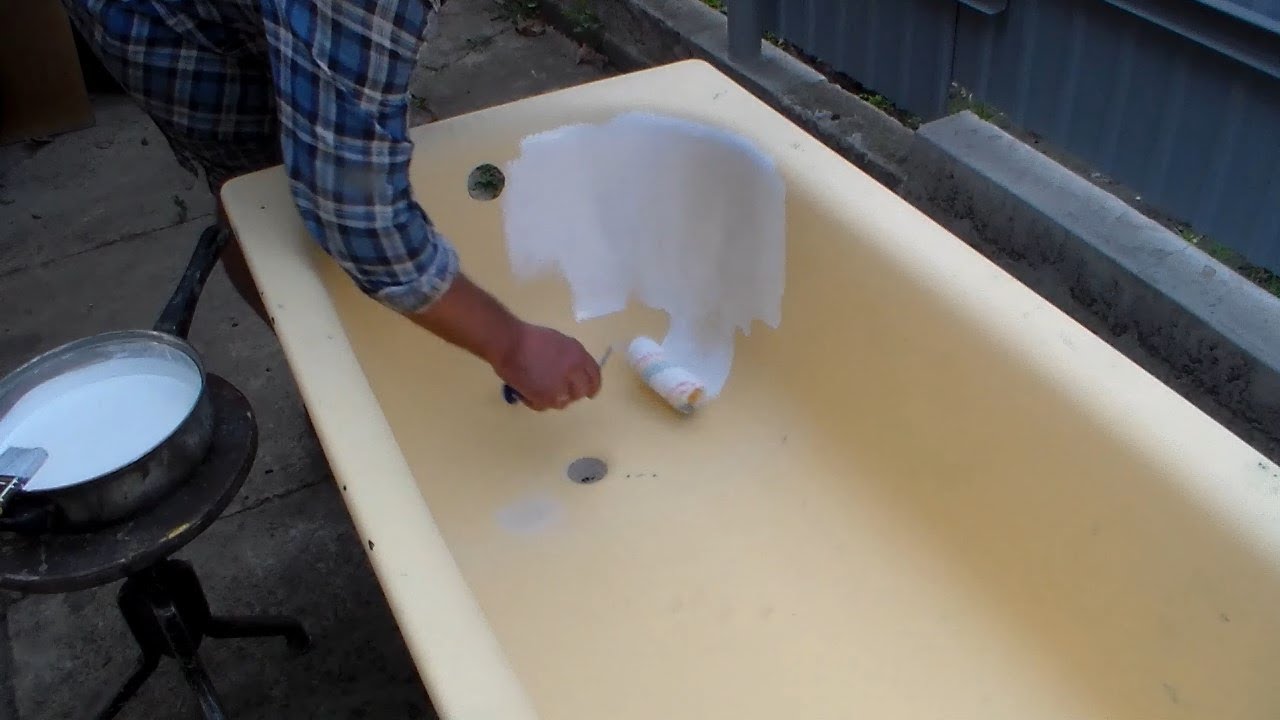
You have to start from the top. The paint should be applied in a thick layer. First, the sides and walls of the bathtub are painted over, and only after the paint has “drained” from the sides, you can begin to distribute it along the bottom of the bathtub. The task is quite simple, but quite long and time-consuming.
You also need to take into account that after finishing painting for 5-10 hours, all doors and windows to the bathroom must be tightly closed. This will prevent dust from entering the freshly painted surface. The paint for cast iron dries for a long time from 2 to 5 days.
All windows must be tightly closed after painting.
We really hope that our article will help you choose a good paint, and paint a cast-iron bathtub correctly. However, it should be understood that not every bathroom can be updated in this way. So, for example, if, in addition to fading and yellowing of the paint on the bathroom, the enamel is very badly damaged, painting will not help you get rid of the problem. You will also have to change the layer of enamel, and it is not a fact that this will help for a long time.
That is why before making an important decision about self-painting the bathtub, think carefully. Maybe for such work it is still worth inviting professionals?
Manufacturers
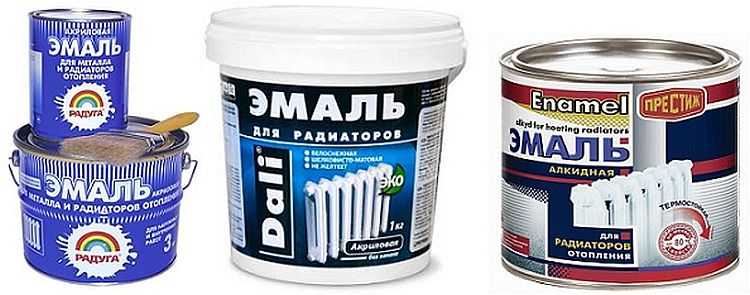
How to paint a cast iron bath at home without knowing which paint to choose? From dyes and enamels, it is possible to distinguish compositions that are in great demand for painting a cast-iron bath:
"Epoxin 51". Enamel.
According to the manufacturer (Russia), products with enamel will last about 9-10 years;
Liquid acrylic Lux "Ekovanna". (Manufacturer - Russia).
This is a kit that includes a hardener and the enamel itself. The service life of the processed product with acrylic is 15 years with proper care;
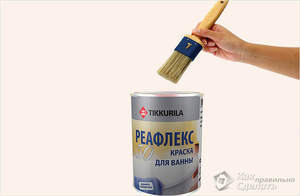
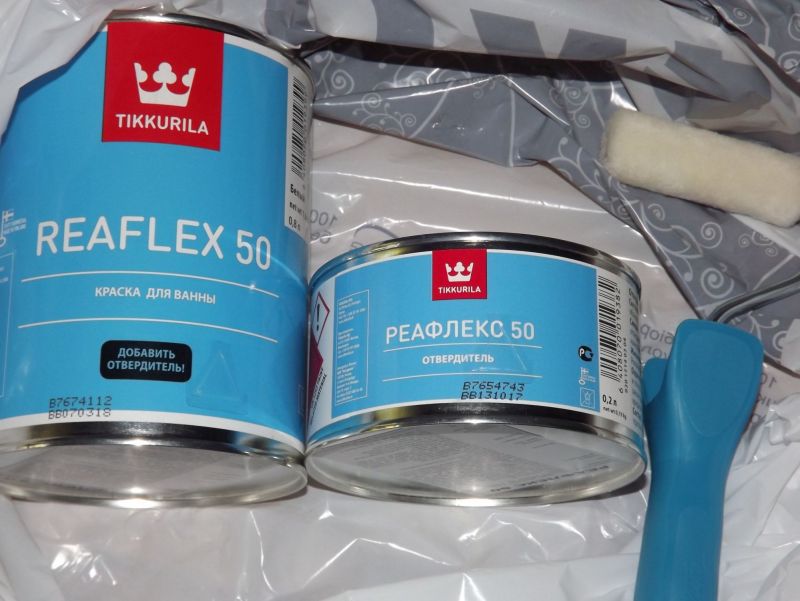
- Lako Colorful Materials of the Finnish company Tikkurila. Realex 50. Price 1000 -1300 Russian rubles;
- Paint Rust Oleum (USA). "Specialty Tub & Tile Refinishing Kit". The price is 1700-2000 Russian rubles per liter. Painting a cast iron bath with such a composition will not be difficult;
- Dulux (country - UK). Dulux Reallife Kitchen & Bathroom. Dye. Its price is from 1000 to 2,500 Russian rubles for 1.20 liters;
- "Svetlana" (production - Russia). The set includes clearing pastes (white and other colors). The price of such a kit is about 800 rubles;
- "Renaissance" (manufacturer - Russia).Paint for cast iron. The kit includes all the tools needed to paint the surface. The price is up to 900 rubles per jar, with a volume of 0.8 liters;
- "Kudo" (domestic manufacturer). Spray (enamel). The price of one can is the difference (from 200 rubles to 500 rubles) depending on the composition and color. With this paint, you can paint a cast-iron bathtub from the outside.
With all the variety of what you can paint or update a cast-iron bath at home or in the country, you can look on the Internet or in a hardware store.
What to look for when choosing bath paint? Restoring the surface of the bath is best done with high-quality materials and paintwork. When choosing a paintwork (this is what can be painted), the features of each product are taken into account
How to choose paint:
When choosing a paintwork (this is what can be painted), the features of each product are taken into account. How to choose paint:
- The purpose of the composition is indicated on the can of paint - for metal work;
- Bath paint has a shelf life of one year. The paintwork kit includes tinting pastes and special hardeners.
Do-it-yourself painting of a cast-iron bathtub with aerosol spray will not work, as the coating will not form a dense layer.
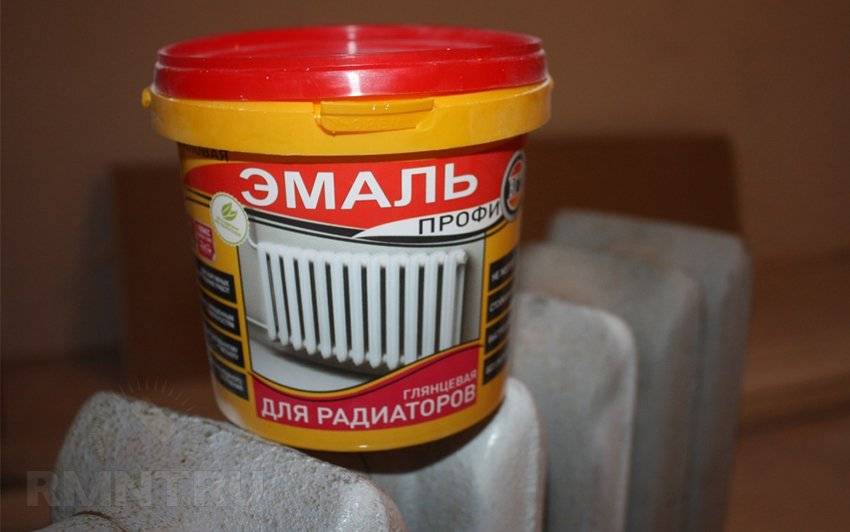
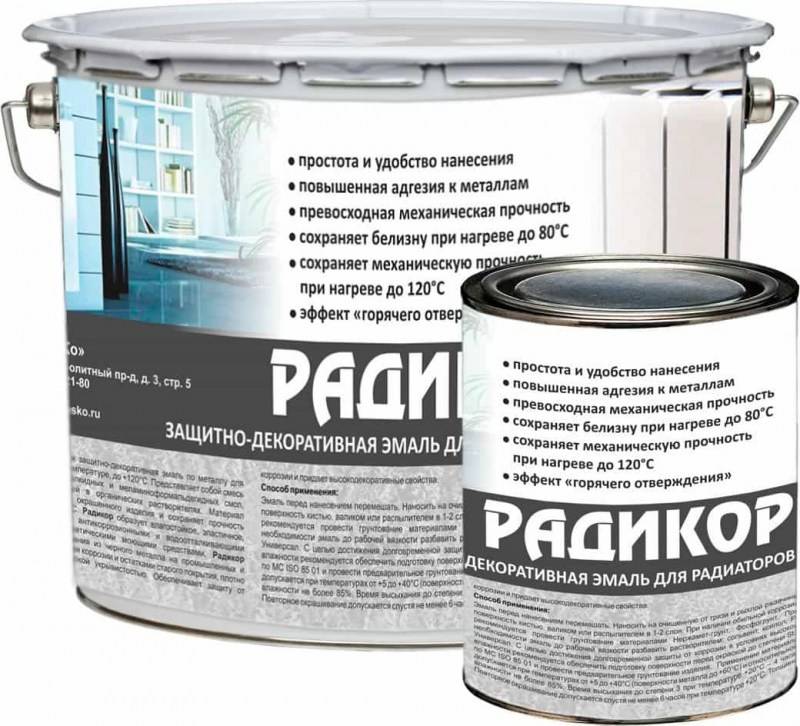
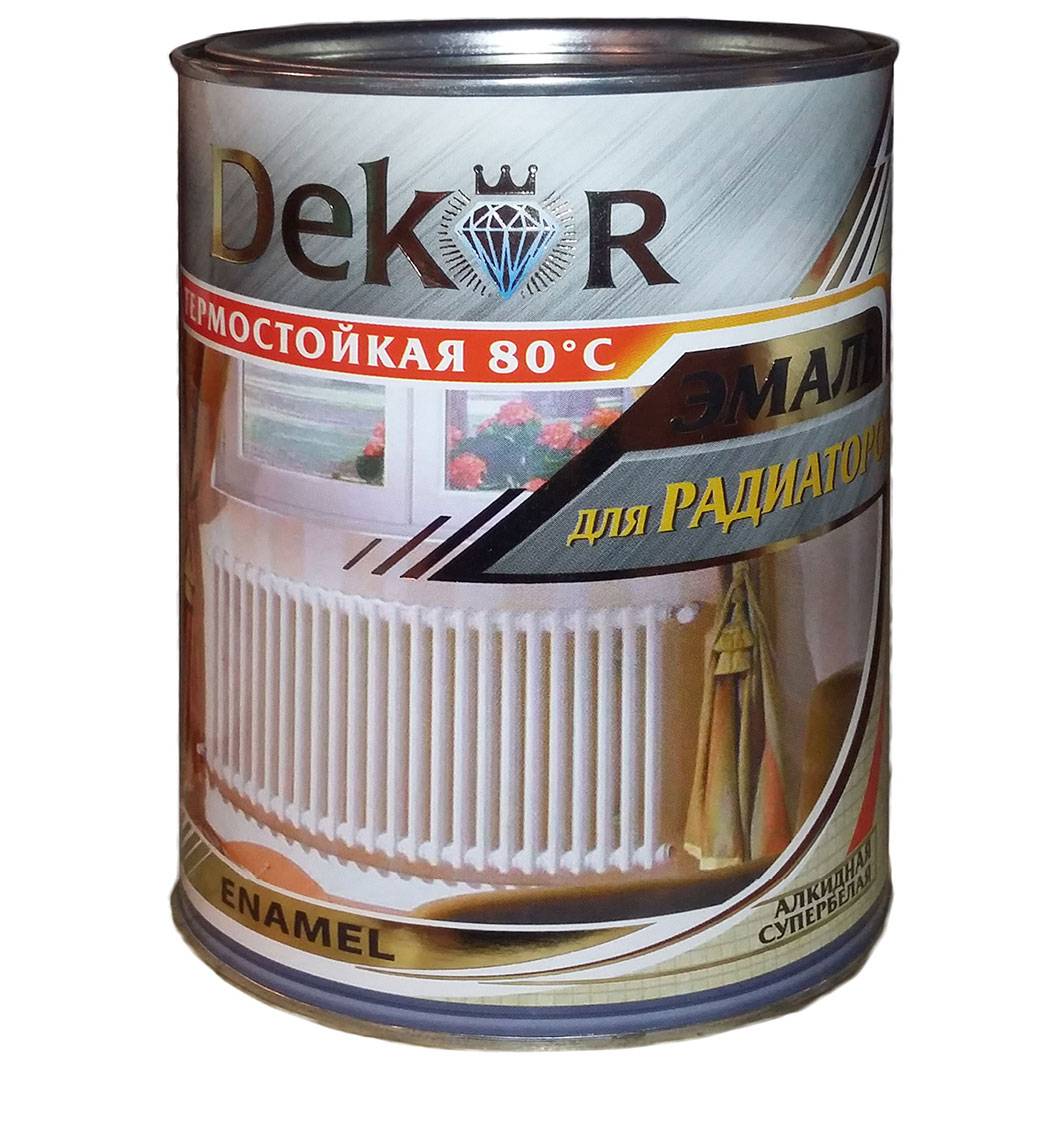
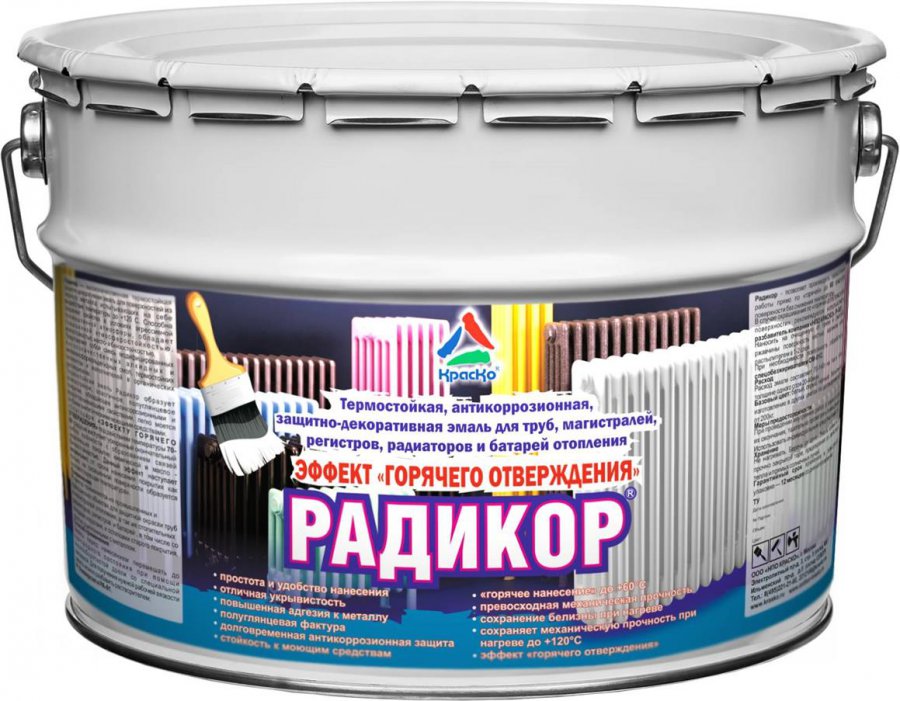
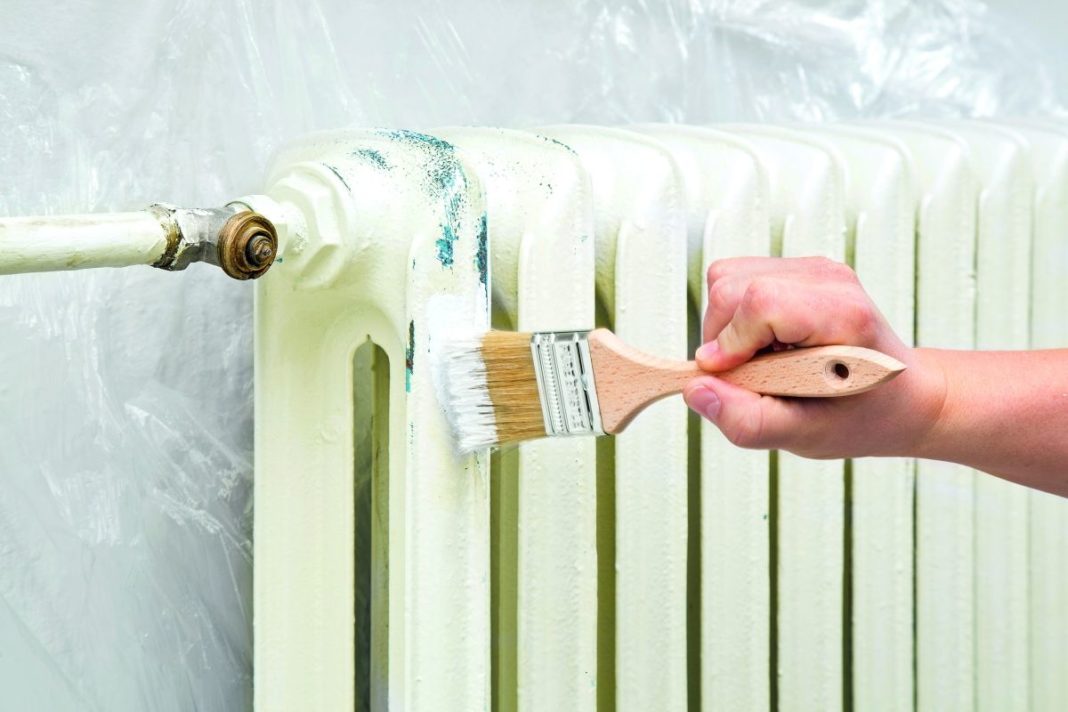
Choosing the Perfect Battery Paint
It is important to determine which paint is best for transforming radiators. There are a number of requirements that must be met by paint applied to batteries. At least one hundred degrees heat resistance of the paint is required, abrasion resistance, non-toxicity are also needed, since the batteries are regularly cleaned, and the radiator itself is heated
The highest heat resistance is distinguished by paint containing metal powder instead of coloring pigments.
At least one hundred degrees, heat resistance of the paint is needed, abrasion resistance, non-toxicity are also needed, since the batteries are regularly cleaned, and the radiator itself heats up. The paint containing metallic powder instead of coloring pigments differs in the highest heat resistance.


There are special paints for radiators, many use water-based enamels, heat-resistant varnishes. The selected paint must necessarily be designed to cover the metal, match the primer. Good compositions are durable, do not change color, and are able to protect themselves from corrosion.
Glossy gloss, color fastness for a long time are provided with acrylic enamels on organic solvents. But they smell pretty strong when applied.
Water-dispersion paints will dry quickly, but it is important to choose them carefully by choosing special types. After painting with alkyd enamels, the uniformity of the coating is guaranteed, it will be durable and resistant to impacts. However, the smell can be observed not only during the painting process, but also some time after drying, standing out from heating
However, the smell can be observed not only during the painting process, but also some time after drying, standing out from heating.
Color selection
The decision in what color it is better to paint the radiators is up to the owners. Now available a wide range of funds, a variety of compositions. Classical is considered to be white enamel, silver. Some choose colors in accordance with the interior, lighting, general style of the apartment and design features. Gold and bronze shades, subtle patterns, drawings look unusual.
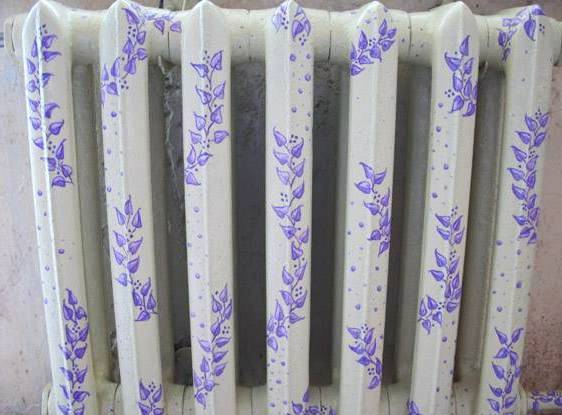
If the look of your old radiators no longer pleases you, then you can try to breathe new life into them with the help of experiments.
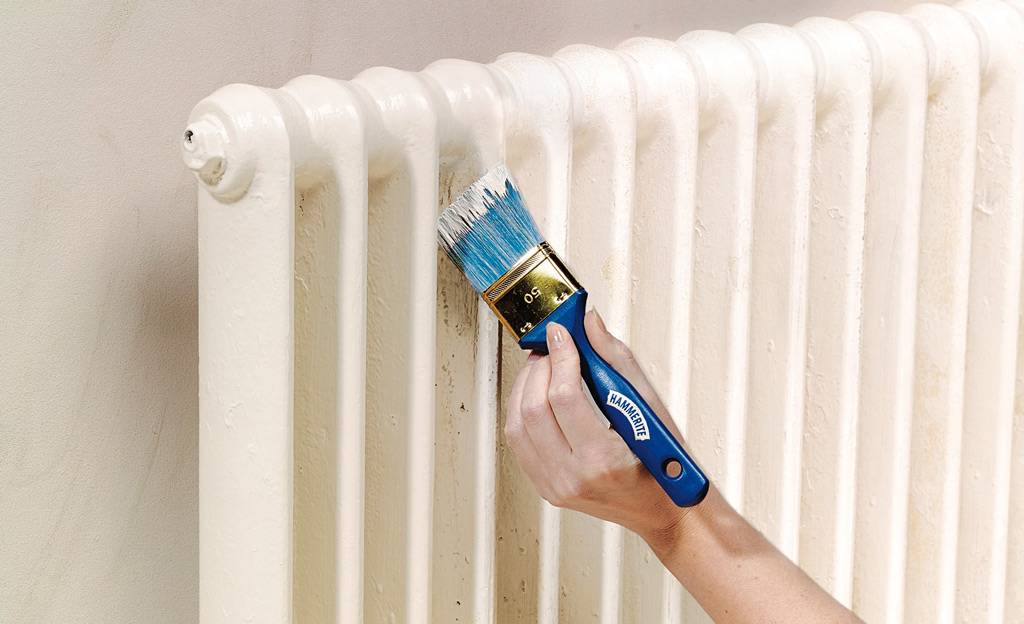
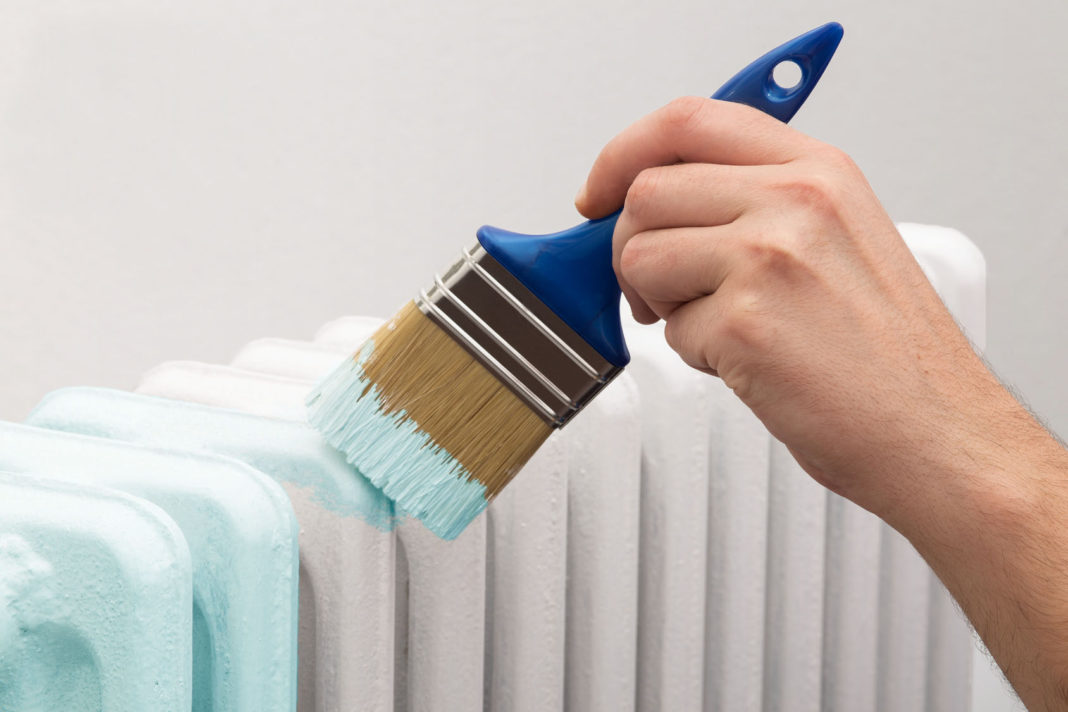
- The quality of painting cast iron batteries also largely depends on how well they are prepared. As a tool for applying paint, a smooth foam rubber roller of small diameter is optimally suited, and a brush is useful in hard-to-reach places. To decide for yourself how to paint the most convenient, you should think about removing the batteries. The radiator separated from the pipes can be covered with a composition on all sides, so there will be much less inaccessible places. At the same time, this method does not always justify itself, sometimes it is easier to paint over the battery more carefully without wasting time removing it. It all depends on the specific circumstances, the shape of the radiator.
- A very important factor is the temperature of the painted surface: the radiator must be cold. To the question “is it possible to paint hot batteries?” any specialist will answer unequivocally: this cannot be done. The most convenient moment is the time when there is no heating season. But the beginning of the heating period will not be a hindrance if you close the valves on the batteries, stopping the access of boiling water. It is enough to wait for them to cool completely to start painting. In the case of applying paint to a hot radiator, it will lie unevenly, swell, and various spots and stains will probably form. Moreover, you can connect the heating only when the paint is completely dry.
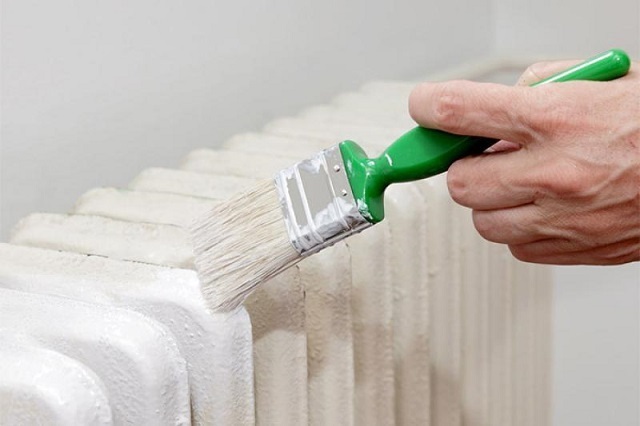
Painting radiators and heating pipes requires care and accuracy. It is good to use brushes, small rollers, spray cans.From the spray gun, it is optimal to process a previously removed battery, then all hard-to-reach areas will be perfectly painted over. It is from those places that are the least accessible that staining should begin.
It is important to observe a uniform layer thickness, otherwise the color may subsequently differ in different areas.
It is recommended to start painting from above, then accidental streaks will not spoil the lower part. You need to cover the entire battery with the composition, not limited to its front part. It is more effective to apply paint in two thin layers, and wait for the first one to dry completely before re-painting
Then there will be no streaks, and ideal evenness is easier to achieve with thin layers.
It is more effective to apply paint in two thin layers, and wait for the first one to dry completely before re-painting. Then there will be no streaks, and ideal evenness is easier to achieve with thin layers.
When can I use a renovated bathroom?
The answer to this question depends on what kind of paint the product was painted with. The average period of complete drying of the enamel is from 2 to 5 days. After painting, it is better to close the bathroom door tightly for 24 hours and not go inside for at least 10-12 hours. For the first time, you can use the renovated bathroom no earlier than a week and a half after its restoration.
You can use the product painted with acrylic paint within a day from the moment the work is completed. However, if it has dried at temperatures below 25 degrees, it is worth postponing the first use of a new bath for another 24 hours.It is better not to use a sink located next to a painted product during the entire drying time, because even a few drops that accidentally fall on a surface that has not yet dried can spoil the result.
The drying time of the painted bath depends not only on the type of coloring composition, but also on many other factors. This period is affected by the thickness of the paint layer. In order not to spoil the work inadvertently, it is recommended to wait an extra couple of days and only then confidently use a new and beautiful bathroom.
We restore the bath with our own hands using enamel
If you decide to choose this particular method, first you need to objectively assess the condition of the bath. If it has significant chips or cracks, you may need to discard all ideas about restoration and fork out for the purchase of new plumbing. But if the surface is almost flat with imperceptible defects, it is quite possible to restore with enamel.

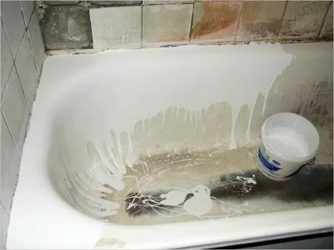
Bath restoration with enamel
First you need to prepare the cover. To do this, you need to get rid of the old enamel. This must be done carefully enough so as not to damage the bath itself with deep grooves and scratches.
Apply "Pemolux" or a similar product to the old enamel (note that it must not contain chlorine), clean it directly over this product using an abrasive stone. At the final stage of preparation, the surface is washed well with water.
Irregularities and manifestations of corrosion must be thoroughly cleaned and degreased.
Now you can fill the bath to the top with hot water, let it stand for a while and drain. After that, you need to wipe the surface with a cloth or napkins without lint.
The working composition is prepared from enamel and hardener.They need to be mixed with each other.
The first layer of the coating is the primer. After it dries, you can start enameling the second layer.


The whole process takes no more than three to four hours.
And if you are doing it for the first time, pay special attention to the following nuances:
- The surface must be as fat-free as possible, otherwise all work will be in vain.
- You will also have to very carefully remove the old enamel, without missing a single centimeter of area.
- Follow the instructions for use and dilution of enamel, which is indicated on the package. You should not do it by eye, because in the future such enamel can break off and become unusable very quickly.
- A minimum of fifteen minutes must elapse between the application of the first and second coats.
- The first layer should be thin enough.
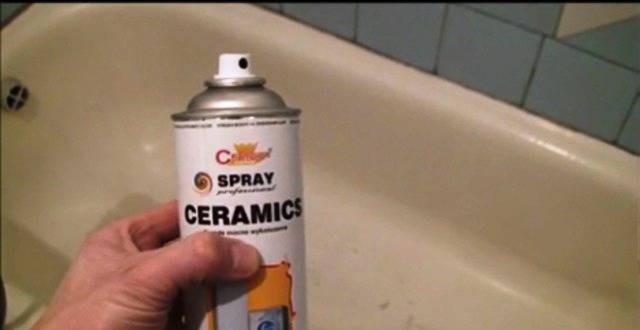
- You can also use balloon enamel for restoration. But in this case, it is necessary to avoid its runoff, and it is best to apply the composition at a distance of at least 25 cm from the surface of the cast iron.
Varieties of paints for painting
When figuring out how to paint bathtubs inside at home, it is worth mentioning all the compositions that can help solve the problem. Acrylic or epoxy paints are most commonly used. It is between them that many buyers choose. But some are wondering if you can use car paint? There is no point in resorting to it when there are more suitable formulations on store shelves. But even if you use the composition for cars, the process will not be successful. Such a coating will last no more than two years, subject to careful care and careful operation.
 Enamels for baths are available in two types.The composition for professional use has a liquid consistency and is applied in 3-5 layers.
 For restoration work to restore old bathtubs, such material as bathroom enamel acrylic liquid, began to be used relatively recently (about 10 years).
Epoxy enamel
Enamel creates a coating of high strength, but is toxic. Therefore, when working with it, be sure to use protective equipment. It is also recommended to regularly and thoroughly ventilate the room. It will be difficult for a beginner to apply epoxy. Some experience with this paint is required. The advantage of this option is its economy. It is simply impossible to restore a bathtub cheaper. But such enamel does not tolerate physical impacts, chips may immediately appear due to impact.
 Epoxy bathroom enamel is a coloring matter, which consists of several components - a hardener, as well as a base.
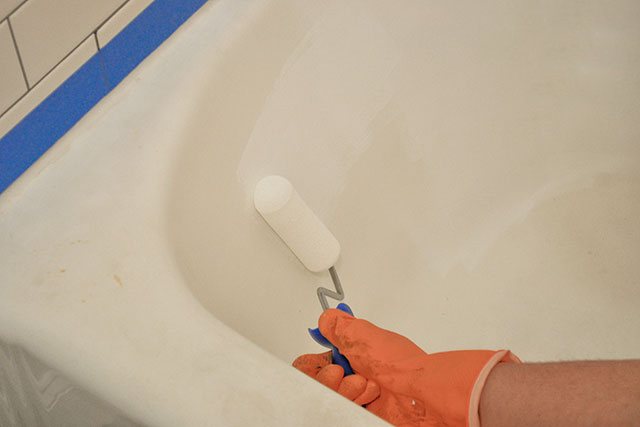
It is recommended to apply at least 4 coats using a roller or brush. For convenience, you can use a sprayer.
 The period of final hardening and drying can be from 48 hours to 3 days.
There are the following types of epoxy enamel:
- One-component. They have a pasty texture. Allows you to get rid of surface defects and make it smoother, even;
- Two-component. Includes base and special hardener. Before work, the components are mixed. It takes a week to completely solidify;
- Three-component. A catalyst is added to the base and hardener. To use the composition, it is necessary to carefully prepare the surface. After applying the paint for 5 hours, nothing should touch the product, including dust, moisture.The composition will dry for about 5 days. On the first day, drafts should not be allowed.
 Conventional paints for bath restoration should not be used, as they cannot cope with a sharp temperature drop and gradually lag behind its surface.
acrylic paint
The paint has a liquid consistency. Staining occurs by spreading the composition over the entire surface. Even a beginner will cope with the process. It is necessary to apply liquid acrylic and distribute it with a brush. The layer is even, without defects. Such a surface will not turn yellow. Chips are not formed from mechanical damage.
 Before using acrylic, it must be mixed for a long time and as carefully as possible until it becomes homogeneous.
When using liquid acrylic, it is recommended to carry out preliminary dismantling of drain structures. The paint is sold as a kit, which includes a hardener and enamel. They must be kept overnight at room temperature. Only then can the compositions be mixed and used. The layers will dry completely in a few days. The longer the specified drying time, the better and more durable the surface will be.
 The advantage of this material is good indicators of stability and durability.
Features of painting the bath
Various materials are used in the production of bathrooms. But the leading positions remain with cast iron and metal products. They are coated on top with a special composition that allows you to create a smooth surface of the selected color. Over time, the layer wears off, cracks, and defects form.
 Replacing such monolithic equipment is associated with many problems, so often the owners decide to update the cast-iron bath.
Acquiring a cast-iron model again is quite expensive and problematic, because it is very heavy. Easier to restore.
 This process allows you to repair the damaged enamel coating and return the bath to its former attractive appearance.
It is only important to choose the right paint composition so that it lies evenly and lasts for a long time. Also be sure to wear face and hand protection.
Paint compositions can be toxic and adversely affect health.
 Restoration of cast iron baths by applying a new enamel coating allows you to perform DIY work.
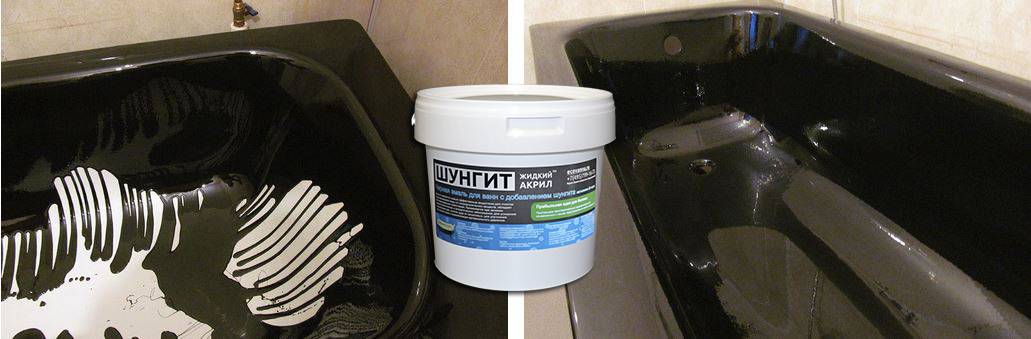
Liquid acrylic - a modern version
You can also restore the bath using a new method. It involves the use of not two-component enamel, but a more effective glass, which is a special acrylic composition created to return enameled metal structures to their former brilliance and beauty.


Stakryl has several important advantages, it:
- is able to independently (with minimal participation of the person performing the repair of the structure) lie down in an ideally even layer on the surface of the bowl and envelop it;
- characterized by an ideal viscosity index, providing a durable and reliable coating up to 6 millimeters thick.
Note that the impact and mechanical strength of the acrylic layer is much higher than that of standard enamel. With this in mind, it becomes clear why the self-restoration of cast iron and steel structures today is increasingly carried out using glass.When using liquid acrylic, the old enamel from the bowl is removed according to the scheme given above. There are no differences. After cleaning the bath, you only need to substitute a container under its drain to collect excess acrylic and turn off the siphon.
Restoration of a steel structure with glass
The restoration itself will be performed as follows:
- prepare the composition for restoration (strictly according to the recommendations of the glass manufacturer);
- start pouring it (very slowly) onto the top of the bowl;
- when the solution jet reaches the middle of the bath, you need to start moving it (as smoothly as possible) along the perimeter of the structure;
- after completing a full circle, you should re-apply stacryl according to the described method.
Such a restoration is called bulk. It should be done continuously. Therefore, for liquid acrylic, you always need to take a large enough container so that the composition in it is enough for the entire bath. Excess stakryl will go down the drain, under which you put another container. The process of complete polymerization of acrylic compositions is 24-96 hours. It all depends on what kind of mixture you buy.
Experts advise using formulations that have the longest drying time (3-4 days). They have been proven to provide a better, more durable surface that can last up to 18-20 years. Another subtlety. If you want to get a stacrylic coating of any particular color, it is allowed to add about 2-3% tinting paste to the composition. It will provide the bath with a muted light shade.
Please note that more than 3% of the paste cannot be added, since the strength characteristics of the glass layer in this case will significantly decrease
The main ways to update coverage
Today, there are three ways to update a cast-iron bath:
- Paint the surface with special enamel.
- Apply liquid acrylic.
- Insert an acrylic liner into the tub.
Each option for restoring an old bath has both advantages and disadvantages, which we will discuss in detail below. To cover a cast-iron bathtub with enamel or acrylic, it is not necessary to be a specialist, it is quite possible to cope with this work on your own. The main thing is the correct choice of the composition and the exact observance of the application technology.
Restoring a bathtub in one of the ways above allows you to achieve amazing results and turn an old rusty bathtub into a practically new product.
You can also install an acrylic liner with your own hands, but this work is more subtle and requires certain skills, so in this case it is better to resort to the services of specialists.
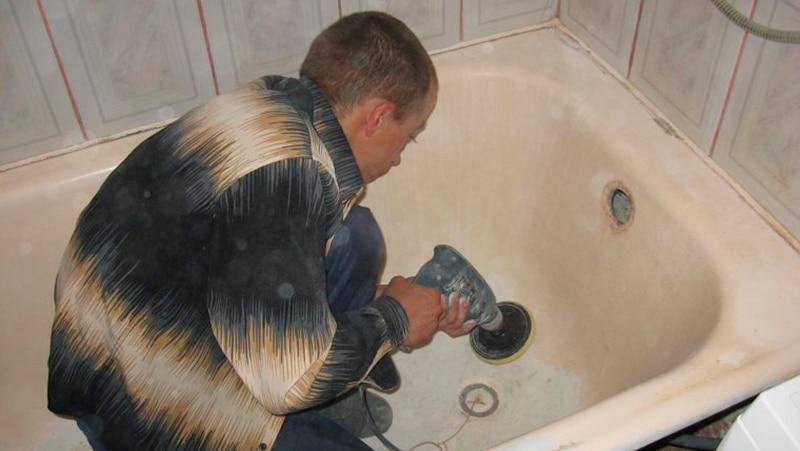
Restoration technology
- Prepare the surface for restoration. To do this, pour an abrasive cleaner into the bath, and then treat the bath with a drill with a special nozzle, which is an abrasive disc.
The surface is polished until the old enamel becomes homogeneous and matte, without traces of rust and salt deposits.
Chips are treated most carefully, removing a layer of old enamel along the edges so that the differences become invisible.
Remove dust and abrasive residues with a jet of hot water, if there are traces of rust, additionally rinse the bath with an oxalic acid-based cleaning agent. After washing, the bath is filled with clean hot water and left to warm up for 20 minutes. The water is drained, and the bath is wiped dry with a non-woven cloth.
Dismantle the drain, clean the drain hole if necessary and wipe it from dust and detergent residues with a damp and then dry cloth.
A container is placed under the drain to collect the flowing enamel. Treat the bath with any solvent using a non-woven napkin. This operation will allow you to get a degreased and ready-to-enamel surface.
Apply a layer of primer recommended by the enamel manufacturer. Some types of restoration enamels, such as Tikkurila Reaflex-50, can be used as a primer; for this, the enamel is diluted with a solvent in the specified proportion.
Wait for the primer to dry, usually it takes no more than an hour. Some compositions, for example, liquid acrylic, do not require surface priming.
The enamel is mixed with a hardener and, if desired, with a tinting paste. The proportions for mixing are usually indicated on the packaging.
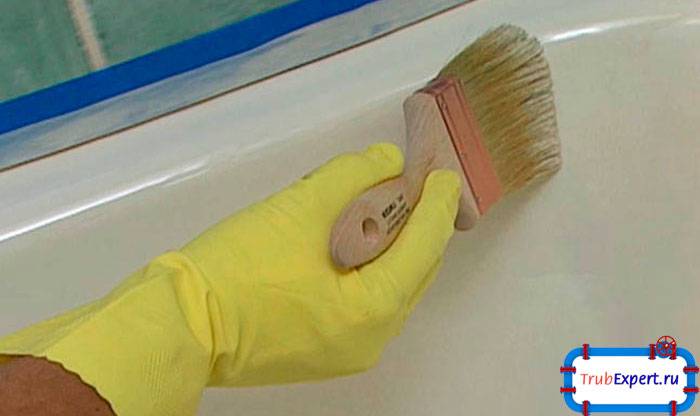
Apply the first layer of enamel with a brush with natural hair or a roller. To obtain a smooth surface, the composition should be applied as quickly as possible, from top to bottom, moving in a circle.
After the first layer has dried, the next layers are applied in the same way.
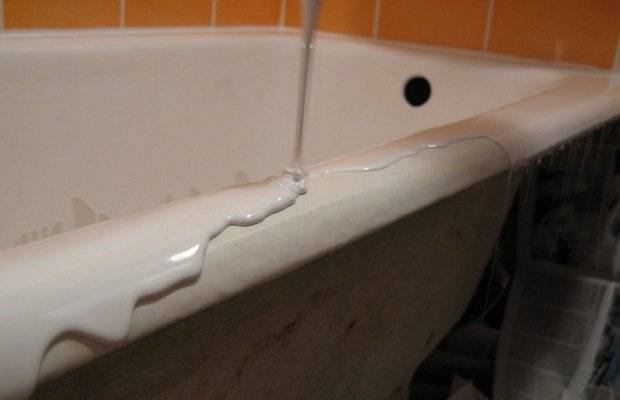
When restoring a bathtub with glass, the composition is applied by pouring after mixing.
The consistency of liquid acrylic, ready for application, resembles sour cream. It is first poured onto the edges of the bath, slightly leveled with a soft brush, after which they begin to pour onto the walls, moving in a circle from top to bottom.
The composition begins to flow down the walls to the bottom, gradually covering them with a layer of polymer composition. Its thickness on the walls is about 4 mm, at the bottom of the bath - from 6 to 8 mm, after the liquid acrylic is evenly distributed along the bottom of the bath.
Drying of the restored bath lasts from 3 to 7 days at normal room temperature, the manufacturer usually indicates this information on the packaging.
It is impossible to reduce the polymerization time of enamels, this can cause damage and peeling. During the specified time, the bath must not be used, and debris, drops of water and any objects must be avoided.
After the enamel has completely dried, drains are installed, after which the bath is ready for use.
Bath restoration work involves the use of abrasive materials and toxic liquids. Use a respirator and gloves!
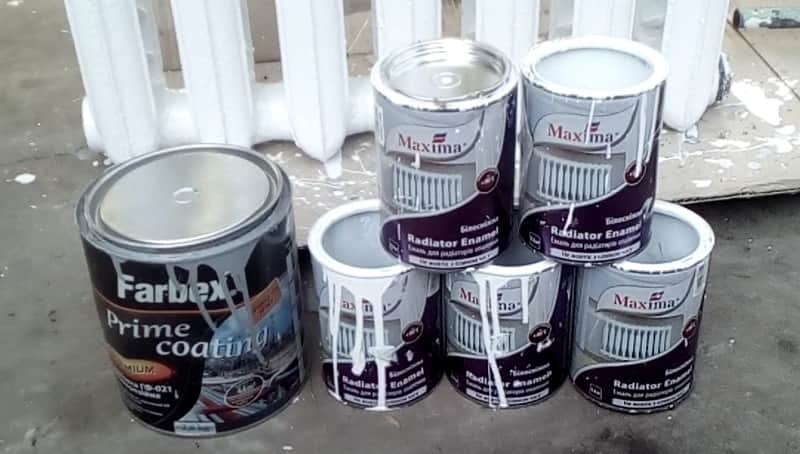
What paint to choose?
For metal pipes, paints and primers based on organic solvents are optimally suited, water-soluble ones are not suitable.
Today, compositions are offered that combine a primer and paint. This simplifies the job. But the traditional method gives more reliable results. The primer provides good adhesion to the metal, the paint fits perfectly and has a smooth top coat. In addition, such two-in-one formulations are presented in a limited range of colors, unlike paints.
Experts recommend domestic primer GF-021. It is inexpensive: the cost is from 35 rubles / kg. It is desirable to choose paints anti-corrosion.
The following paints are popular and in demand:
- Alkyd enamel. It is resistant to various influences, including temperature extremes. Minus: from the moment of application and until it dries completely, it emits an unpleasant odor.
- Water-dispersion paint. It has a long service life, dries quickly, practically does not smell, it is absolutely safe.
- Acrylic enamel.Durable, aesthetically pleasing, has good consumer characteristics.
Paint cost for metal starts from 150 rubles./kg. For painting hot pipes, it is advisable to choose a heat-resistant paint.


The following paint options are suitable for painting polymer pipes:
- acrylic and pentaphthalic based on white spirit,
- water compositions for mineral surfaces: dispersed, emulsion, acrylic, organosilicon,
- water soluble for joinery.
Conclusions and useful video on the topic
Restoring a cast-iron bath with special enamels:
Bathtub coating with liquid acrylic:
Restoration bathtubs with acrylic liner:
Restoration is the best way to update the appearance of a bathtub, as it allows you to quickly, easily and inexpensively give new life to an old cast-iron bathtub. Each method has its pros and cons, so it's up to you which one to use.
Do you have experience with a cast iron bathtub? Please share information with our readers, suggest your own way to solve the problem. You can leave in the form below.


