- In which cocktails is it customary to use two straws
- Making a vine from newspapers
- Material
- Straw vase
- Vase in 1 minute
- Step by step we make a basket of newspaper tubes
- Drink Recipes
- The easiest recipe
- Strawberry mojito at home
- Tube crafts: siphon
- Dandelion from cocktail straws
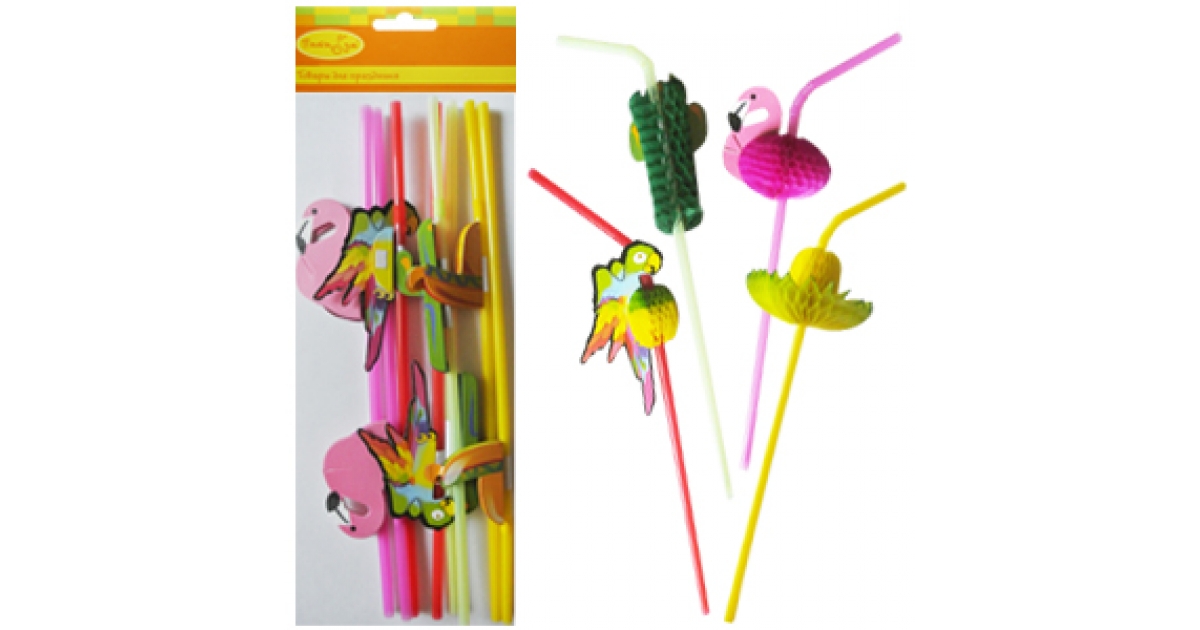
- Varieties of straws for cocktails and mixed drinks
- Tubes for stirring
- Collins straws for tall glasses
- How to make a basket?
- What do you need?
- Lamp
- Perfectionism style lamp
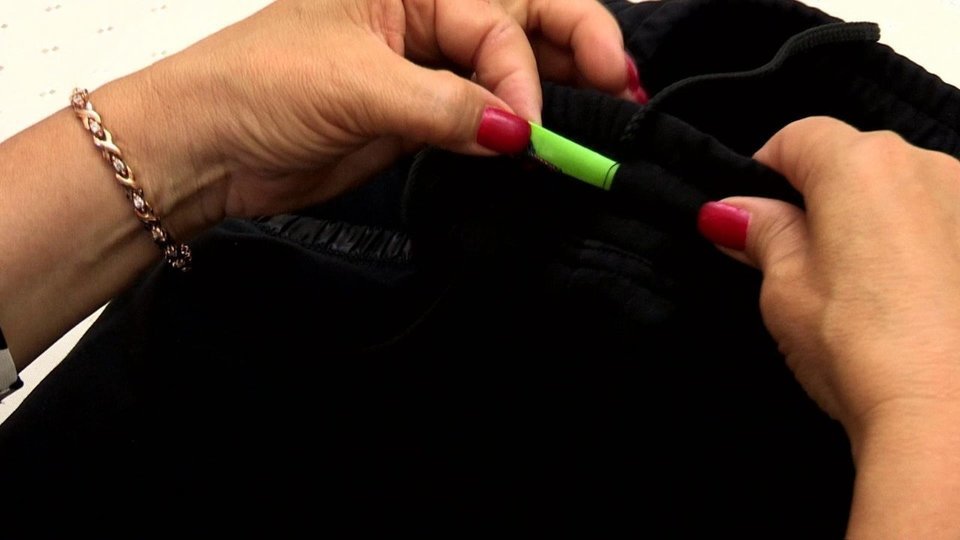
- How to make a beautiful knot of laces on the hood of a hoodie?
- Bunny ears
- hangman's noose
- Medallion
- Wood
- monkey fist
- monkey chain
- Macrame
- How to wind your hair on straws for a cocktail - a step-by-step instruction
- What will be required in the process?
- Hair preparation
- Curling tight curls
- How to style the resulting curls?
- Features of winding depending on the length of the hair
- For short
- For medium length hair
- For long
- Vase with a flower
- When and how did this tradition begin?
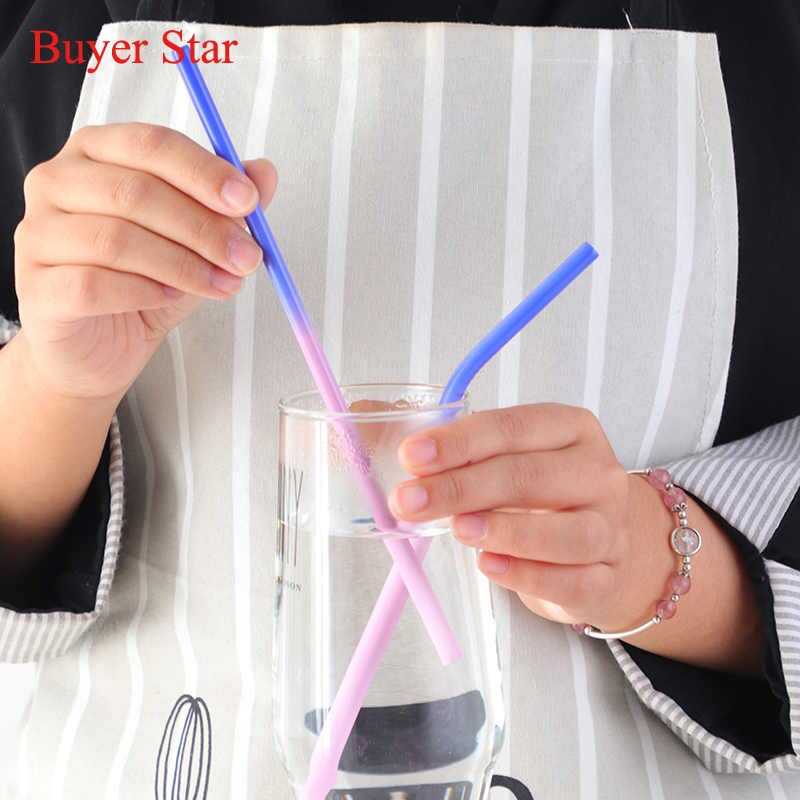
In which cocktails is it customary to use two straws
- Mojito and Tequila Sunrise are popular alcoholic cocktails. The reason why 2 tubes are put in these cocktails is quite reasonable. The second helps to saturate drinks with air and make them tastier.
- "Mint Julep" is also served with a pair of straws. Ice is stirred in this way, and a large amount of mint in a glass does not interfere with enjoying the taste.
- "Bumblebee" is a layered cocktail. It is more pleasant to drink it with two straws, first tasting the top coffee layer, and then the layer with juice and syrup.
- "Singapore Sling" and "Martini Mojitato" are also served with a pair of straws. Why do they put 2 tubes in these cocktails? The reason is quite practical: so that all the ingredients, and there are quite a lot of them, mix harmoniously and give a richer taste.
- “Bloody Mary” is an alcoholic cocktail based on “vodka”, tomato juice and “tabasco”. Served with a couple of straws to feel both the alcohol and the spicy component of the drink.
Each version has the right to exist and can fully justify itself in certain cases. In fact, this is just a tribute to tradition. As such, there is no need for them. This is really justified only in cases of thick and multi-ingredient drinks. The main thing in any alcoholic drink is to have fun, no matter how many straws are in your glass.
Making a vine from newspapers
We cut strips about 10 x 30 cm in size. Each blank must be twisted into a tube: for this we take a thin knitting needle, put it at an acute angle and wind a cut piece of paper onto it.
In parallel, we use glue, coating the tip of the workpiece with it so that it does not unwind
In the process of making twists, you need to pay attention to an important point: one end must be wider than the other so that it is possible to lengthen the ends and form the tube correctly
lane markings
Strip cutting
There is another simpler option: the tubes do not need to be twisted, they are finely folded many times along to get the likeness of thick ribbons of the same width. Further, you can make a braid from them - this is an excellent basis for the bottom and walls. This method is easier to twist, but looks no less original.
Material
For weaving, you will need paper, knitting needles, paint, stain, varnish, cardboard, glue. Newspapers, magazines, office and fax paper are suitable for work. Softer tubes are obtained from a newspaper, and thinner, more elastic tubes are obtained from magazines and office paper.
Please note: four tubes should be obtained from one newspaper spread (the width of the segment is no more than 7-12 centimeters). From office paper, cut narrow strips 2-3 centimeters wide. Experiment with different types of material, then get extraordinary paper weaving
You can create a wide variety of crafts using this technique - from trays and panels to animal figures and dishes.
Experiment with different types of material, then get extraordinary paper weaving. You can create a wide variety of crafts using this technique - from trays and panels to animal figurines and dishes.
Masters use knitting needles of different thicknesses. The selection depends on the craft: for example, a newspaper needs a knitting needle No. 2-3, and for office paper - a hosiery. For the base of the craft, twist the thick tubes, and for the braid - soft ones.
Choose paint, stain on a water-based basis (on alcohol, the product dries quickly, but makes the tube brittle). Dilute the paint with PVA glue (2:1 or 3:1). They paint either the product after work, or the workpiece before the start of the creative process.But the finished craft is always smeared with glue, left to dry. Only at the last stage it is varnished. Cardboard is used to create a finished bottom or container of the desired shape.
Straw vase
A simple version of making an interesting vase, which will not break at the same time:
- Prepare a jar, a bottle or a tall glass, a glue gun and a pack of straws.
- Glue the straws sideways to the glass walls of the container.
- You can cut the straws into rings and place the elements perpendicular to the base. If you use multi-colored material, you can create the effect of an abstract pattern.
Even a child can do this manufacturing principle.
Vase in 1 minute
Even when on the go, you can make a colorful vase to put a bouquet of wild flowers on. You need to take half a pack of straws for a cocktail, clerical gum and a jar.


Put an elastic band on the glass container and put the tubes under it so that the fold is placed on top and is directed away from the container. Instead of stationery gum can be used thread, rope, ribbon, lace.
Step by step we make a basket of newspaper tubes
Most of us probably have old newspapers at home. You can also create interesting crafts from them. It is enough just to get acquainted with our master class for beginners. The appearance of a basket made of paper or newspaper is not inferior to a wicker basket!
To create such a thing with your own hands, you will need:
- paper or newspaper.
- Spoke.
- Glue.
- Scissors or knife.
- Paint (it is better to use acrylic) and varnishes to cover the product, brushes.
- Alcohol based stain.
- Basis for weaving.
- Beads, appliqués or ribbons - optional.
Now we can get to work.
- We mark the newspaper into strips of 5-8 cm.And cut in the direction of the paper fibers. To determine the direction, run along the edge of the sheet with the nails of several fingers. If the edge has become wavy, then this is the transverse direction. And in this case, it is better to use the longitudinal direction, in which the edge remains even and folds do not form.
- We hold the knitting needle at an angle of 10-15 degrees, tightly wind the newspaper strips. We fix the edge with glue. Now you can paint the tubes in the intended color, varnish or stain and let dry. For a basket, on average, about 50 tubes are needed. Because glue makes the paper coarser, it is necessary to iron it with an iron or walk with a rolling pin several times after the glue and paint have dried.
- We start weaving from the bottom of the basket. For a square base, take four twisted tubes and connect them crosswise. As in the case of weaving straws for cocktails, it is necessary to lay the straws, constantly alternating - above the first, under the second, above the third ... The principle of weaving is the same as with a standard basket.
For a round base, you need to use at least 4 tubes, and then simply braid the base in a circle. Beginners should carefully and tightly to each other do the following rows.
To make the work easier and more convenient, you should use a glass or a box, braiding it. When the craft has reached the desired size, we take out the object from the inside and fix the edges of the newspaper tubes.
To give strength to your craft, you need to generously smear it with PVA glue. The glue must dry completely. You can decorate using napkins and decoupage of them, beads, ribbons, lids and other elements.
A beginner can additionally watch video tutorials for a visual understanding of creative passion. There are many similar videos on the network that you can easily watch online. Below is a video tutorial.
Drink Recipes
How to make non-alcoholic mojito at home? We bring to your attention a selection of recipes, each of which has its own "zest" that makes the taste of the cocktail bright and memorable.
The easiest recipe
Mojito Ingredients:
- tonic or soda "Sprite" in the amount of 200 milliliters;
- half of one lime (you can use lemon instead of lime);
- mint - a few branches;
- brown sugar (to taste);
- crushed ice.
Steps for cooking at home:
- Cut into small pieces of lime or lemon.
- Chop the mint leaves with your hands.
- Place the lime, crushed mint and some brown sugar in a tall glass.
- Mix these components and grind using a regular spoon. This should be done as carefully as possible so that the mint and lime release as much essential oils as possible, which will make the drink amazingly aromatic.
- Place crushed ice in a glass.
- Pour tonic or soda.
- Decorate the glass with a drink with a mint leaf.
Strawberry mojito at home

A soft drink prepared according to this recipe can be drunk even by children. Its refreshing taste will come in handy in the heat of summer, when it's hot outside and each of us wants to quench our thirst with something delicious. Even a novice bartender will cope with its preparation.
Tube crafts: siphon
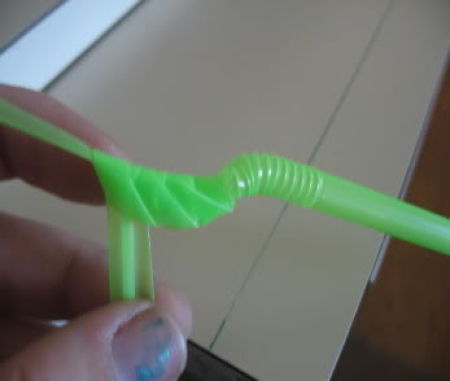
Connect two tubes to create a design for interesting science experiment and show the children how the siphon works.
A siphon is a U-shaped structure through which liquid flows upwards without the aid of sediment. Gravity causes water to flow out of the tube and reduces the pressure in it..
As a result, water from the upper container, due to atmospheric pressure, overpowers gravity and begins to flow upwards at the short end of the tube. Water will flow as long as its level in the container is lower than the water level in another container.
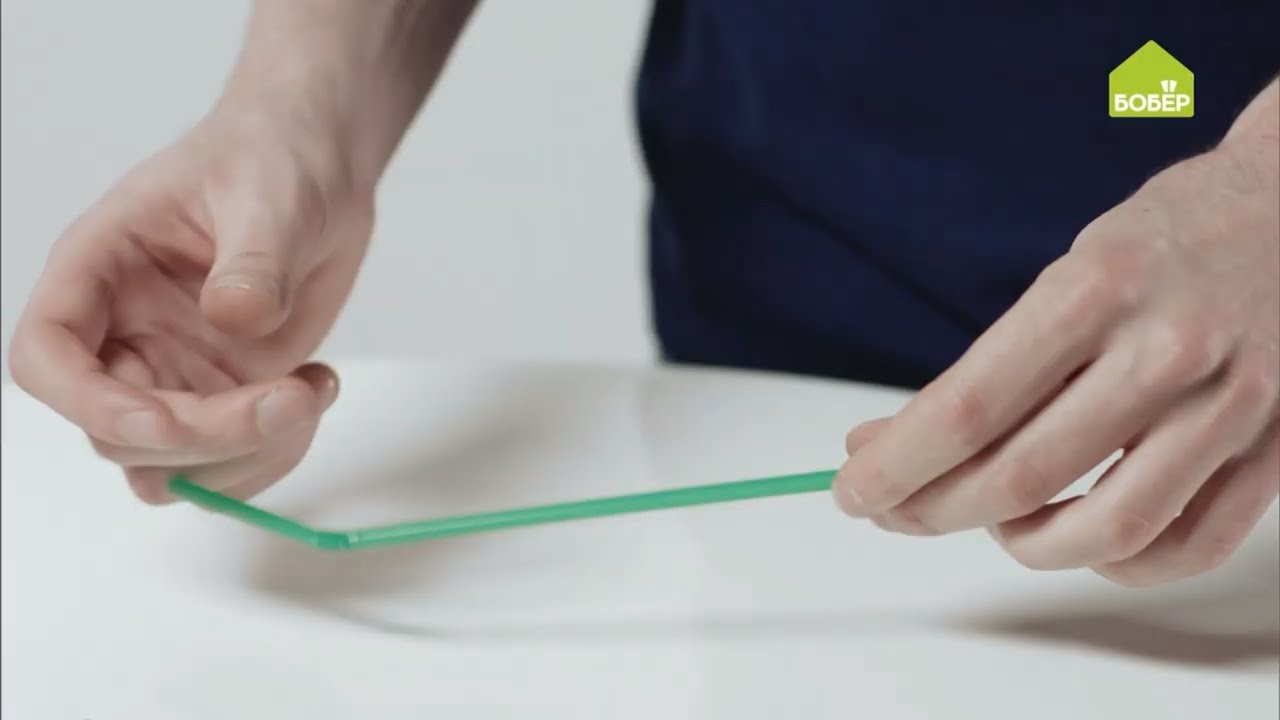
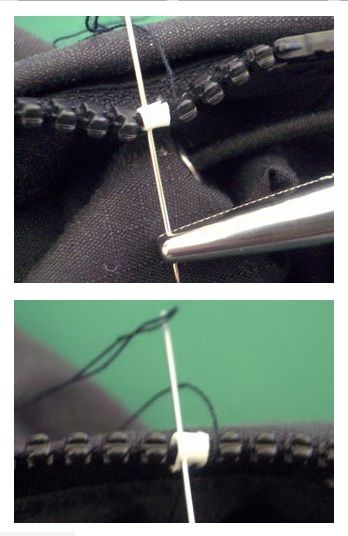
1. To make a siphon, gently bend the end of one tube and insert it inside the other tube.
2. Roll the tube a little so that it is aligned and there is no extra hole between the two tubes. You can wrap the junction of the tubes with tape.
3. Place a glass filled with water next to the sink.


4. Insert a tube into the glass and start the siphon by sucking some water through the tubes.
5. Lower the other end of the tube from the sink or another glass below.
You will notice how the water flows from one glass to another.
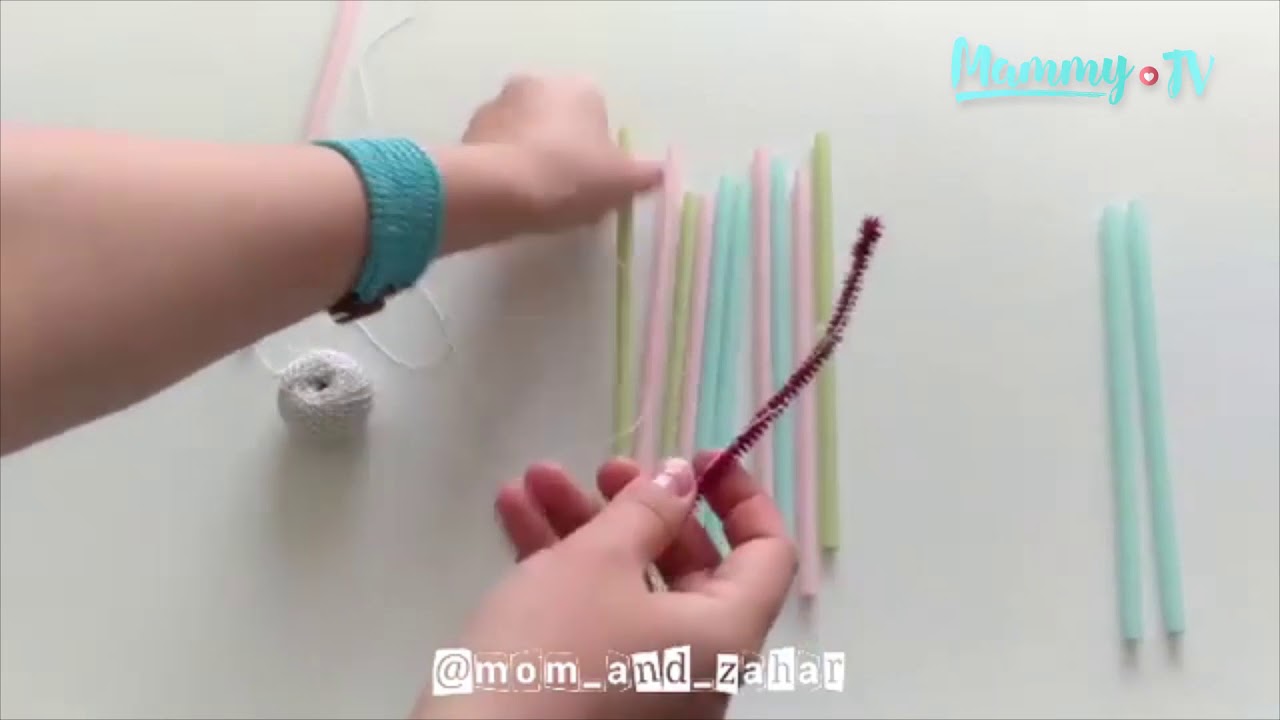
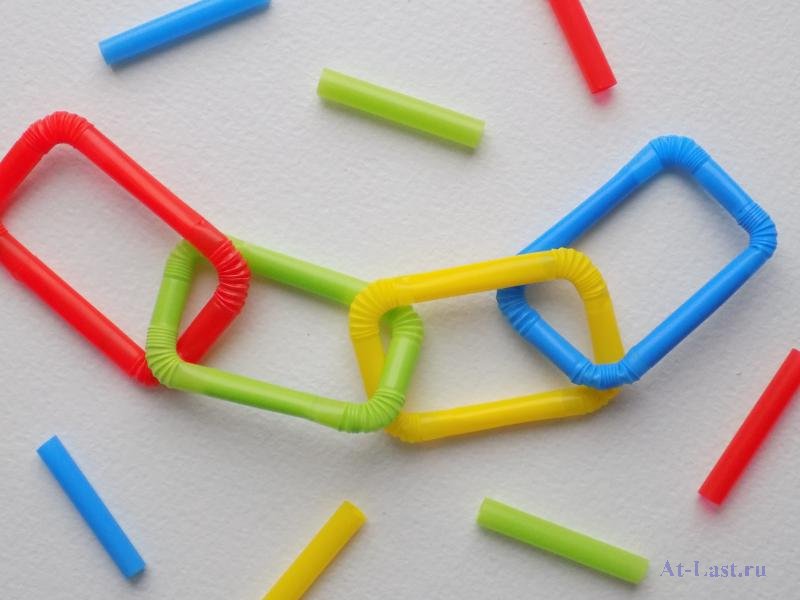
Dandelion from cocktail straws
You need to prepare a pack of white straws, scissors, a glue gun, 2 green tubes.
Manufacturing features:
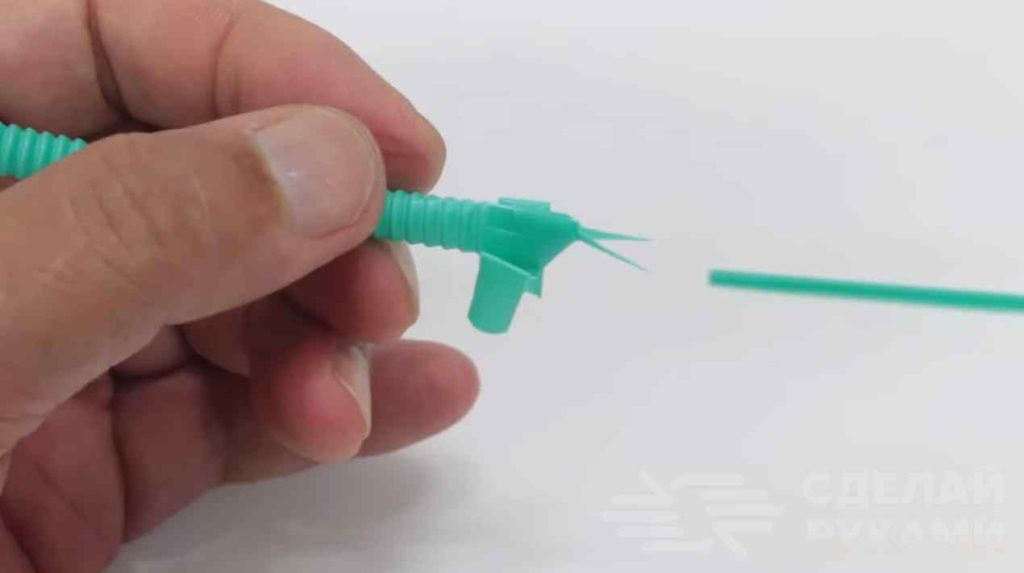
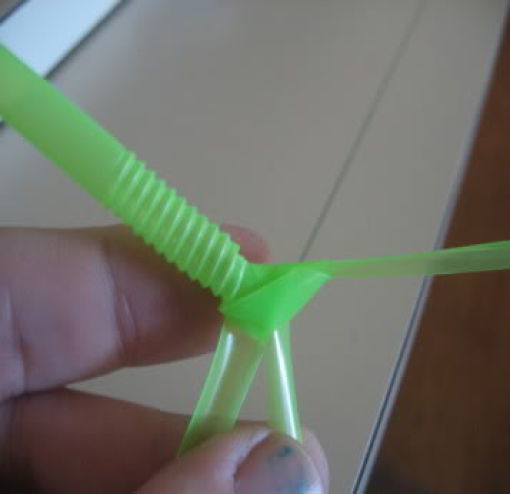
- It is necessary to cut the tube, forming a fringe. It is better to do this from the beginning of the element to the fold. Slightly straighten the resulting workpiece.
- Glue together first 2 blanks. Perpendicular to them are 2 more sticks. Next, other elements are glued. Place each part in such a way that a sphere is formed.
- Next, glue a green tube to the center. Cut the second lengthwise and finely chop on one side, forming a terry.
- Glue the green straw with terry under the white sphere, imitating the receptacle.
You can prepare a few more green elements, from which cut the leaves and attach to the stem of the flower.
Varieties of straws for cocktails and mixed drinks
If you have a bar or restaurant that regularly serves cocktails, you may need a mixed drink stirrer to allow customers to stir their drinks without letting them settle and separate. In total, there are two types of such tubes, which can also be called stirers.
Tubes for stirring
Such stirrers are also known as "one-sip straws". An indispensable accessory for any bar! They are perfect for mixing hot and cold drinks as well as compound cocktails. They have a thinner diameter, which is even smaller than that of a milk tube. Options available length from 125 to 200 mm (5 - 7 3/4 inches). The color scheme can vary from black and strict cold colors to festive rainbow shades. Stirring tubes are a favorite accessory for bartenders to taste the resulting drinks before serving them to customers.
Collins straws for tall glasses
They are longer and wider than previous stirrer straws. Similar in diameter to milk tubes. Indispensable when serving drinks in tall glasses (glasses). Used to mix layers of compound cocktails served in tall bowls. They are usually black, green or red. Collins straws are a great option for any gourmet restaurant, prestigious bar or private party!
How to make a basket?
And of course, the most important question that worries the future needlewoman is how to make a basket of tubes? To do this, the newspaper sheet must be leveled, and then take a wooden skewer and attach it to the edge of the newspaper sheet.
After that, start twisting the newspaper sheet tightly around this wooden skewer, which allows you to end up with a beautiful dense tube. When twisting, it is also necessary to coat (lightly) the newspaper sheet with PVA glue.
Continue like this until you have enough material to create a masterpiece. After you have decided on the shape of the future product - cut out the bottom of thick cardboard. The tubes are also glued together with PVA glue, but before that they must be allowed to dry thoroughly so as not to end up with soaked paper.
The finished item should be opened with varnish, and then with paint from a spray can. If you have stencils at home, using paint in a contrasting color can create some really cool installations.
If you need step-by-step instructions for beginners, then there are a lot of them on the Internet with a lot of photos for an example and a visual explanation for future needlewomen.
What do you need?
Before you take a cool photo of a straw basket, you need to weave it. And for this you will definitely need a form: any object that will help the product keep its shape is suitable for this. For example, many girls use ordinary boxes, vases, and even various toys for this. For some unusual baskets, you can use various dishes, or even create and glue a shape for it yourself.


You can use newspapers as a material, it is desirable that there are double sheets, then the product will turn out to be much stronger and more durable. We also weave a basket of straws with the help of: clothespins, scissors, ordinary stationery glue and a long wooden skewer.
Thick cardboard is usually used for the bottom of the future product, and a wide variety of decorative materials are used for decoration: ribbons, beads, various flowers, corrugated paper.
Lamp
If the lampshade on the sconce has deteriorated, then it can be restored or made new using just such material.
Elementary manufacturing principle:
- First, choose the base frame. You can use a plastic container or make a skeleton from the tubes themselves - glue the lattice of the tubes.
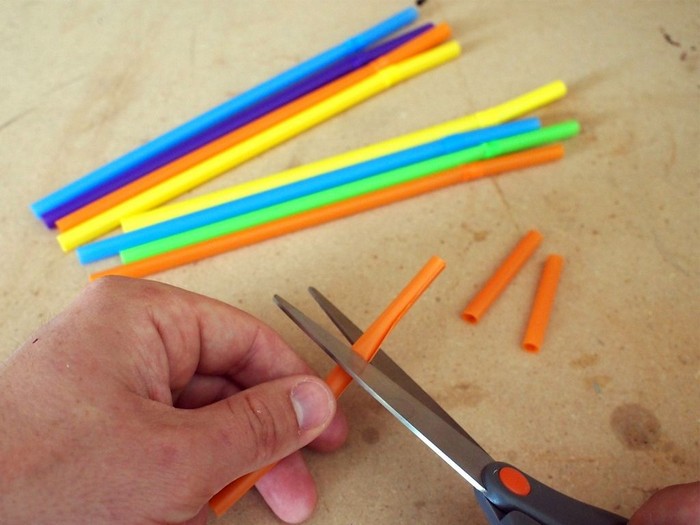
- Cut the base material into pieces 1-2 cm long. You can make the segments longer.
- Glue the cut along or perpendicular to the body base. You can arrange elements along clear lines or in any order.
Perfectionism style lamp
If there is a metal frame left from the old sconce, then you can make a completely original lamp:
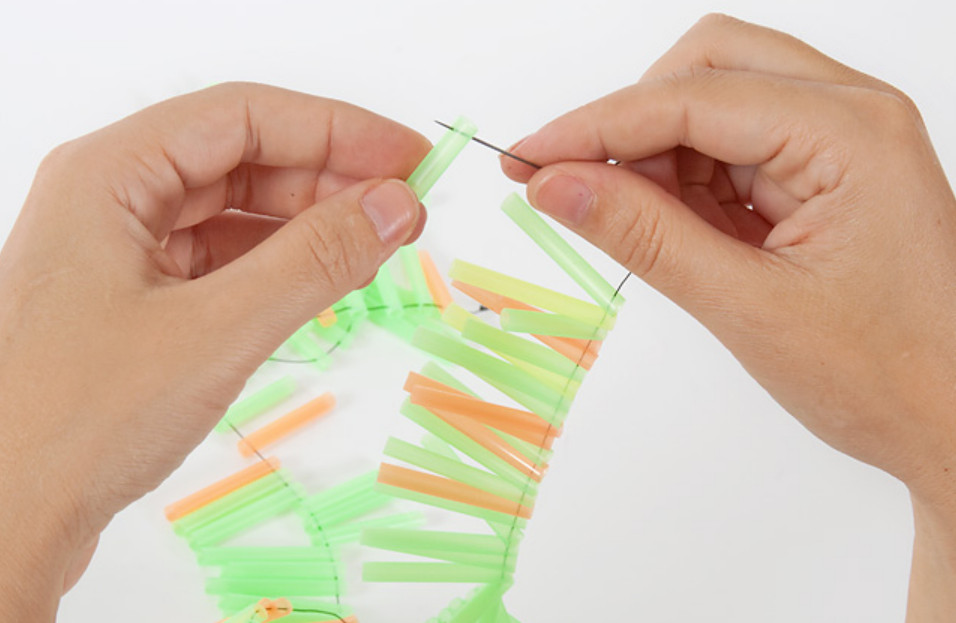
Cut the straws into pieces with the same length. Mark the middle of each cut with a felt-tip pen.
- Through the marked point, string a straw onto a thread with a needle. The longer the bundle, the more effective the product will look.
- You need to make about 10 such "garlands".
- Tie all the "garlands" to the upper circle and distribute around the perimeter.
The product will resemble a multi-level waterfall. You can change the appearance of the lamp if you move the pieces of straws apart in different directions.
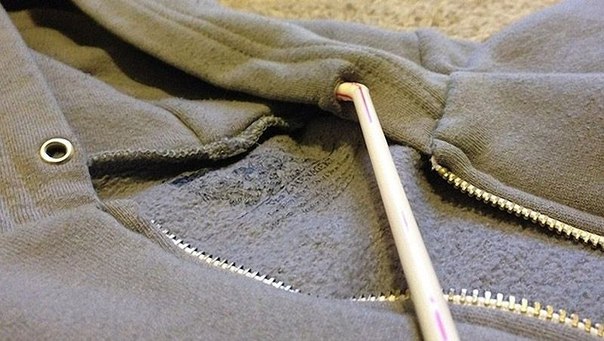
How to make a beautiful knot of laces on the hood of a hoodie?
There are many ways to tie the laces on a sweater so that the result looks original and elegant, while at the same time not unraveling every five minutes. We offer some interesting ones.
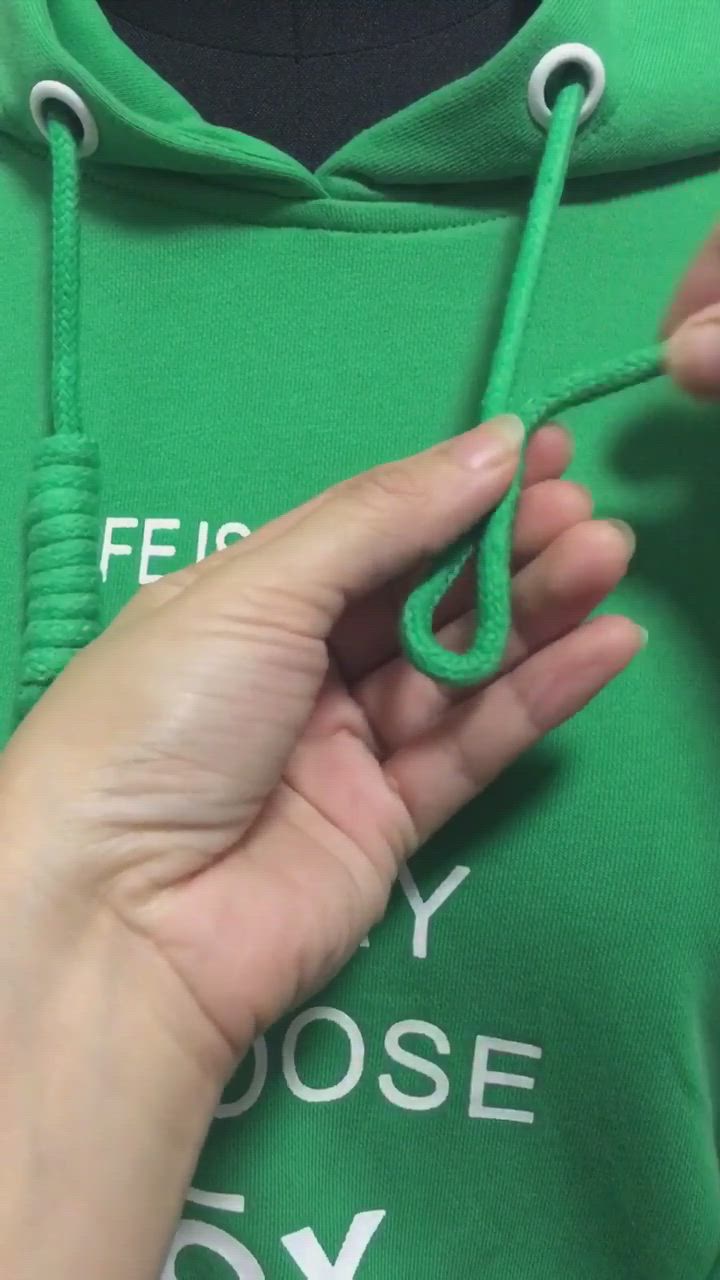
Bunny ears
The name of this knot comes from the shape of the two loops, which are similar to the ears of a hare. It is knitted very simply and almost everyone knows how to do it from childhood.
- First, the ends of the lace are crossed, forming a weave.
- Then two elongated loops are formed from them, which are tied into a knot between themselves.
The resulting "ears" neatly and beautifully fit along the knot.
hangman's noose
Such a knot can really impress others and emphasize the gloominess of the owner of the sweatshirt. It may also be known as Scaffold Knot or Lynch Knot. As it quickly becomes clear, it was used to carry out the death penalty.
You can tie one or two laces into it at once:
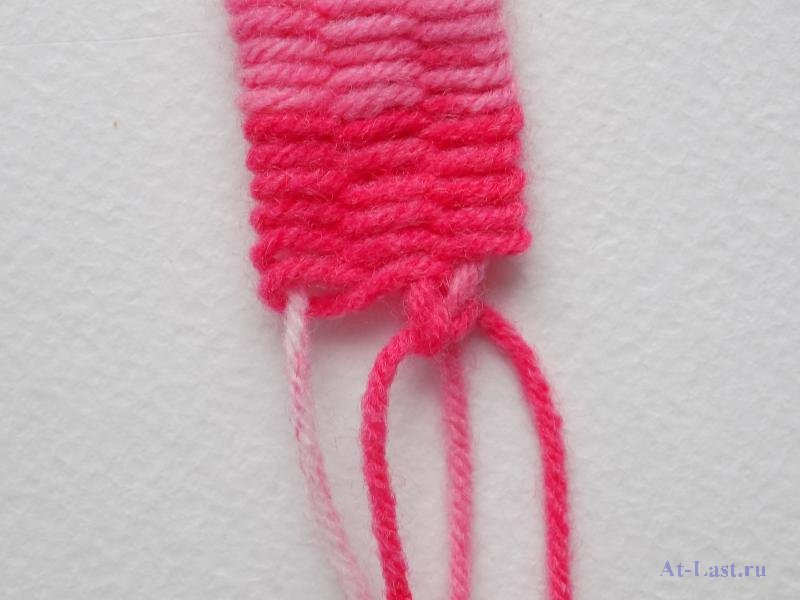
- To begin with, they are folded in a zigzag pattern to make two loops.
- Then one of them is wrapped several times from top to bottom, forming a tight transverse lacing. The number of turns depends on the total length of the lace, but must be odd.
- Then the free end is threaded through the upper loop and tightened.
You can make one such knot for each of the laces.
Medallion
A popular option is a variety of knots in the form of medallions. A good example of such decor is diamond:
- To form it, it is better to spread the jacket on a flat surface and straighten the free ends of the laces, and then make a loop on one of them.
- The second end is threaded under the loop, and then around it.
- Then it is once again threaded through the middle of the resulting flat knot.
- A similar operation is performed with another lace.
- Then they are pulled up and in the middle you get an unusual looking medallion.
Wood
Laces tied in the form of a small tree can become an original decoration of a sweatshirt. For this:
- Their ends are intertwined and loops are formed on them.
- Then they are threaded into each other and form a small knot.
- To get a tree trunk, you must continue the same manipulations, as long as the length of the ends allows.
- In conclusion, they are fixed with a bow.
monkey fist
An unusual way to tie hoodie laces will be this knot. This name was given to him by the sailors, to whom the shape resembled the method of catching monkeys using a narrow vessel and bait. It can be tied as one to both strings, or separately. To form it:


- The ends are wound on the fingers of the hand in three or four turns.
- Then, in the same way, winding is carried out across the loops.
- Then the cord is removed from the hand and wrapped around a few more times.
- The knot at the end is wound inside the resulting braid.
- Finally, it is tightened thanks to the alternate tightening of the loops from different sides.
To give it the correct shape, you can put a small metal ball or other similar object inside.
monkey chain
With this knot, you can easily shorten dangling ties and add originality to them. To tie it:
- It is necessary to form a loop and put it on the fingers of the hand, holding the intersection.
- The other end is then pulled through in a loop within a loop, forming a chain link, which is immediately fixed with the fingers.
- Then the operation is repeated until the required length and number of links in the decorative knot are reached.
At the end, in the last of them, you must definitely insert a small stick or other object that will keep it from blooming. If necessary, it can be removed and the chain will unravel by itself.
Macrame
You can try to use knots from this technique. It takes a little practice to weave them, but the result is worth it. Of these, you can choose two auxiliary options, invented specifically for fixing the ends of the threads - capuchin and earring:
- The first knits very simply and quickly. A small loop is made in the middle of the end, and the lace itself is pulled. Then the free end wraps around it and threads into the loop, after which it is tightened, forming a neat pigtail.
- The earring is visually similar, although it is done a little differently. The loop is formed from left to right and the free part of the tie is wound in the same direction. The coils should be as tight as possible. Finally, the end is threaded from top to bottom through all the loops thus obtained and tightened.
How to wind your hair on straws for a cocktail - a step-by-step instruction
Although the procedure is simple, skill is still required. The following instructions will help you do everything right:
All curls are treated with a styling agent before wrapping.
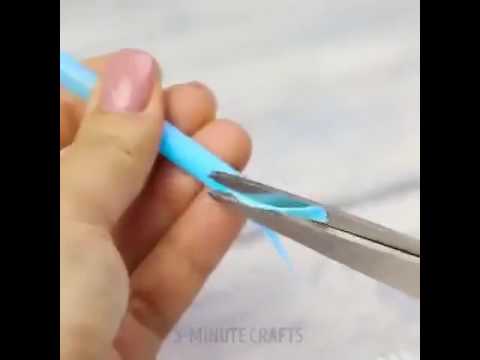
At the tubes, the bendable top is cut off.
Then you should carefully comb your hair, eliminating tangles. They are divided into small sections, each is fixed with a clamp. You will need 3 sections.
Then the lock is separated with fingers, sprinkled with water and wound on a straw. Start at the tip, moving towards the roots. To get tight curls, winding is done with flat strands. If spiral curls are required, then the strand is twisted in a spiral.The strands must be left rounded.
You should fix the effect with an invisible or hairpin.
This is how it works with all zones
It is important that all strands are the same.
The tubes are left until the hair dries. The head is wrapped in a scarf.
At the end, the tubes, invisibles are removed and curls are untwisted
Laying can be done as you wish. The hairstyle can be made lush and voluminous, it is enough to distribute it with your fingers.
This completes the hair curling procedure. If everything is done correctly and without haste, you will get an attractive and neat hairstyle.
What will be required in the process?
To complete the procedure, you must have:
- straws for cocktails - 20-30 pcs.;
- invisible - 20-30 pcs.;
- combs with a handle-knitting needle;
- mousse, gel or foam.
If the hair is prone to dryness, it is sprayed with oil before winding. So the curls will be elastic and the winding effect will last for a long time.
Hair preparation
Before the procedure, the curls should be washed, dried and combed.
It is important that they are kept moist. Then winding will be easy, and the result will be excellent.
Preparation must be carried out with each procedure. It is advisable to wash your hair with the usual means. And you can dry them both naturally and with a hair dryer.
Curling tight curls
To do this, you need to prepare improvised means. If the tubes are straight, then nothing else needs to be done with them. And if there is a bent part, it is cut off. Then the hair is divided into 4 parts: the back of the head, crown and side.
The procedure for creating tight curls is as follows:
- Separate 1 strand, wind it on a tube.
- Curls are fastened with invisibility. You can still tie the ends of the tube, but for this, the hair is not wound along the entire length of the straw, so that both edges are free.
- Twist the rest of the strands. It is desirable to move sequentially, for example, from right to left.
- Then everything is left to dry.
- Then you can remove the tubes.
How to style the resulting curls?
After winding the hair, you can style it in different ways. You can simply leave them loose, stab the strands at the back using original hairpins, hairpins, invisible hairpins.


To create some hairstyles, you need to use foams, varnishes and mousses, as well as tongs and curling irons. To get a festive styling, curls are laid on one side. Curls are collected in tails at the bottom or top.
Features of winding depending on the length of the hair
The length of the hair affects the winding procedure. With careful execution of the creation of curls, a neat hairstyle is obtained. The nuances of wrapping are presented below.
For short
Hair of short length is difficult to wind on tubes. If you do this, then be very careful. It is advisable to wind the strands in a spiral so that there are wavy curls. The procedure should be performed after dividing the hair into zones.
For medium length hair
Elastic curls are suitable for this length. And if you need wavy curls, wind them in a spiral. In order not to miss strands, the work must be done sequentially.
For long
Elastic and wavy curls will do. The tubes are wound in a standard way, kept until the hair dries and removed. After the procedure, it is desirable to do styling.
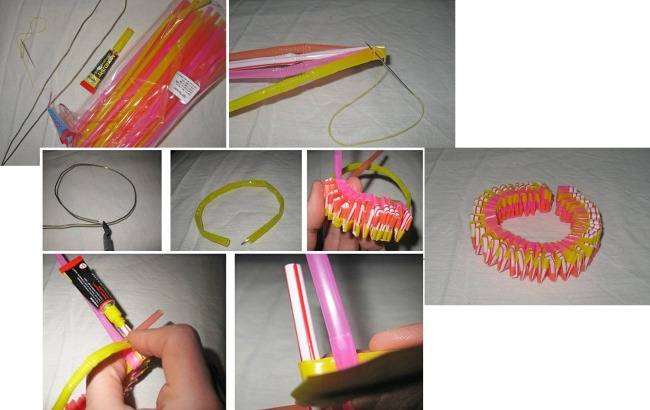
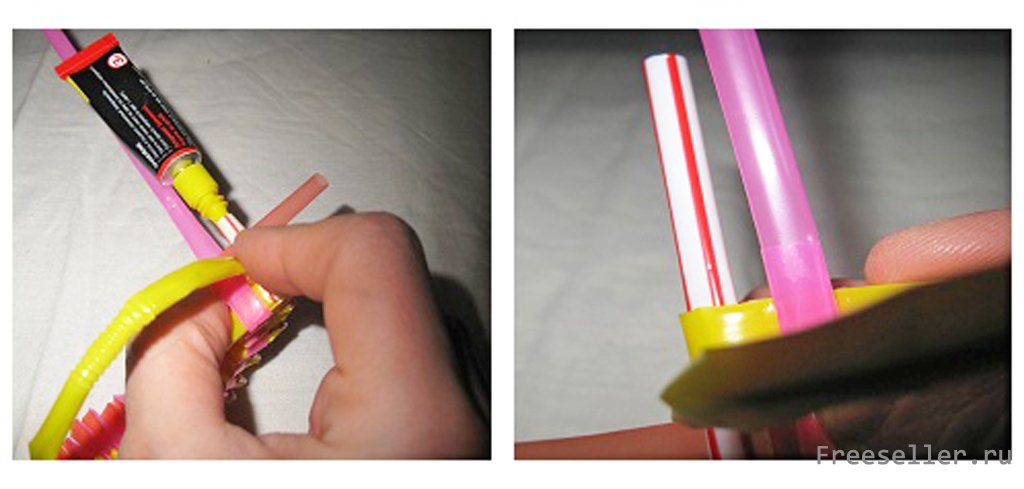
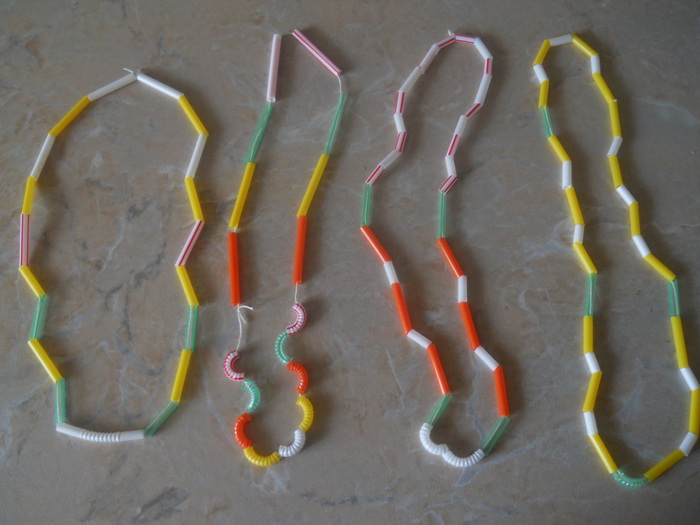
Vase with a flower
Such a vase is made quickly and simply, the child will like this activity.The craft itself can be used as a decor and not necessarily a children's room, it will look interesting, for example, in the living room. Also, the vase will be an excellent gift for relatives and friends, grandmother, sister or mother on March 8th.
First you need to cut the tubes into two parts and connect them together with an ordinary rubber band in two places for a fortress. To make the design stable, a base in the form of a thick cardboard or postcard is glued to the bottom of the vase. To hide the rubber bands and decorate the vase, you need to make a decor from ribbons, lace or old beads.
Now it's the flower's turn. To do this, you need to cut the tubes up to three centimeters long. This will be the basis for the inflorescences. They, in turn, are made from halves of the tubes, which are cut into a fringe, but not completely, so that they can be inserted into the base of the inflorescences. A small ball is made from any plasticine - this will be the middle of the flower. Inflorescences are stuck into it over the entire area as densely as possible, so it will be more voluminous. From one tube, make a flower stick and put it in a vase. Flowers from tubes for juice are ready.
When and how did this tradition begin?
First of all, you need to figure out where the device itself came from. The first variants were discovered by archaeologists at the excavations of the Sumerian civilization, which lived in the III-IV millennium BC. These were straws made from dried hollow stalks of cereals. They were used to drink the drink resulting from fermentation, in order to enjoy drinking the settled part and at the same time avoid contact with the thick sediment.
Much later, straws appeared, made of precious metals, inlaid with expensive stones.Such were considered a special chic among the nobility and nobles. They were made to order and used for special occasions. In the 18th century, it became fashionable to use ordinary straw as a fixture. Hollow inside, she allowed to drink drinks without changing the position of the glass.
Despite the cheapness and availability, the straw had significant drawbacks. Firstly, it swelled from prolonged contact with the liquid, and secondly, it gave a straw taste to the drink, worsening its quality. Inventor Marvin Chester Stone in 1887 began experimenting with a better paper straw. In 1888, he received a patent for an invention, and after a couple of years, his brainchild forever replaced straw from glasses. Later, instead of paper, he began to use plastic.
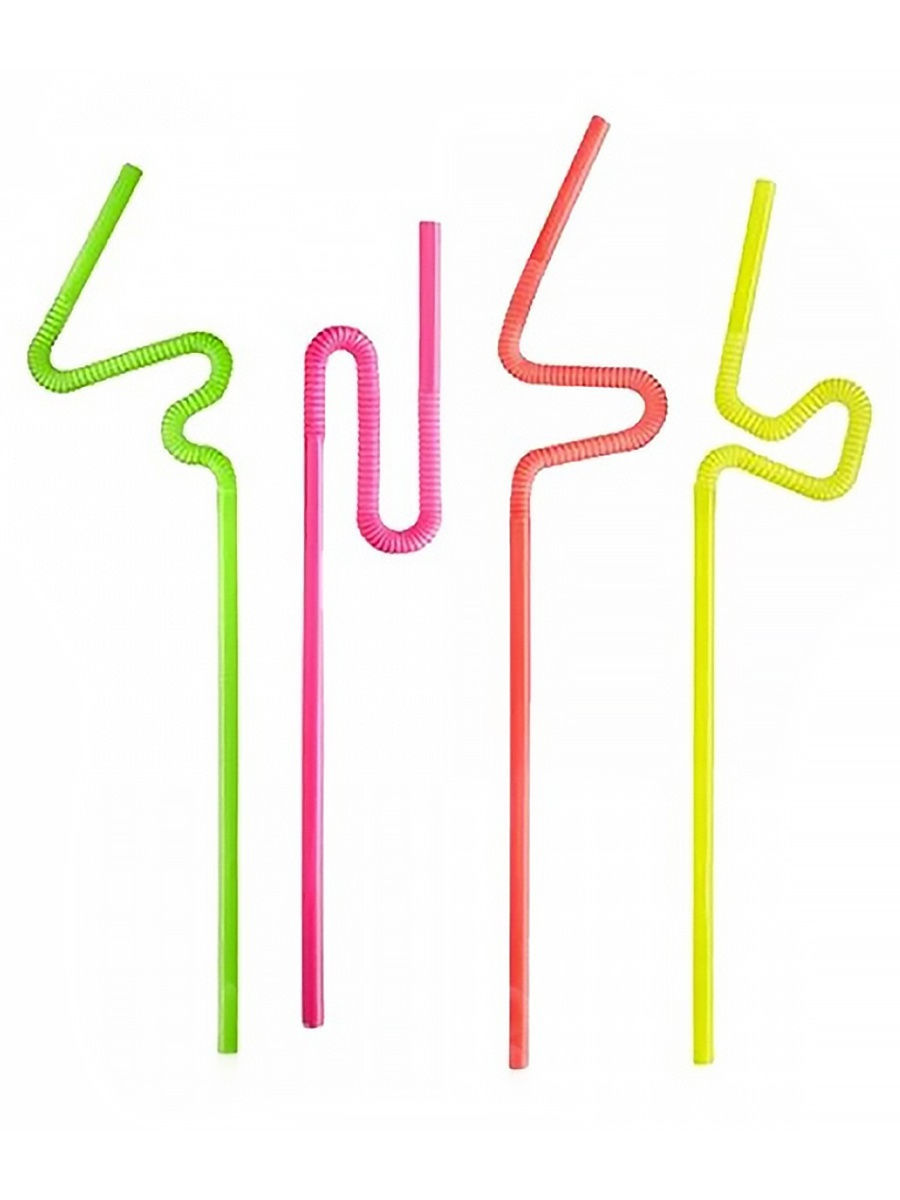
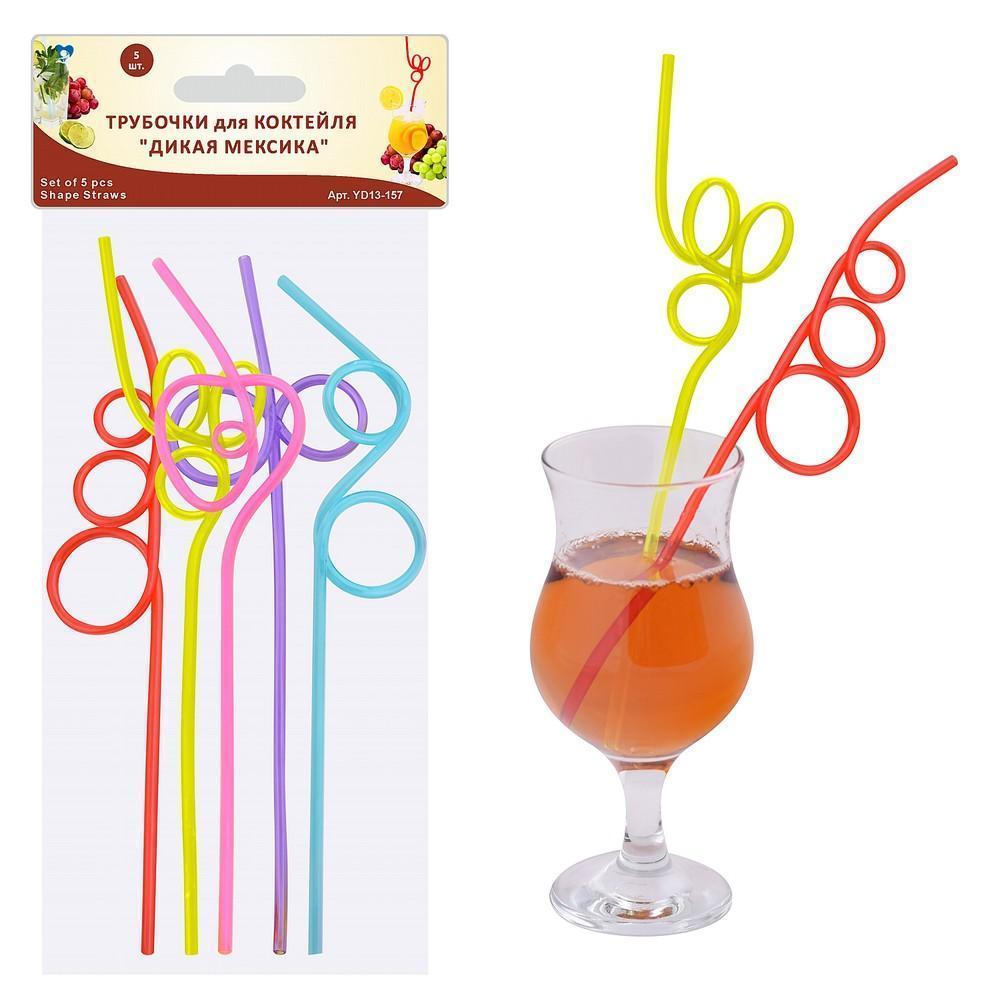
In 1937, Joseph Friedman patented a new straw shape. It contained an accordion-shaped section that allowed it to bend at different angles. Somewhat later, devices of various curly shapes appeared, along which the liquid moved, as on rides in a water park. However, they did not bring much benefit, but were used exclusively as decoration.
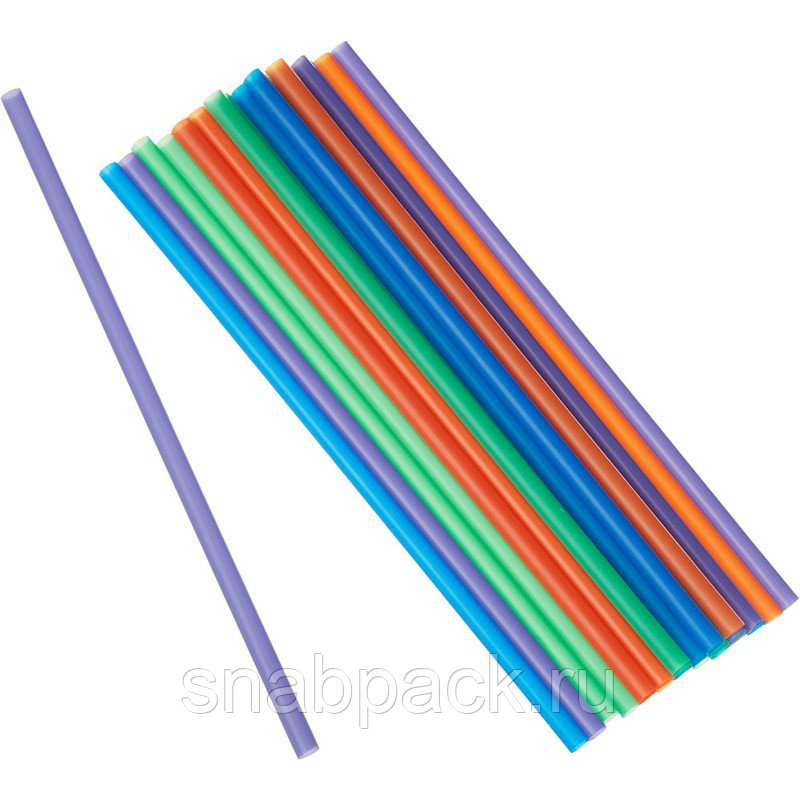
Evolution has undergone not only the appearance of the straw, but also its diameter. The first straws were produced in the same diameter and were very thin, so you could often see two or even three pieces in alcohol. Over time and fashion trends, sizes and diameters have become much more diverse. The tradition of using several tubes has taken root perfectly and has acquired its own myths and versions.


