
Before you equip the basement, it is important to draw up a ventilation scheme for the cellar in the garage in advance. The duration of food storage, the level of air humidity, the condition of furniture, walls and everything inside will depend on the microclimate. All requirements must be met so that air circulates freely.
Condensation always appears in any basement or deep vegetable pit, which can be removed by the hood for the cellar in the garage.

How to make ventilation in the cellar of the garage from sewer pipes and other materials? The publication outlines the key principles of the work, a simple installation method is considered.
Ventilation systems: types and features
Natural
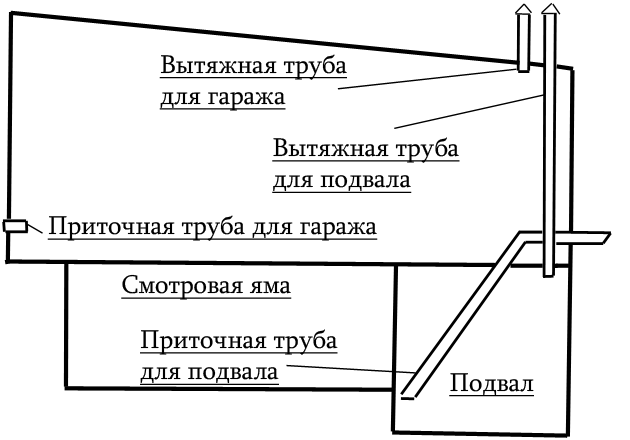
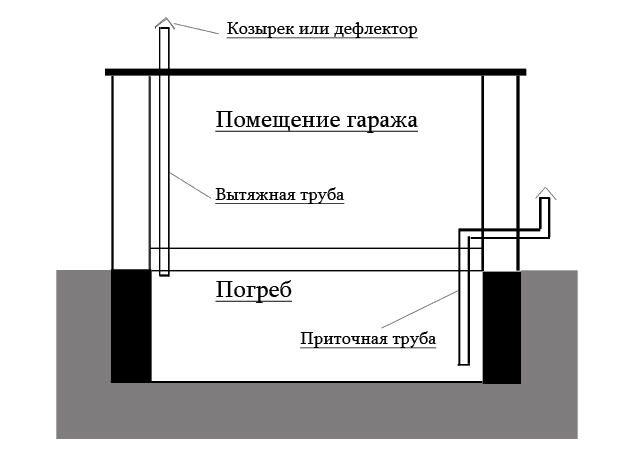
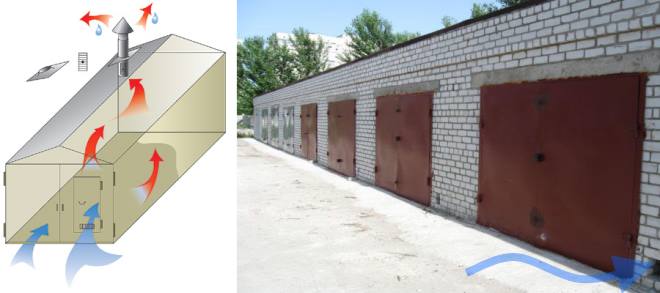
In order for the air of a building with a cellar and a viewing room to circulate naturally, it is important to observe one condition - the difference between the inside and outside temperatures. For installation of the system, a simple design is used, consisting of 2 pipes.
Through one, cold air will enter the room, and through the other, warm air will come out.The supply pipe will need to be installed as low as possible, above the floor itself.
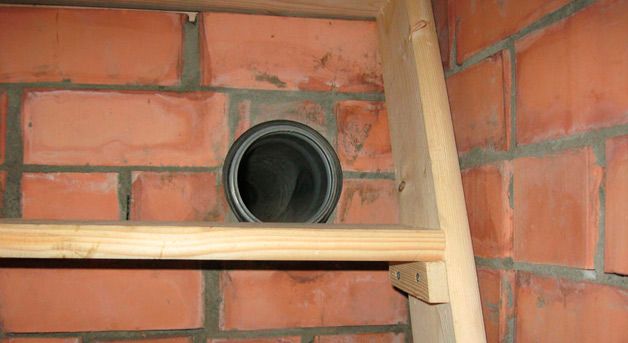
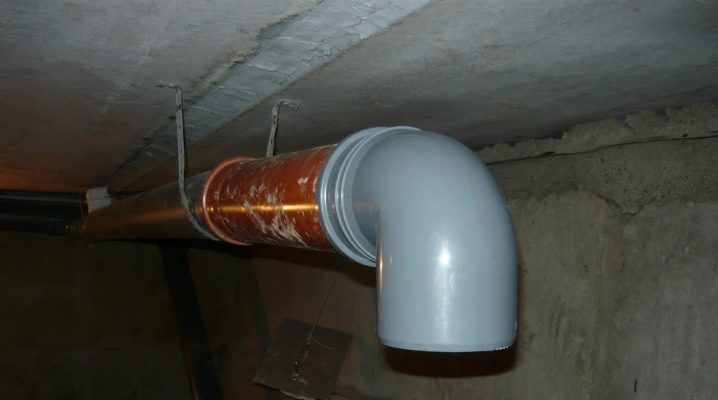
The correct location of the entrance for the hood in the basement of the garage is under the ceiling.
Thus, the warm air flow will be naturally displaced by the cold one.
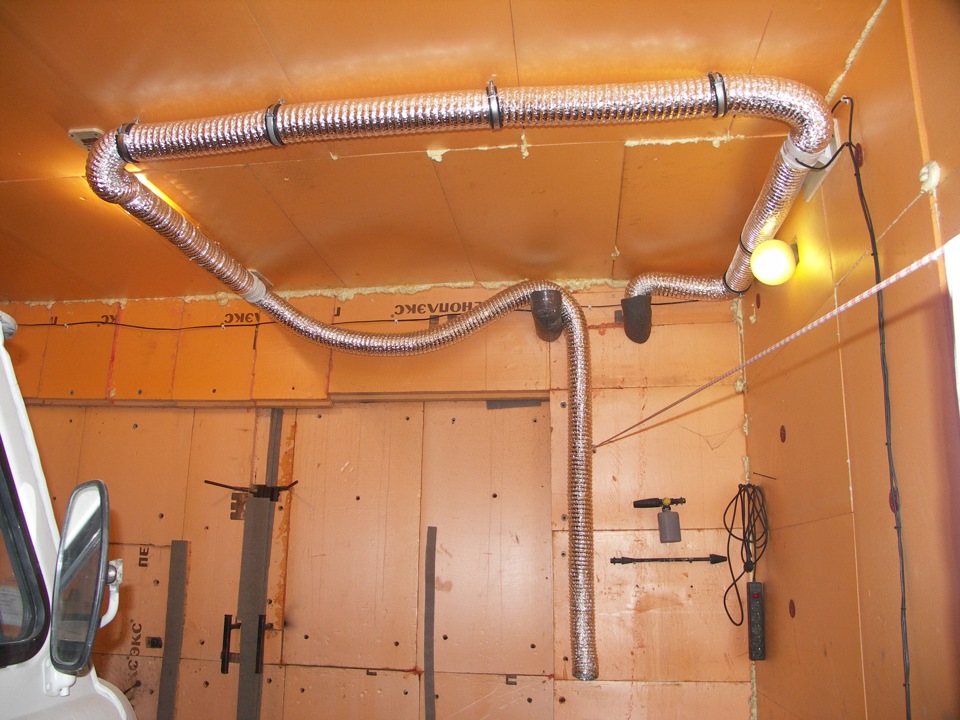
If you insulate the exhaust pipe, it will be possible to protect it from icing during frosts, maintain the temperature difference and improve traction.
For this, the craftsmen use various heat-insulating raw materials: glass wool, polystyrene, etc. During installation, it is worth considering that the diameter of both inflow pipes must be the same.
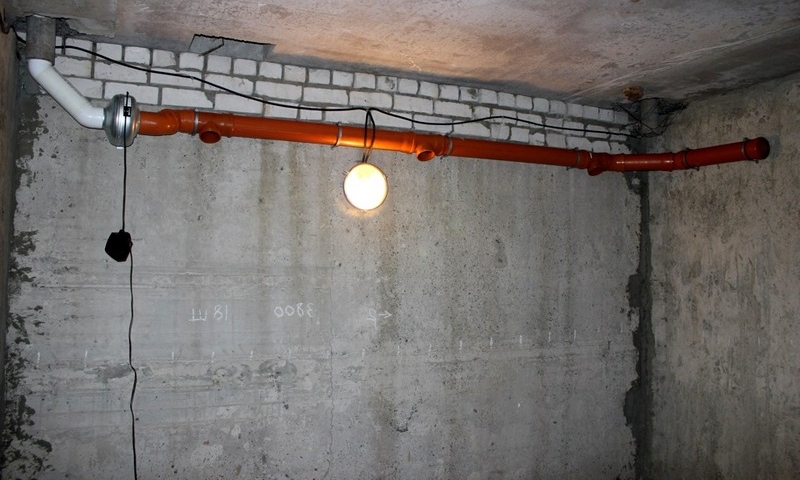
This parameter depends on the area indicator and should be at least 100 mm. It is important that the ventilation pipes in the basement are resistant to corrosion processes, high humidity. For ventilation in a garage with a basement, a plastic or asbestos-cement system is suitable.
Artificial
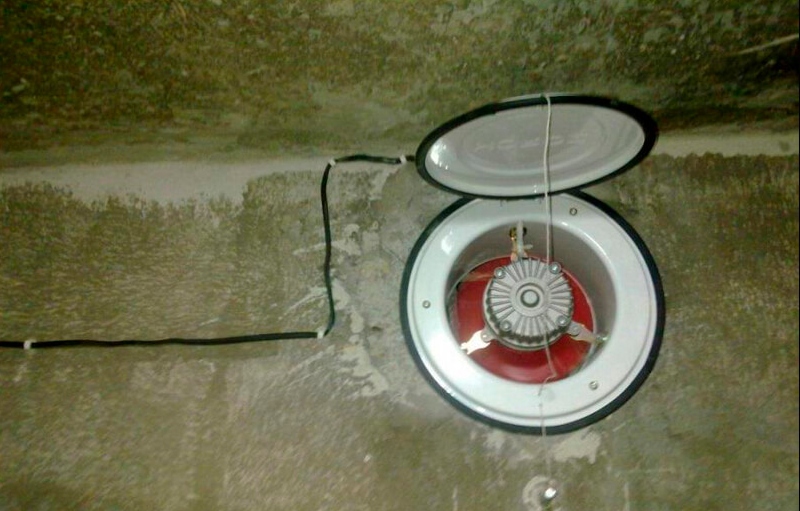
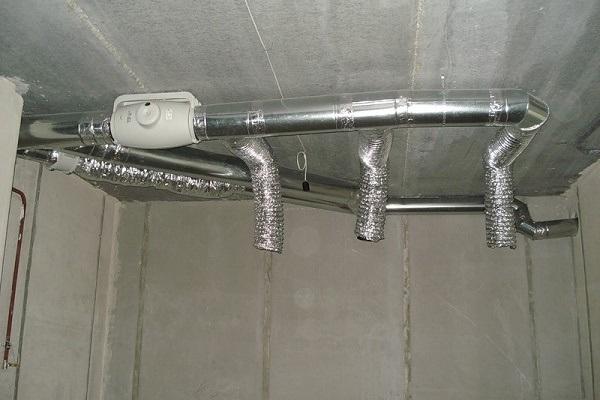
Artificial and natural ventilation in the cellar of the garage has no significant differences in design, except for the presence of an electric fan. To make a design, it is important to follow the rules for working with electrical appliances. Excess moisture can get on the wires and damage the fan or all electrical wiring.
This can be avoided by using additional protective waterproofing materials. Such ventilation is suitable for installation in a garage without a basement. In this case, the use of a fan is required only in the summer.
Pros and cons
The natural ventilation system of the garage basement has become widespread due to the following features:
- ease of installation;
- moderate prices for parts;
- noiselessness;
- ease of use.
The hood in the cellar can be created with your own hands, since the circuit consists of 2 elements. But it is impossible not to mention the obvious disadvantages of this method:
- lack of regulation;
- automatic heating / cooling is not provided;
- system instability.
If we talk about the principles of artificial air exchange, then they are based on the automatic injection of air flow. At the same time, it can be cooled and filtered. Thus, an optimal microclimate is created, regardless of weather conditions.
But this design is complex, consisting of many parts that, when used, can wear out or stop working. Other disadvantages include the cost of parts and the need for uninterrupted power supply.
Step by step installation
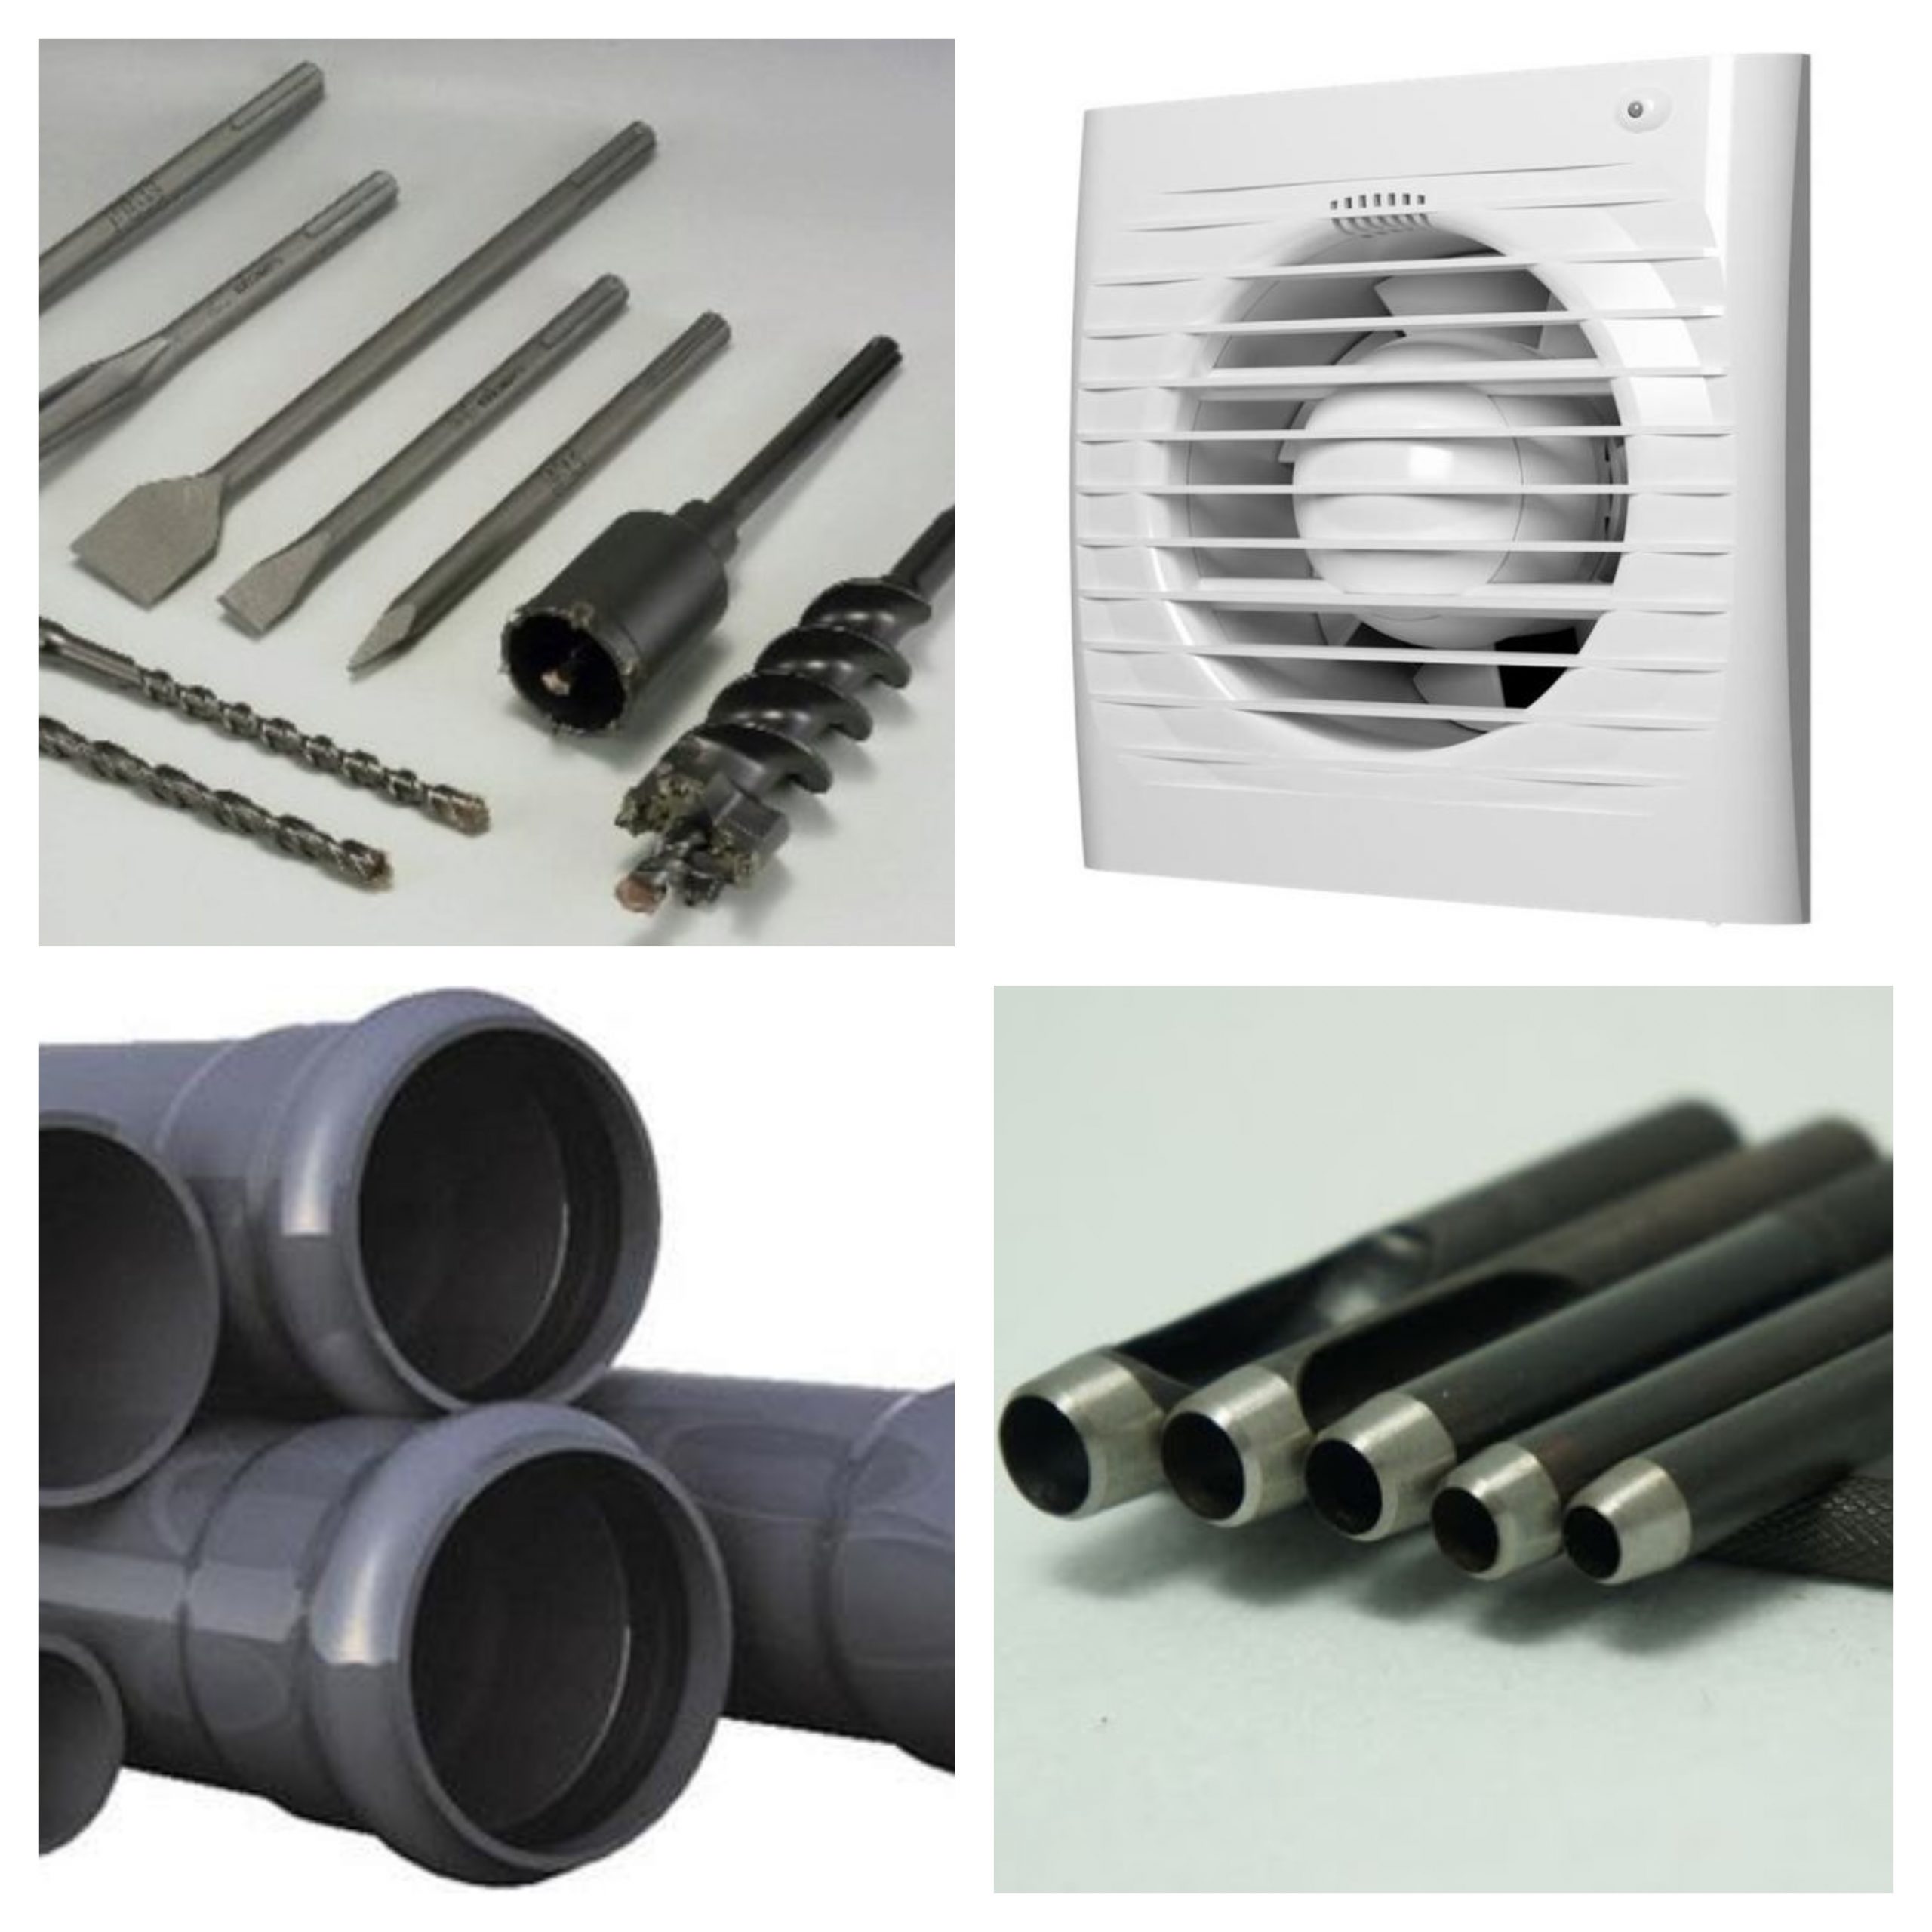
How to make ventilation in the cellar of the garage? For work you will need:
- pieces of plastic pipes 110 mm in diameter with rubber seals;
- electric fan with a power of 10-15 W (powered by a 220 V network);
- removable pieces 30 cm long (2 pcs) for the electric fan and its replacement;
- perforator;
- punch;
- Boer;
- chisel;
- crown (125 mm).
The exhaust section should reach 3-4 m in length, the supply section is calculated taking into account the depth of the cellar. Also, an extension cord may be needed in the work (if the thickness of the ceilings and steles is too large).

Hole drilling
How to make ventilation in the basement of the garage? You need to do the following:
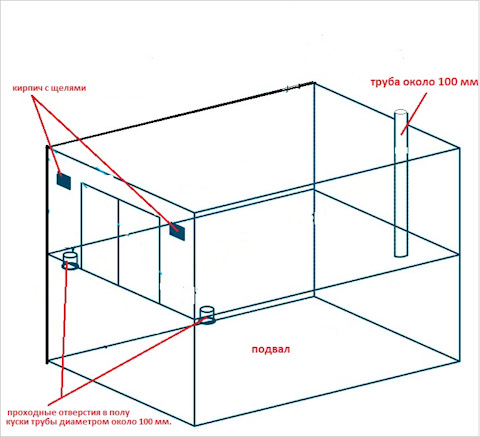
- First you need to determine where the holes for the hood from the cellar in the garage will be located. They are advised to distribute diagonally at the top of the wall or on the ceiling.It is important that the pipe through which fresh air enters exits towards the north side, and the second towards the south.
- Next, in the cellar at the top of the wall or ceiling, you will need to mark the center of the hole for the hood and drill it with a drill.
- Then in the garage around the drilled center, a circle with a diameter of 125 mm should be marked. After that, 3-4 holes are drilled in a circle and start drilling with a crown. If the crown falls on the reinforcing bars, they must be removed from the cement with a chisel and cut off with a special hacksaw.
- The next step is to place the pipe in a vertical position against the drilled hole in the floor so that it touches the ceiling and mark the position of its central part. In the place to which its end adjoins, you need to drill another hole.
The ventilation of the vegetable pit in the garage must be supplied with air from the street. To do this, holes must also be drilled on the roof. The actions described in paragraphs are repeated in a similar way.
System installation
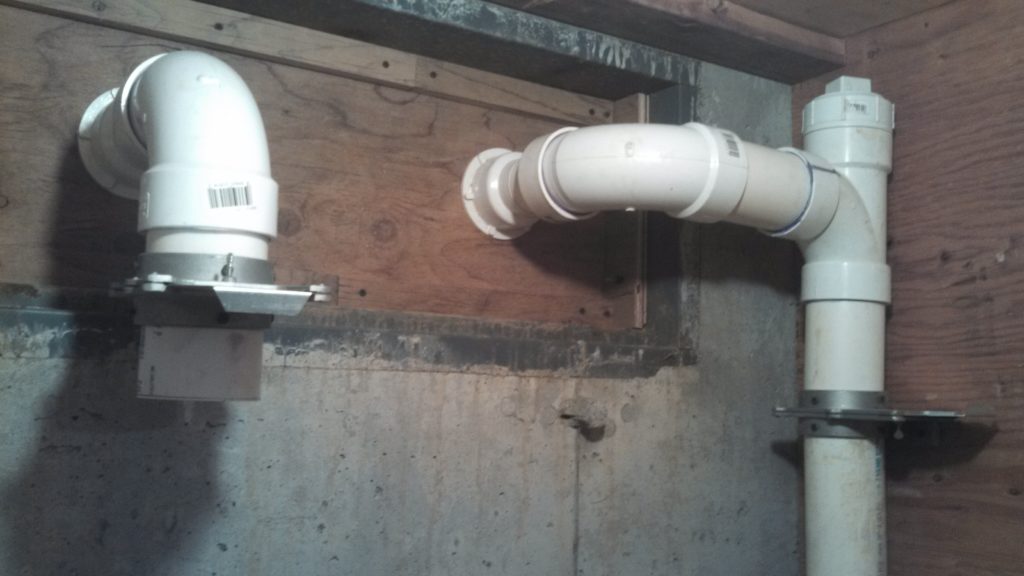
Installation of ventilation in the basement of the garage is carried out as follows:
- First, a fan is fixed inside the removable pipe section.
- Next, you will need to install the exhaust part of the cellar ventilation system in the garage. To do this, connect 3 segments.
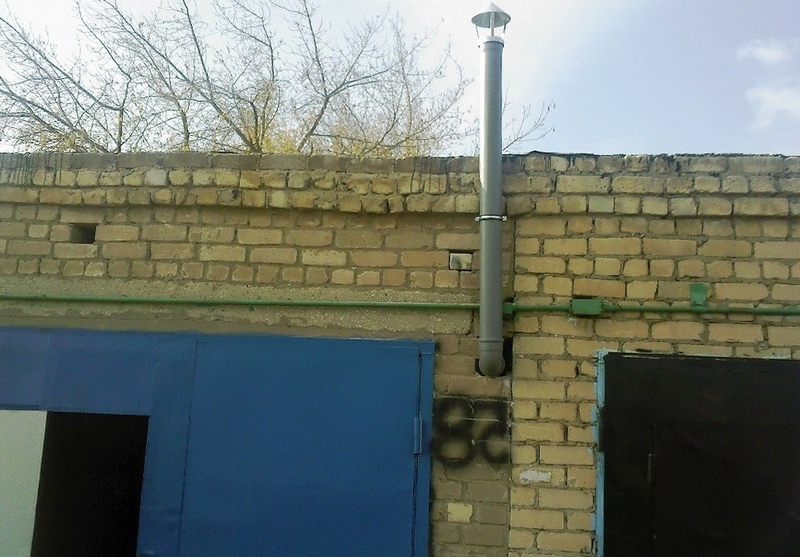
- The location of the fan is chosen so that access is convenient. It is important that the upper ventilation pipe rises 1 m above the roof, and the lower one descends into the basement to the ceiling level. Then between them you will need to insert a piece of the garage ventilation system with an electric fan. In this case, the rotating elements must be directed upwards towards the hood.
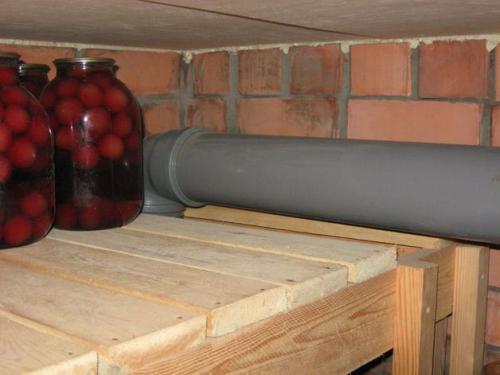
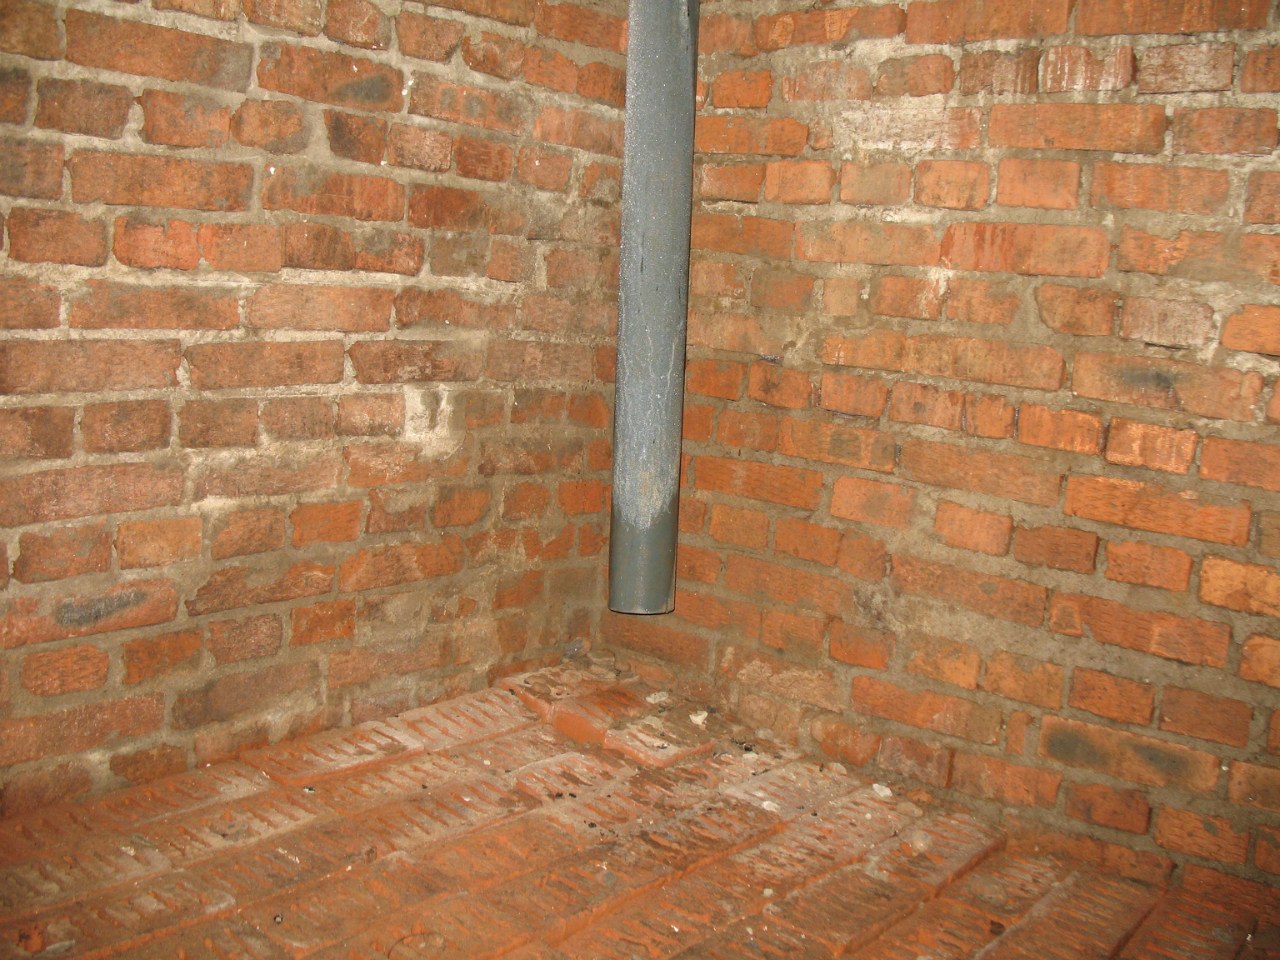
- After that, you can proceed to the installation of the air inflow pipe.It must be lowered into the cellar at a level of half a meter above the floor surface.
- The input segment must be brought out so that it is located to the North of the building, and raised 20 cm above the ground.
- Next, the hole will need to be finished with a knee or a tee with a special metal mesh.
- After that, you can start sealing the joints. For these purposes, a solution or mounting foam is suitable.
- Now it’s worth connecting an electric fan and checking the draft in the cellar. To do this, lean a piece of paper against the hood opening.
- The final step is insulation. If there is no heating in the building, you will need to completely insulate the exhaust part of the system.
Other features of the work
The degree of productivity of a natural system is affected by the cross section of the holes. It depends on the parameters of the room. It is advisable to start the air inlet with a knee or a tee, otherwise precipitation may get inside.
It should also be covered with a special mesh so that pests and insects do not penetrate the building. Installing a deflector will increase traction and increase the efficiency of the system by 15-20%.


