- Handling old lamps
- What is a blowtorch used for?
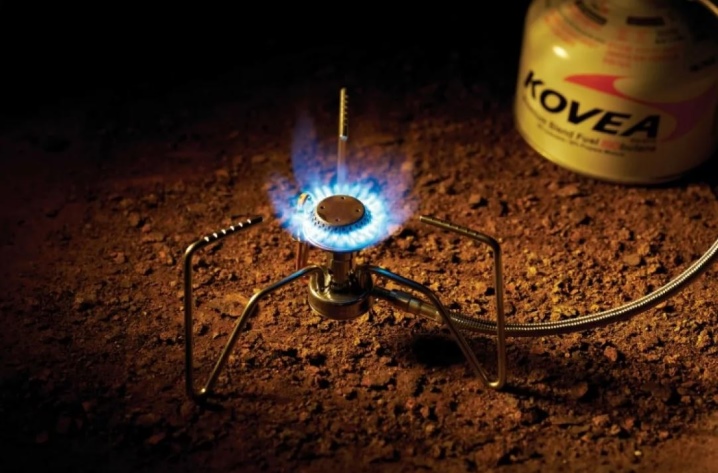
- gas horn
- Learning to solder with a gas burner
- Manufacturing Recommendations
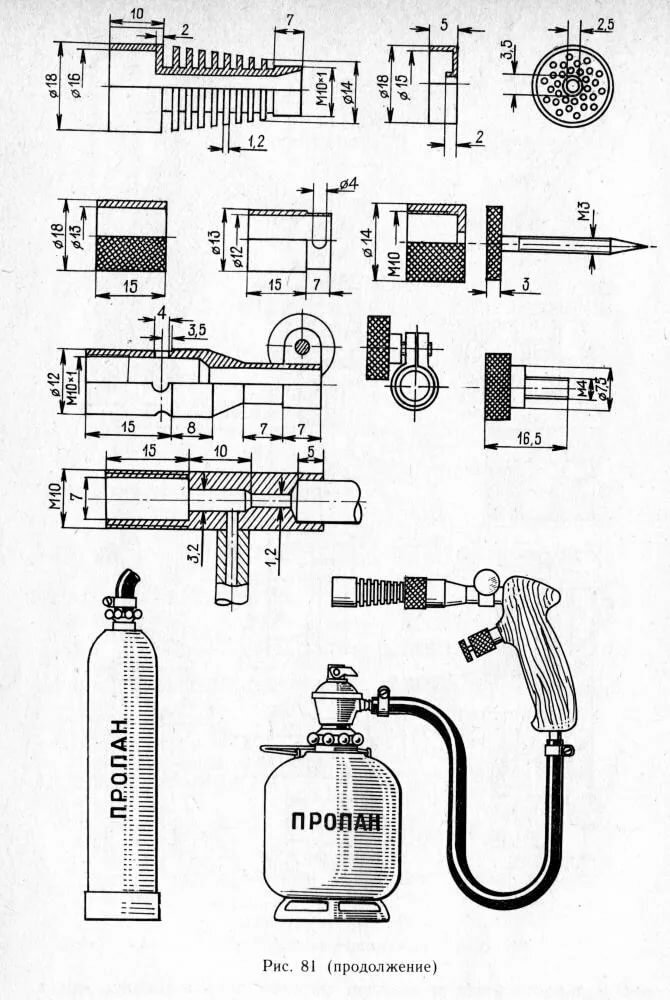
- How to make a gasoline burner for soldering with your own hands: drawings
- Which is better: buy or do it yourself?
- Step by step manufacturing process
- Clogging Prevention
- Jewelry Features
- Principle of operation
- Nozzle for gas burner
- The principle of operation of the spark generator, spark block
- What it is?
- Precautions necessary when working with a blowtorch
- Conclusions and useful video on the topic
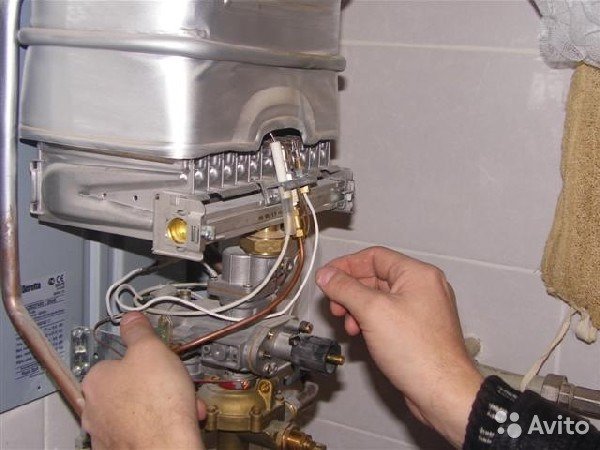
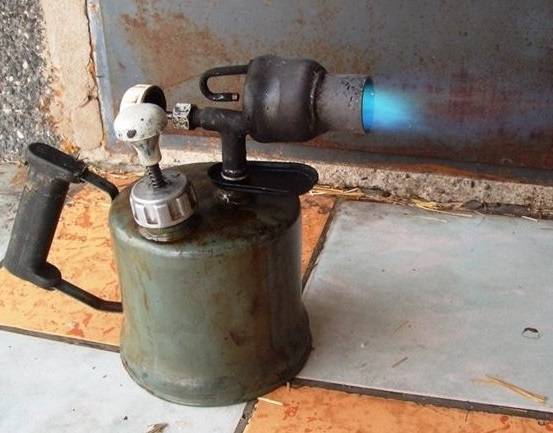
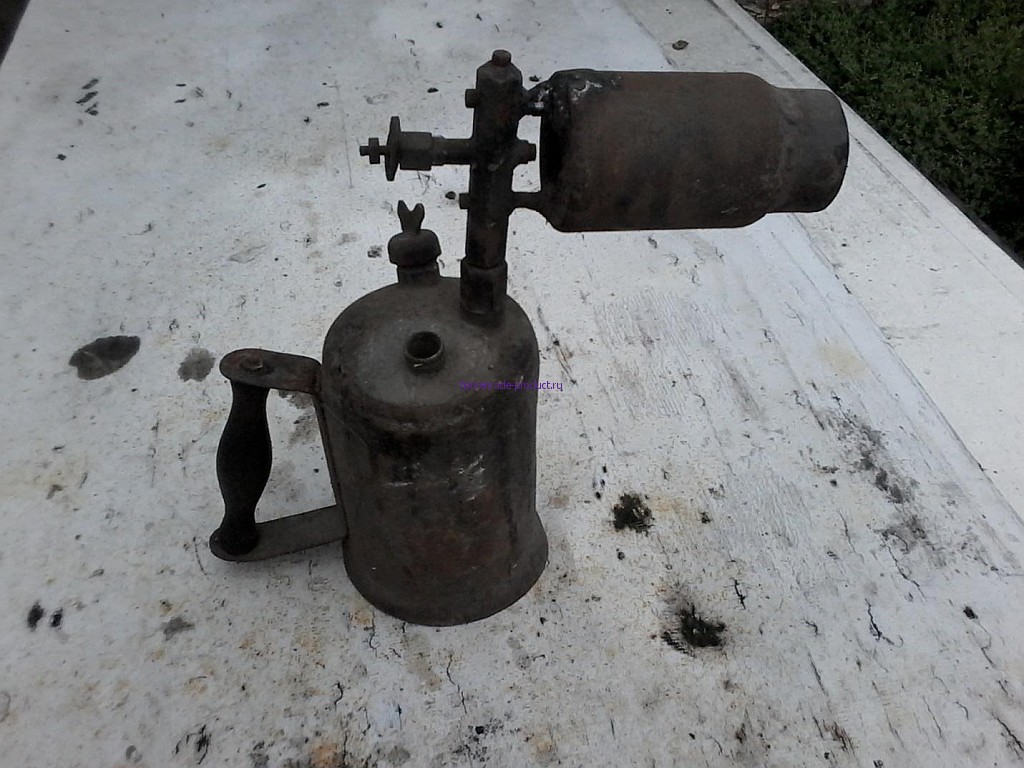
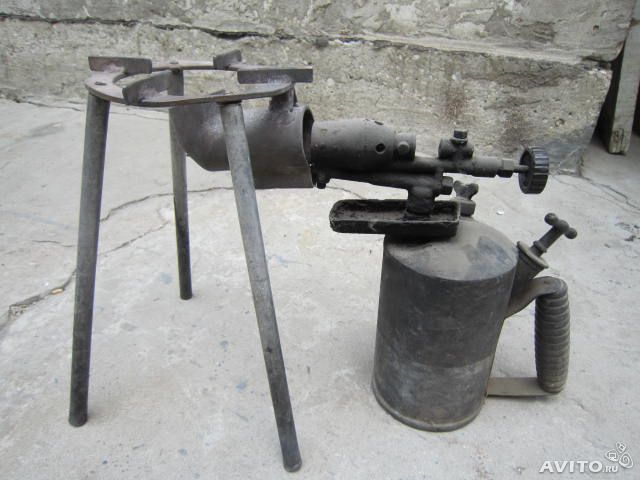
Handling old lamps
Old blowtorches that have not been used for a long time must first be inspected from the outside. During the inspection, you need to check how easily all the valves open, the tank cover. The adjusting valve must turn easily.
After that, you need to check the housing for leaks. To do this, the pump pumps air into the lamp, not filled with fuel. Then a thick soapy solution is applied with a brush to all threaded connections, a tap. You need to check in the closed state and in the open.
If all connections are tight and the pump properly pressurizes the housing, the valve performs its functions, opening and closing the burner, you can fill the lamp and start it up.
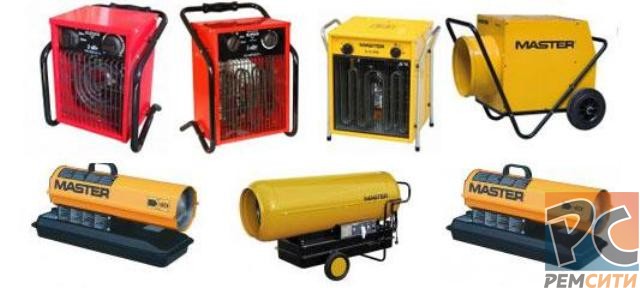
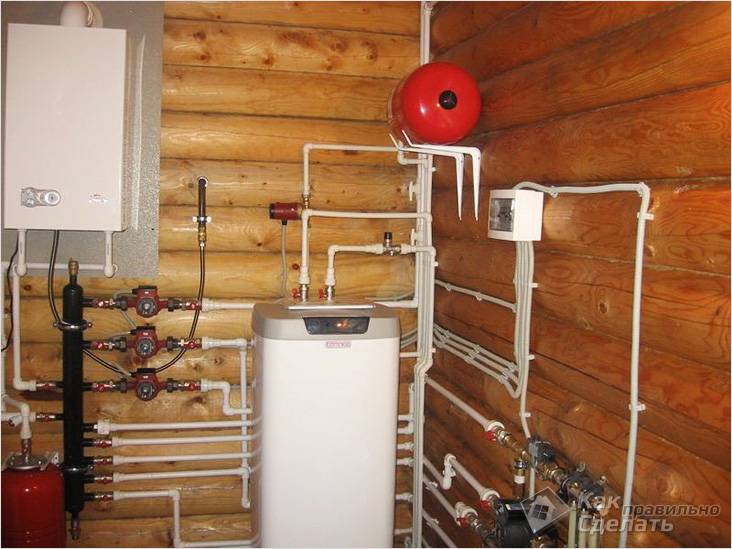
Furnaces and boilers running on waste oil have long taken their rightful place among heating appliances. Mining is a cheap and sometimes free type of fuel, it is often used for this purpose in car services and garages. When choosing a design, many masters ask themselves the question: is it possible to convert a gasoline blowtorch into a burner for working out?
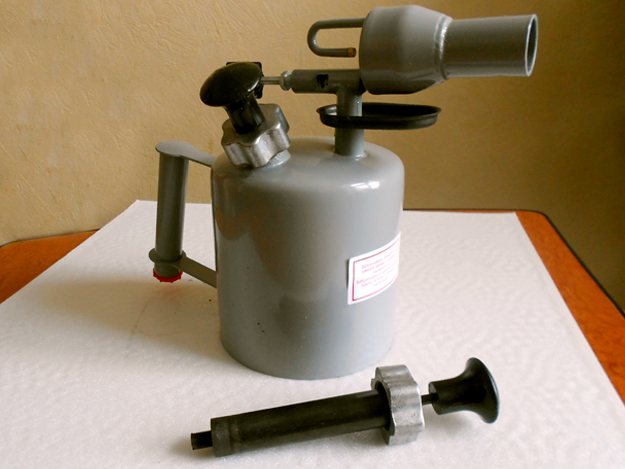
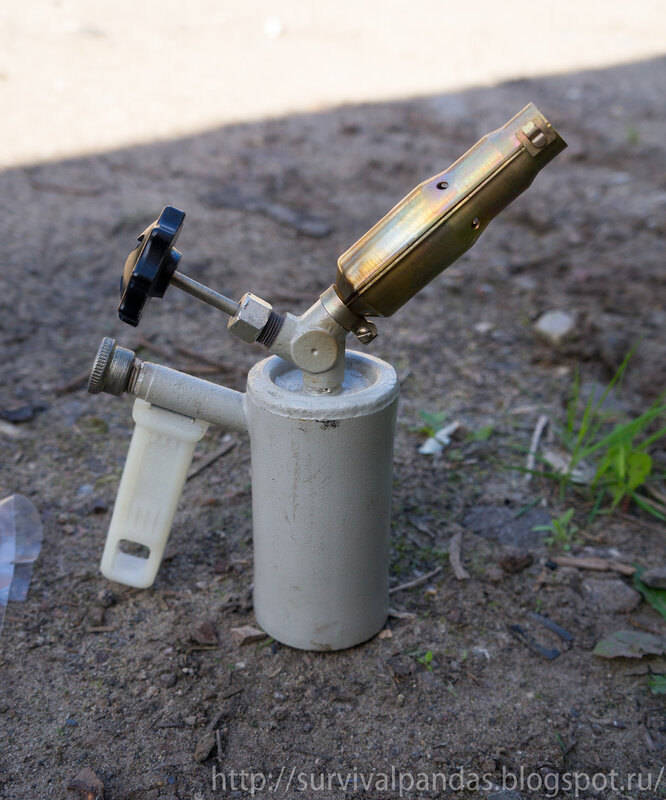
What is a blowtorch used for?
If a blowtorch is purchased and working with it is now clear and simple, then the question inevitably arises: what else can be done with it? We list only the main areas of application of a useful tool:
- processing of wooden products in order to give them decorative and protective properties;
- gumming carcasses of poultry and animals;
- warming up the old paintwork on metal parts in order to remove it;
- disinfection of non-combustible surfaces;
- soldering metal products, heating the soldering iron and solder;
- heating of internal combustion engines;
- heating food and housing outside settlements for hunters, fishermen and tourists;
- warming up frozen water pipes and sewerage;
- welding of metals with low melting point.
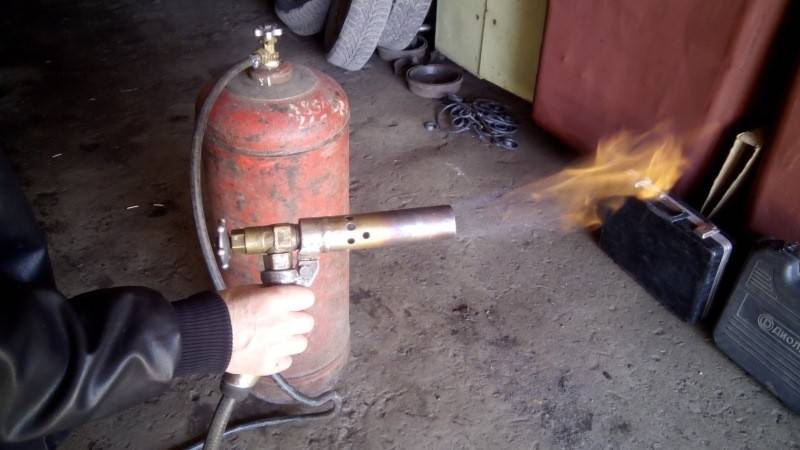
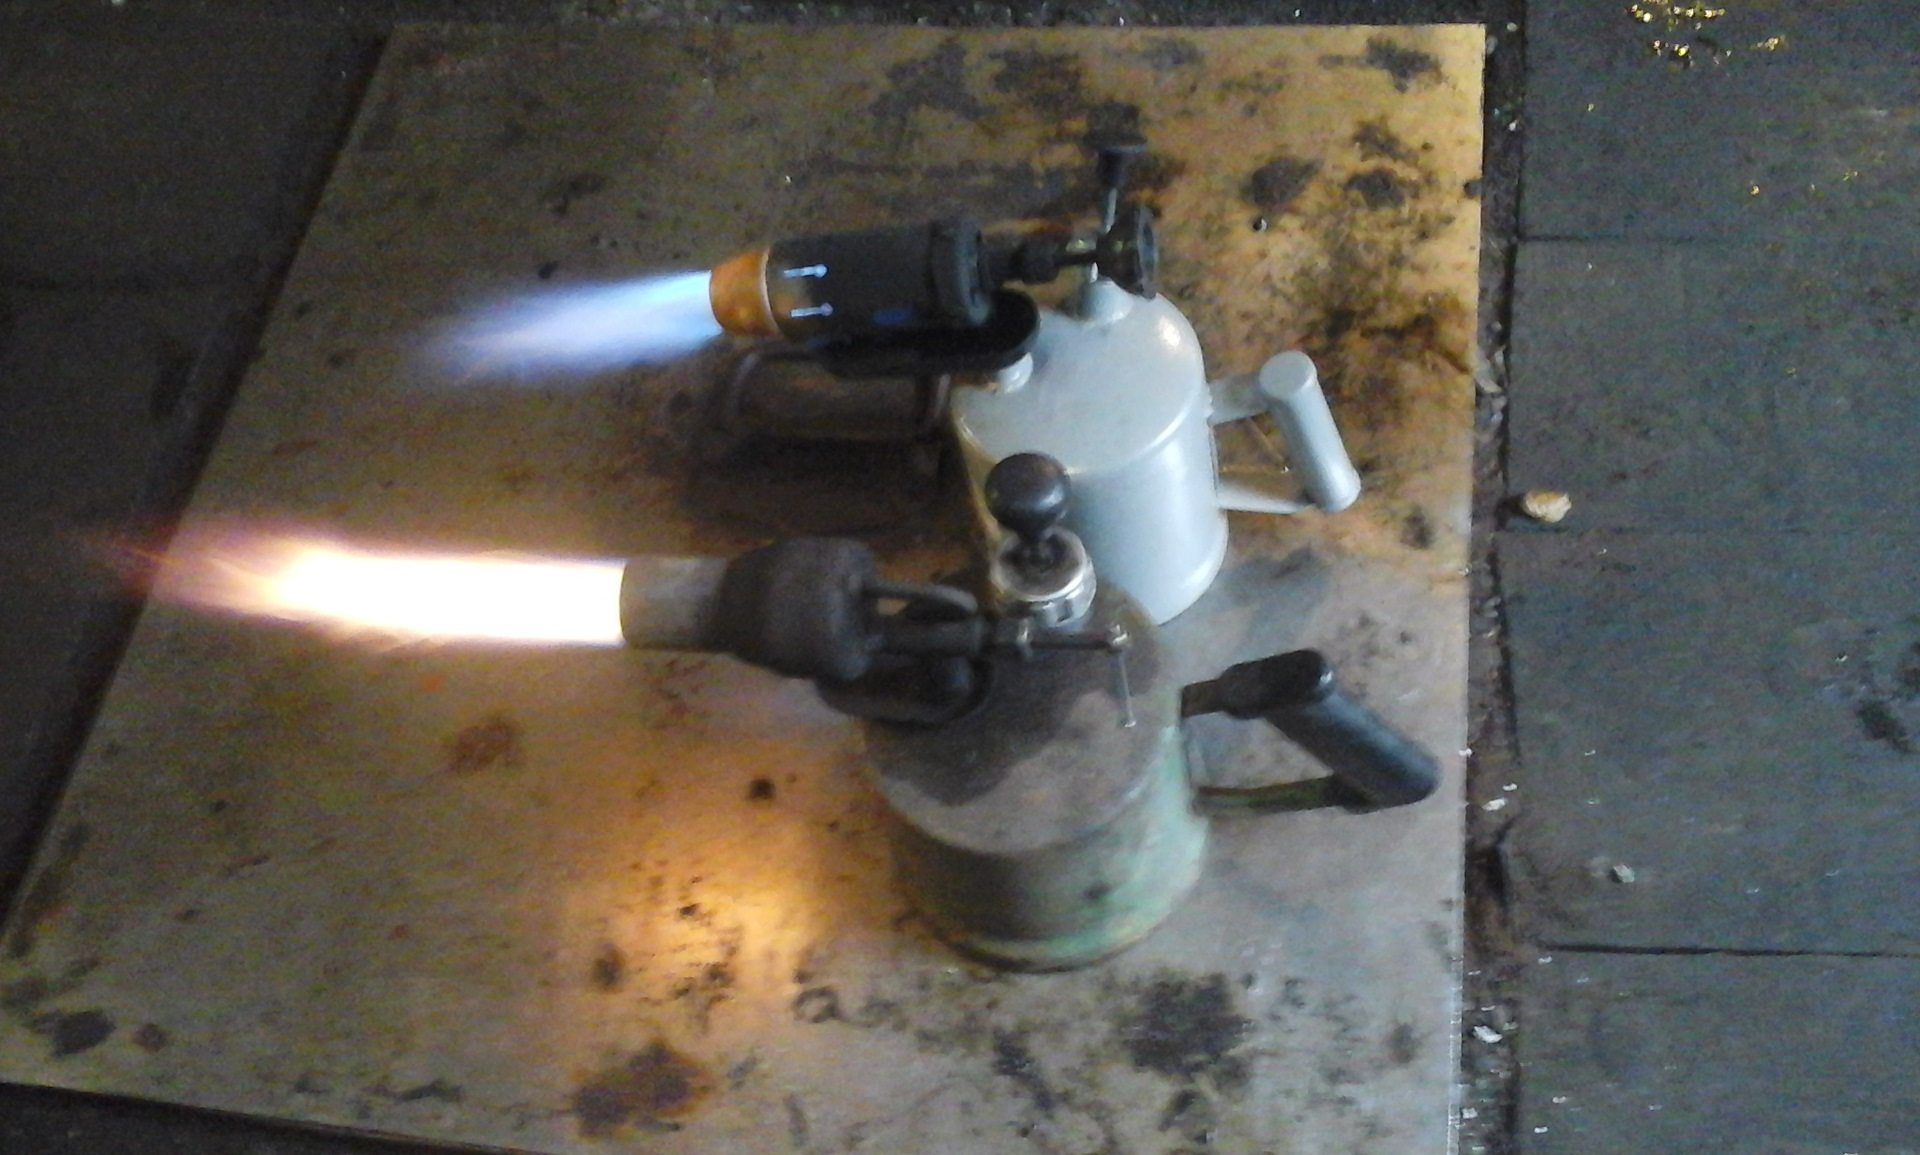
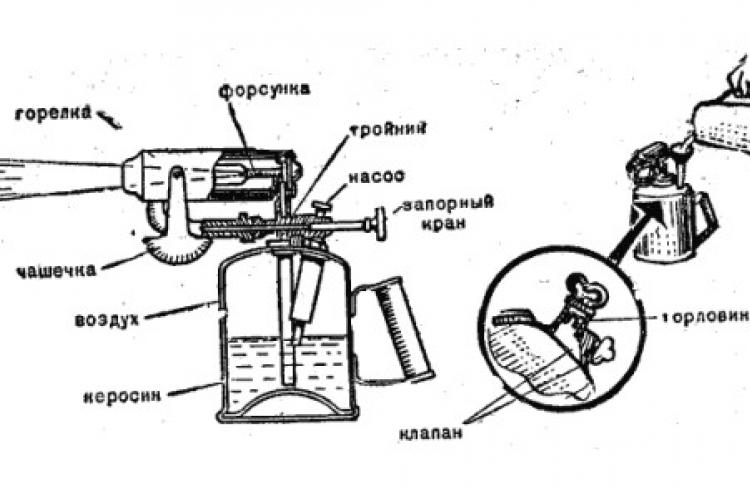
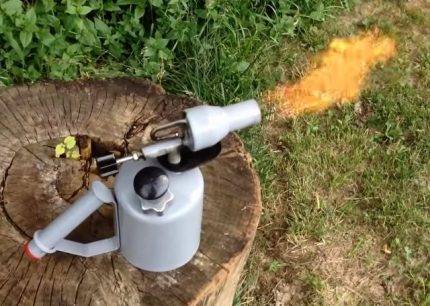
The essence of a blowtorch is that it burns a fuel with high energy - gasoline. In this case, the fuel is supplied under pressure, which greatly increases the temperature of the flame.
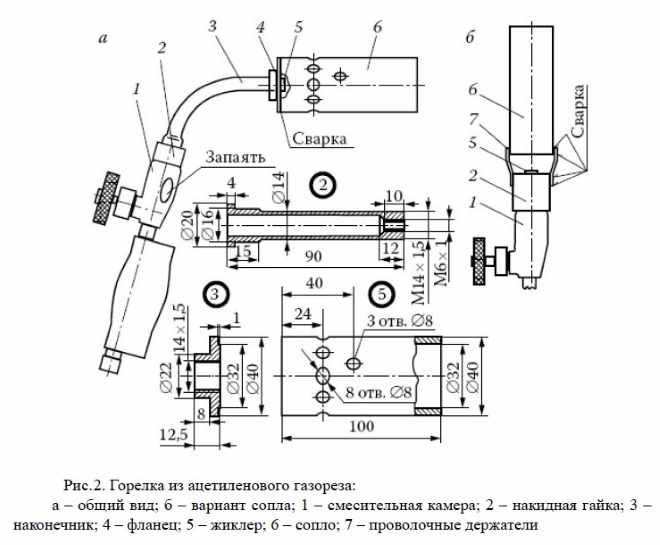
gas horn
A do-it-yourself gas horn should be practical. Its walls are made of fireclay bricks.
The production order is as follows:
- Refractory bricks are being prepared.
- The walls of the forge are being formed. The amount of material is different, depending on the complexity and size of the case.
- With the help of a hacksaw, surface treatment is carried out.
- All elements are tightly fitted.Slots are not allowed.
- A threshold is set in the front.
- A rectangular hole is cut in the back. It serves both for ventilation and for working with long workpieces.
- On the side, under the gas burner, a hole of the appropriate diameter is cut out.
- The gas burner is made of stainless steel. This is a pipe welded at one end and with a metal mesh at the other.
Such a horn has its advantages:
- The furnace is structurally simpler than a coal hearth.
- Simple fuel supply and easy temperature adjustment.
- Light weight.
- Low cost.
There are other types of gas horns made of metal. There are no fundamental differences between them.
Figure 3: Drawing of a burner for a gas hearth
Learning to solder with a gas burner
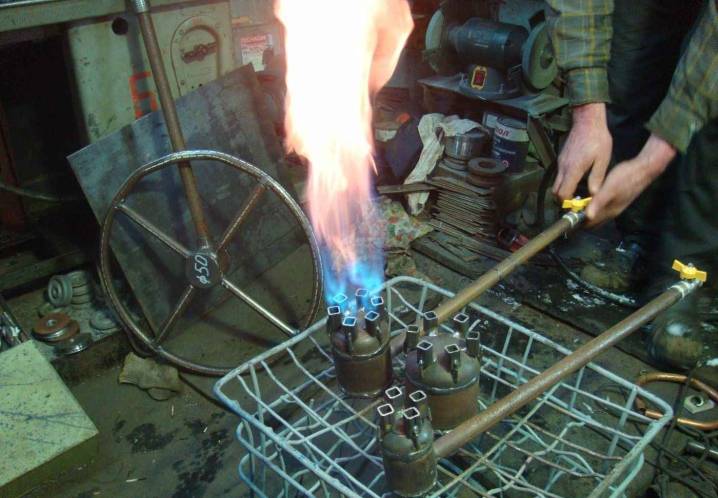
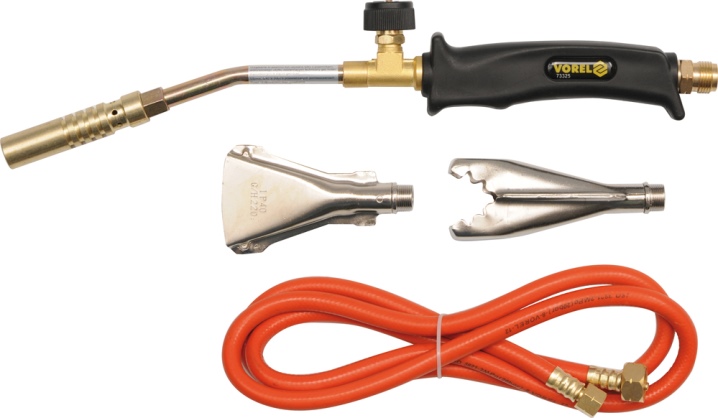
For soldering work, a professional gas burner is best suited. For soldering small parts, it is desirable to use devices that operate on light gas or acetylene.
The results obtained when the burners operate on light gas are of better quality. Also, this type of fuel is cheaper.


When soldering parts in small quantities, it is desirable to preheat the parts. This will save time and ensure uniform heating of all elements of the assembly. As a result, warping and other defects will be avoided.
Before starting work, the parts must be fixed in such a way that they do not have to be moved during soldering. This can be done on a workbench or a special device.
Before soldering, a layer of flux is applied at the solder points. If it is necessary to add flux during operation, then the hot end of the solder rod is immersed in it.
When soldering parts from different materials, the flame must be directed to one of them that has a higher thermal conductivity. You need to be careful when working with elements of different sizes.
It is important that all components are heated to the same temperature. In this regard, thick parts need to be heated longer.
Do not melt solder in the flame of the tool. In this case, it may drip. Melting is carried out directly when the wire comes into contact with the parts to be soldered.
The solder will flow into the hotter solder spots. Based on this, the flame must be directed before soldering. If it does not flow into the seam, then this means that the part has not warmed up to the required temperature.
You should not warm up the solder joints for too long, as this can lead to a change in the composition of the solder, that is, to its burnout, and a decrease in the effectiveness of the flux.
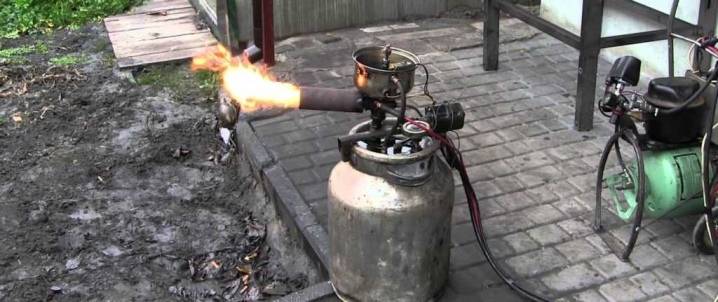
Manufacturing Recommendations
Due to its popularity and simplicity, the burner for the mining boiler is made by craftsmen in different variations, but we will undertake to describe the simplest design that will be available for repetition at home. First you need to select the necessary materials, here is a list of them:
- Steel tee with internal threads with a diameter of 50 mm - for the body.
- Squeeze with an external thread with a diameter of 50 mm - for the nozzle. Its length is accepted at will, but not less than 100 mm - for the nozzle.
- Elbow made of metal DN10 with external threads - for connecting the fuel line.
- Copper pipe DN10 of the required length, but not less than 1 m - on the fuel line.
- A metal ball or hemisphere that freely enters the tee is for the working part.
- Steel tube not less than DN10 - for connecting the air path.
To make a burner for testing with your own hands, you need to perform one precise operation - make a hole in the center of the sphere. Hole diameter - from 0.1 to 0.4 mm, the ideal option is 0.25 mm. You can make it in 2 ways: drill with a tool of the appropriate diameter or set the finished jet to 0.25 mm.
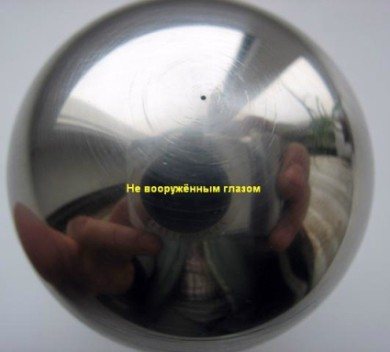
It is not easy to make such a small hole exactly, thin drills easily break. Instructions on how to do this correctly are shown below:
Another way to make a calibrated hole in the spherical part of an autonomous burner is to insert a jet of the required diameter there. To do this, a hole is drilled, whose diameter is slightly smaller than the outer diameter of the jet, and processed with a reamer. The jet is pressed inward and polished, as described in the video:


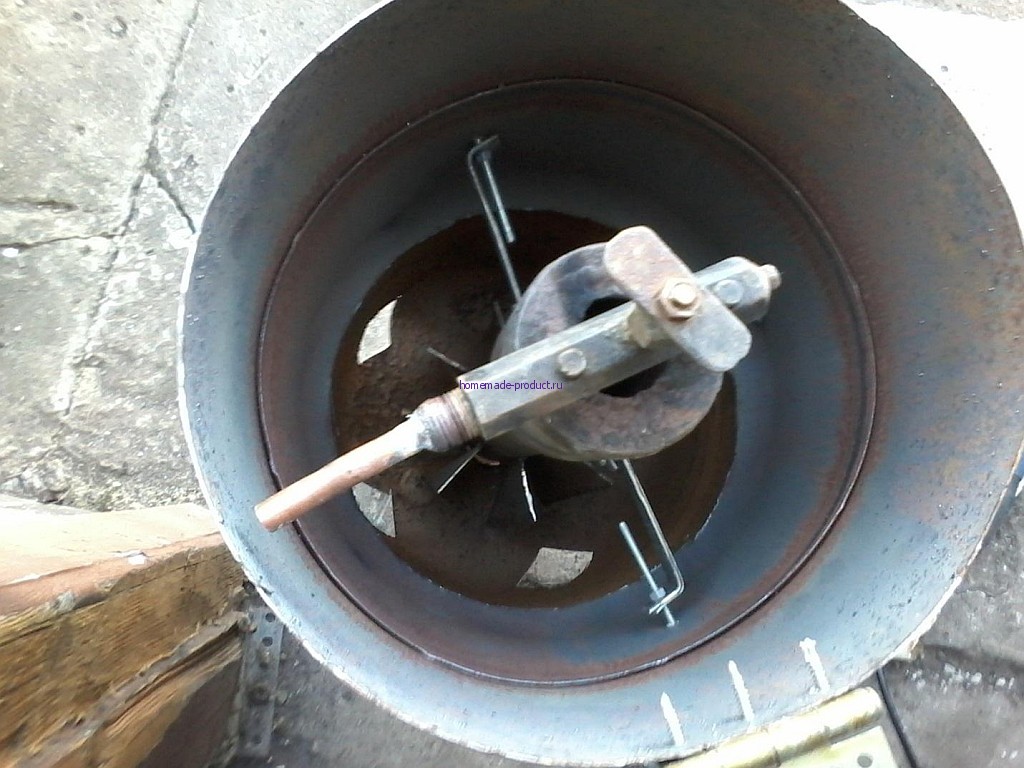


When this operation is completed, we assemble the burner, based on the drawing:

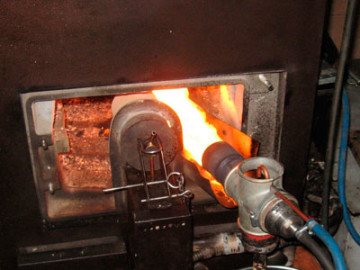
On the side of the nozzle, it is necessary to make a hole wide enough to ignite the unit. A large fuel heating coil is not needed, 2-3 turns are enough. The finished product can be mounted on a mounting plate and built into any boiler, including home-made ones. At the end of the work, you need to connect the air and fuel lines, and then organize the supply of oil and air. The simplest way to supply fuel is by gravity; for this, a waste tank is suspended from the wall above the burner and a tube is laid from it.
If you use a pump to pump oil, then later you can use control sensors and a control unit, then you will get an automatic burner that will be safer to operate. Detailed instructions for selecting materials and assembling the device are shown in the video:
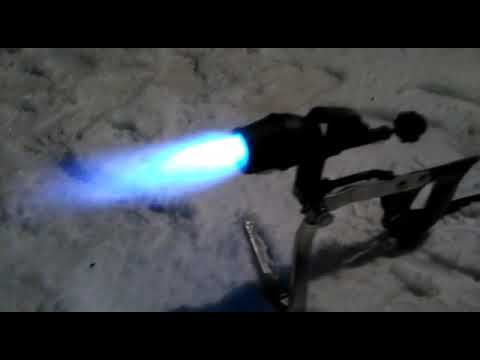
If everything is done correctly and the diameter of the air hole is 0.25 mm, then the fuel consumption at the burner should not exceed 1 liter per hour. There should be no black soot during combustion, it is necessary to achieve even burning of the torch. Adjustment is carried out by moving the sphere back and forth or by changing the air pressure. Any compressor can handle its injection, even from a refrigerator, since the working pressure is never higher than 4 bar.
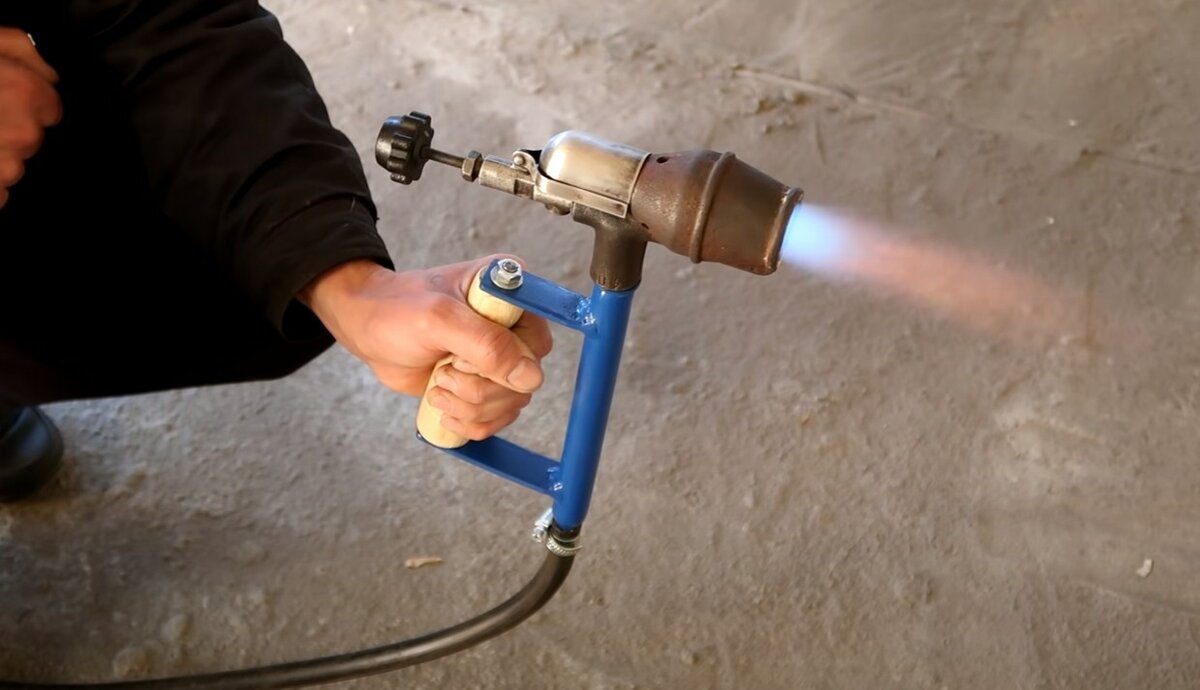
How to make a gasoline burner for soldering with your own hands: drawings
A gasoline burner is a very useful device that can be used both in industry and at home or camping. Its main purpose is the soldering of various metal products under the influence of high temperature.
Unlike welding machines, the connection is carried out due to the air-fuel mixture, the combustion of which is accompanied by the release of a large amount of energy. The design of the device does not differ in high technological complexity, so a gasoline burner can be made independently.
Which is better: buy or do it yourself?
This question cannot be answered unambiguously. Naturally, it is much easier to purchase a gasoline torch for soldering in a specialized store - modern manufacturers offer many models for various purposes.
Please note that some units are characterized by significant weight, which reduces their mobility - to move such devices, you must have personal transport. The main disadvantages of industrial gasoline burners are:
The main disadvantages of industrial gasoline burners are:
- High price.
- High requirements for fuel characteristics.
With self-manufacturing, the master has the opportunity to independently choose the dimensions and weight of the future device. It is noteworthy that handicraft inventions work on any gasoline, even the lowest quality.


Step by step manufacturing process
The assembly sequence of a homemade device is as follows:
- Case manufacturing. This task is best handled by a familiar turner. There are no material type requirements. One side should be open, and the other side should be closed with a cork. I drill a hole in it for the tube.
- Inserting the ring into the body. It must be made of metal mesh.
- From a steel sheet we cut out a sleeve with a hook.
- We make a holder from hardwood.
- We bring the end of the tube to the level of the burner, passing it through the body.
- We solder the tube outlet.
- We drill a hole and insert a fuel jet of a suitable size.
Soft copper solder should not be used to solder the tube, since its main requirement is refractoriness. With certain skills, solder can be made by yourself.
Clogging Prevention
The operation process is inevitably accompanied by clogging of the fuel channels and the jet. This is due to the use of low quality fuel.Violation of patency leads to the fact that gasoline and air are mixed in the wrong proportion, which affects the quality of work. To prevent this from happening, experts recommend using the following prevention methods:
- Use low octane gasoline.
- Clean the device after every use.
- Add injector additives to fuel.
- Periodically clean the system with carburetor affinity. It is the most effective in dealing with deposits.
Jewelry Features
Petrol torches for repairing and making jewelry are separate from other devices. They are used to melt precious metals. The devices are characterized by miniature dimensions and a large heating area. Currently, most factories use high-precision laser systems that improve the quality of the finished product.
Despite the fact that jewelry burners are practically not produced, their use is relevant for jewelry repair. That is why modern goldsmiths very often ask the question: “How to make jewelry burners with your own hands?”. On specialized forums, you can always find descriptions and drawings of high-quality models.
Principle of operation
The essence of the working principle of the device is simple: prepare a mixture of gas and oxygen for combustion, ensure a stable supply of the mixture and its combustion.
The gas burner is also equipped with additional features aimed primarily at automating and maintaining the safe operation of the equipment. These functions are provided through the use of nodes such as:
- Automation. Due to its use, the gas supply to the burners is stopped in case of an emergency.For example, such a shutdown can occur if the temperature of the igniter falls below the set level.
- Ignition. The device works on electricity or on a piezoelectric element. The ignition operation scheme looks like this: natural gas is supplied to the igniter, where it ignites from a spark (mechanically or automatically), after which the ignition is heated to a certain level, opens the valve and allows the gas to go to the burner.
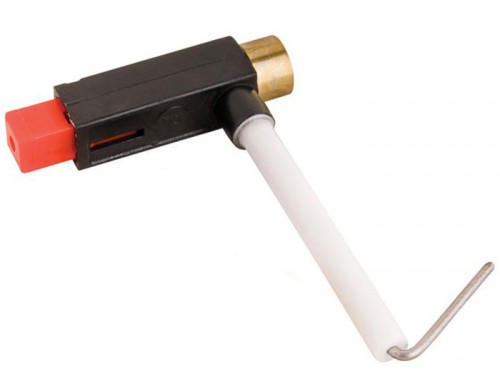
The device can work on electricity or on a piezoelectric element.
The equipment that is used in boiler rooms is not much different in principle from household appliances. However, such devices tend to withstand high gas pressure. In addition, industrial equipment is equipped with filters for screening out all kinds of resins and small dust particles. Filtration improves the economy and technological efficiency of equipment operation.
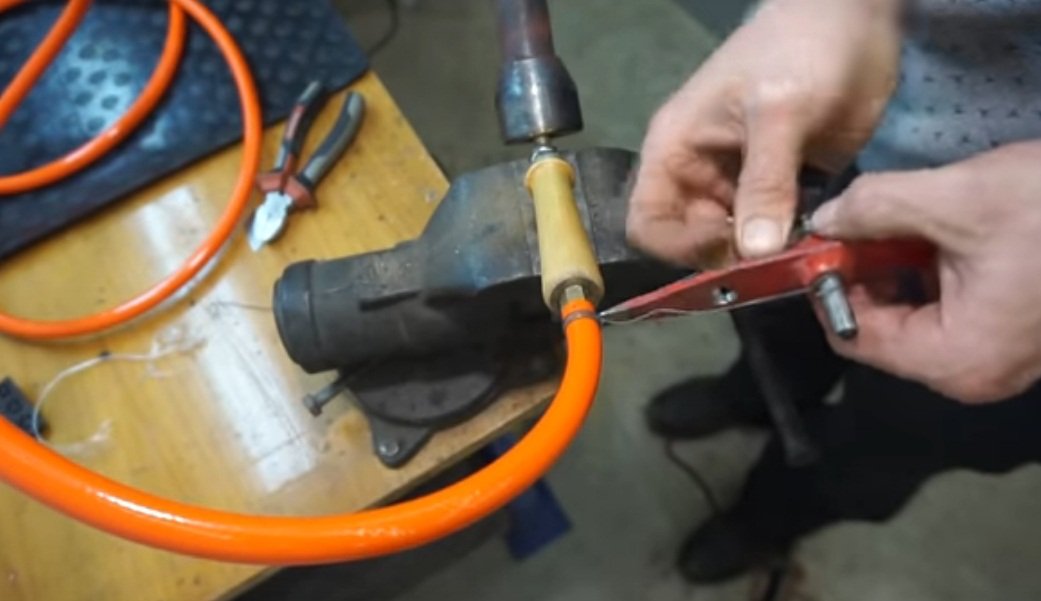
Nozzle for gas burner
The craftsmen solve this problem in the following way:
- A hole of as small a diameter as possible is drilled into the body tube. Today, drills with a diameter of 0.2 - 0.3 mm and special cartridges for them are on sale. An example is the Dremel brand.
- Next, the burner is clamped in a vice with soft jaws, and with careful blows of a hammer for chasing, it is slightly deformed so that the hole narrows to the required size - 0.1 mm.
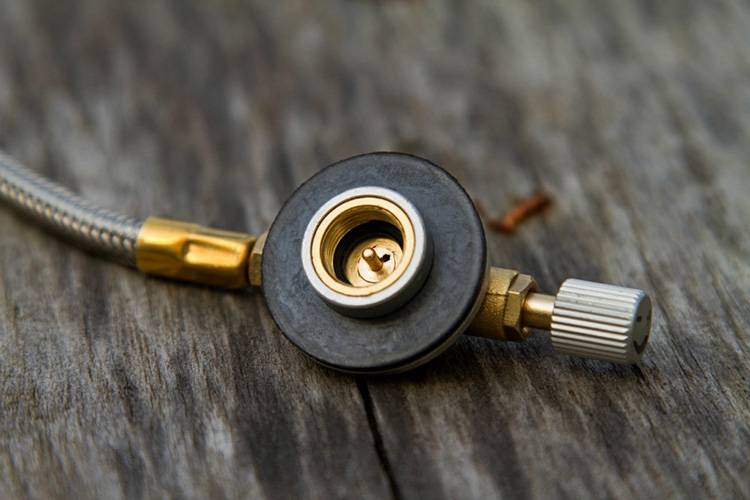
Gas Regulator and Nozzle/Jet
It remains to process the nozzle with fine-grained sandpaper, eliminating burrs and irregularities. This must be done in order for the gas flow, and accordingly the torch, to be even.


When you first start the burner, you need to see if this has been achieved, and if not, clean it more thoroughly.
The principle of operation of the spark generator, spark block
The principle of operation of the ignition transformer is simple. A voltage doubler is assembled on diode VD1 and capacitor C. With one half-cycle of the mains voltage, the diode is open, the capacitor is charged to the amplitude value of the mains voltage (310 V). At the other half cycle, the diode is closed. The voltage on it, and hence on the thyristor, gradually increases until the moment when the current through the resistor R1 becomes sufficient to open the thyristor. Thyristor opens. A current pulse occurs, which is transmitted through an isolating transformer to the ignition coil. A high voltage and a spark are generated on the high voltage wire. The capacitor is recharged by a voltage of reverse polarity. As soon as this happens, the current drops below the closing current of the thyristor and it closes. The circuit is ready for the next supply voltage cycle.
What it is?
A gas burner is a device for mixing oxygen and fuel in a gaseous fraction in order to move the mixture to the outlet and directly burn it in the same place. As a result of the burner operation, a stable flame is formed. The burner gives you the opportunity to get a controlled type of flame, which can be used in the process of welding, soldering, repair and household procedures, while cooking in the field. In order for the gas device to perform its functions qualitatively, and also be safe for humans, its manufacture is strictly regulated by GOST 21204-97.The main advantages of such devices are the following:
- no need for preheating;
- simplicity of design;
- high power rating;
- ease of flame adjustment;
- no unpleasant odor;
- low noise;
- compact dimensions of portable models;
- a small amount of soot;
- no need for frequent cleaning.
A simple version of a gas burner consists of the following elements:
- reducer;
- valve;
- metal cases;
- jet;
- heads;
- attachment point.
In order for the device to function properly, there must be a high-quality mixing of fuel and air. If additional elements are provided in the design, then ignition can be automated. The principle of operation of a simplified burner is as follows:
- preparation - gas and air receive a certain speed, temperature, and direction;
- combination of air and the required volume of gas in order to obtain a combustible mixture as a result;
- combustion - an oxidation process takes place in the furnace, and heat and light are released from the nozzle at the exit.
Precautions necessary when working with a blowtorch
When working with a lamp, strict adherence to safety regulations is required. The fact is that violations of the rules for working with this device can provoke an explosion of the device. The blowtorch is a fire hazardous device. The fuel storage tank is located very close to the open flame of the torch.
During the operation of the device, the following rules must be observed:
- the operation of the tool is prohibited if there are leaks of fuel or its vapors in the structure;
- it is forbidden to use fuel during the operation of the blowtorch, which, according to its indicators, does not meet the recommendations of the manufacturer;
- the operation of the device for a long time is prohibited, since the close location of the burner provokes the heating of the fuel cylinder above 50 degrees Celsius;
- it is forbidden to use the device in case of detection of a malfunction of the safety valve;
- it is impossible to fill the tank with fuel when the burner is on;
- It is not recommended to use the device indoors.
In addition, it should be said that non-compliance with almost any of the safety rules when working with a blowtorch can provoke an explosion and unpleasant consequences.
The implementation of simple safety rules allows you to achieve the most efficient operation of the device during operation.
Conclusions and useful video on the topic
The video will discuss how to make a propane gas burner yourself:


With a small supply of tools at hand, a gas burner diagram and the necessary materials, every home craftsman can assemble a propane burner
At the same time, it is important to comply with fire safety rules and use only high-quality materials that are approved for use in the domestic gas supply system. But if you are not confident in your own abilities, it is better to purchase such a device in a store.
If you had to assemble a propane burner yourself, please share your knowledge with our readers, tell us which option you chose. Why was he chosen and were there any difficulties in the process of work.Perhaps you have a diagram of the device and a photo of the finished homemade product - attach visual information in the discussion of the material.